You press the power button, but the display stays dark. Or maybe the screen lights up, yet nothing happens when you tap the controls. If your LG washing machine display isn’t working, you’re not alone. This is a common issue affecting many front-load models, especially those manufactured between 2015 and 2022.
The problem could be as simple as an activated Control Lock or a temporary glitch, or it might point to a deeper electrical failure like a faulty main board or damaged display module. This guide walks you through every possible cause, step-by-step troubleshooting, and precise repair methods.
Decode Common Display Symptoms
Identifying the exact behavior of your LG washing machine display is the first step toward a fast fix. Each symptom points to a specific root cause, from software locks to hardware failure.
Unresponsive Buttons with Lit Screen
If the display is on but buttons do not respond, check for a “CL” indicator. This means the Control Lock is active, disabling all controls except the power button. The lock persists through power cycles, so a manual reset is required.
Fix: Press and hold the Control Lock button for 3 seconds. You will hear a beep, and the “CL” will disappear. Test the controls immediately.
Partially Visible or Cut-Off Digits

You see numbers like “1” instead of “14 min,” or “3:3” instead of “3:37.” The washer runs normally, but the display is visually fragmented.
Root Cause: A misaligned plastic housing holding the display module. Over time, the housing shifts, causing the display to sit crooked behind the front panel cutout.
Affected Models: Mid-range LG front-load washers from 2015 to 2022 with front-mounted control panels.
Completely Black Display
The screen is dark. Pressing the power button may trigger a “ding,” but no display lights up, and the cycle will not start.
Possible Causes:
- Temporary software glitch
- Failed noise filter
- Dead main control board
- Faulty door lock assembly
- Failed display control module
Start with non-invasive checks before opening the machine.
Lit Screen with Unresponsive Touch
The display lights up, but touch buttons do nothing. This is common in capacitive touch models.
Likely Cause: Failed touch panel, not the main control board. Verify power input with a multimeter before replacing parts.
Reset the System First
Before disassembling the washer, rule out software glitches and user settings.
Disable Control Lock
As mentioned, “CL” on the display means the controls are locked.
Steps:
- Press and hold the Control Lock button for 3 seconds.
- Listen for a beep.
- Confirm “CL” disappears.
- Test all buttons.
If the lock will not deactivate, proceed to reset.
Perform a Power Cycle Reset
This clears temporary electronic glitches.
Steps:
- Turn the washer OFF.
- Unplug the machine or turn off the circuit breaker.
- Wait at least 5 minutes.
- Plug back in and power on.
- Try starting a cycle.
Execute Factory Reset
If the display remains unresponsive, perform a hard reset.
Steps:
- Unplug the washer.
- Press and hold the Start/Pause button for 5 seconds while unplugged.
- Restore power.
- Power on and test.
This often resolves firmware hiccups affecting display communication.
Diagnose Power and Electrical Flow
If resets fail, test the electrical system. You will need a multimeter and basic tools.
Essential Safety Steps
- Always unplug before removing panels.
- Reconnect power only during voltage tests.
- Work on a dry surface.
- Avoid touching live wires directly.
Required Tools
- Multimeter (AC/DC voltage capable)
- Phillips screwdriver
- Flathead screwdriver
Access the Control Panel
To test components, open the washer top panel.
Steps:
- Remove two screws at the back corners of the top panel.
- Slide the panel backward about 1 inch.
- Lift it off and set aside.
Now the control board and wiring are accessible.
Test AC Power to Display
With power restored, check if electricity reaches the control board.
Check White Connector (AC Input)
- Set multimeter to AC Volts (V~).
- Probe the white connector.
- Expected: 120V AC.
If no voltage, check the wall outlet with another device, inspect the power cord for damage, and test the circuit breaker.
Test Red Connector (Noise Filter Output)
- Probe the red connector.
- Expected: Voltage present (same as input).
If no voltage here but 120V at white connector, the noise filter is failed. Replace the noise filter.
Inspect Main Control Board
The main board distributes power and runs the system.
Look for Red LED
- LED ON: Board is receiving power.
- LED OFF: Board is dead or not getting input.
If LED is OFF, confirm AC power is reaching the board. If power is present but LED is dark, the main control board is likely faulty.
Verify DC Output to Display
Switch multimeter to DC Volts. Test the 8-pin connector between the main board and display.
Test 1: 12V DC
- Black probe on Red wire.
- Red probe on Orange wire.
- Expected: 12 Volts DC.
Test 2: 5V DC
- Black probe on Red wire.
- Red probe on Yellow wire.
- Expected: 5 Volts DC.
Interpret Results
| Finding | Diagnosis |
|---|---|
| 12V and 5V present, no display | Display control module is dead. Replace it. |
| No 12V/5V, LED ON | Main board output failure. Replace main control board. |
| No 12V/5V, LED OFF | Power not reaching board. Check noise filter or door lock. |
Fix Cut-Off Display Digits (Mechanical Fix)
If numbers appear cut off, the plastic housing has shifted.
Required Tools
- Phillips screwdriver
- Flathead screwdriver
- Super glue (cyanoacrylate)
- Toothpick
- Cloth
Repair Steps
- Unplug the washer.
- Remove top cover by pressing the front tab and pulling outward, then removing two rear screws.
- Slide cover back and lift off.
- Remove front panel by removing one screw on each side, gently lifting and pulling forward.
- Loosen wiring harness to avoid strain.
- Access display module by unplugging the wiring connector.
- Realign and glue housing by repositioning it flush and applying one tiny drop of super glue to each side using a toothpick.
- Reassemble in reverse order.
- Test by running a 14-minute cycle.
Replace the Display Control Module

If diagnostics confirm the display is dead, replace the module.
Steps
- Unplug the washer.
- Remove console by pulling out the dispenser drawer, removing the selector knob, and removing screws behind the drawer.
- Disconnect display harness and lift console outward.
- Remove old module by unscrewing from console.
- Install new module and secure with screws.
- Reassemble in reverse order.
- Test by powering on and running a cycle.
Identify Failed Door Lock
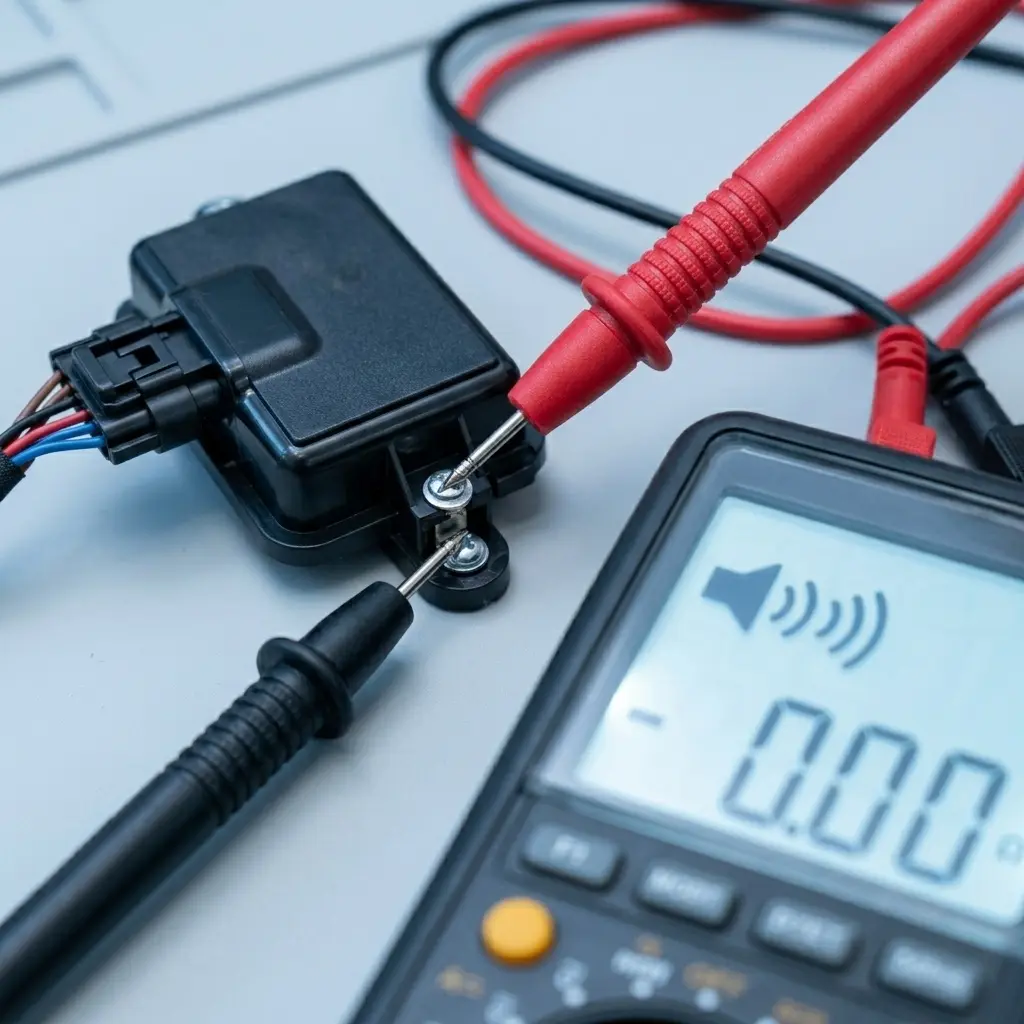
A faulty door lock can prevent the system from initializing, leaving the display dark.
Symptoms
- “Ding” when power pressed, but no display.
- Door seems locked, but machine will not start.
Test (Multimeter Required)
- Unplug washer.
- Locate door lock assembly behind front panel.
- Set multimeter to continuity mode.
- Test for continuity across lock terminals.
- If no continuity, the lock is failed.
Prevent Future Display Problems
Avoid repeat issues with these maintenance tips.
Clean Connections Regularly
Dust and moisture cause corrosion. Every 6 months, unplug the washer, open the top panel, and inspect connectors for grime. Gently clean with a dry cloth.
Check for Moisture
Water near the touch panel can short capacitive controls. If you see condensation, wipe immediately and ensure the control area is sealed properly.
Secure Wiring Harness
After moving the washer, check that internal wires are not pinched or loose. A disconnected harness kills display power.
Avoid Excess Glue in Repairs
When fixing housing alignment, one drop per side is enough. Too much glue can seep into electronics and cause permanent damage.
When to Call a Professional
Some repairs require expertise.
Seek Help If
- The main control board has no LED and you are uncomfortable with electrical work.
- You are unsure how to use a multimeter safely.
- The noise filter or main board needs replacement and you lack experience.
DIY-Friendly Repairs
- Control Lock reset
- Power cycle and factory reset
- Housing realignment
- Display module replacement
Key Takeaways for Fixing Your LG Washing Machine Display
An LG washing machine display not working does not always mean a costly repair. Most issues stem from simple causes: Control Lock, temporary glitches, or mechanical misalignment. Start with resets and visual checks. Use a multimeter to test voltage before replacing parts. Replace the display module only if 12V and 5V are confirmed at the connector.
With the right approach, you can restore full functionality in under an hour and save hundreds in service fees. Keep this guide handy, and you will never be left guessing when the display goes dark.
Frequently Asked Questions About LG Washing Machine Display Not Working
Why is my LG washing machine display not working but the power button still works?
This typically indicates the Control Lock is active. Look for a “CL” on the display. Press and hold the Control Lock button for 3 seconds to disable it.
Can a power outage cause my LG washer display to stop working?
Yes. Power surges or sudden outages can cause temporary glitches. Unplug the washer for 5 minutes, then plug it back in to reset the system.
How do I know if the main control board is faulty?
Check for a red LED on the main control board. If the LED is OFF and there is no AC power reaching it, the board may be dead. If the LED is ON but no DC voltage outputs (12V or 5V) are present, the board has failed.
Is it worth replacing the display control module myself?
Yes, if you have basic tools and follow the diagnostic steps. The repair takes under an hour and costs significantly less than professional service. Just confirm power is reaching the display before ordering the replacement part.
Why do only some digits show on my LG washer display?
This is usually a mechanical alignment issue, not an electronic failure. The plastic housing holding the display has shifted. Realign and secure it with a tiny drop of super glue on each side.
What is the most common cause of LG washing machine display failure?
The Control Lock feature is the most common cause. Before assuming hardware failure, always check for the “CL” indicator and perform a power reset.