You press the start button on your GE washing machine, but nothing happens. No click, no spin, no water. Just silence. This frustrating scenario is one of the most common complaints with GE top-loading washers, and the culprit is often a worn-out tactile switch inside the button itself. However, the GE washing machine start button not working issue can also stem from power problems, lid lock failures, or control board errors. This guide walks you through a step-by-step diagnostic process to identify the exact cause, test the button electrically, and replace it if needed, saving you from an expensive technician visit.
Recognizing Start Button Failure Symptoms

Before reaching for tools, observe how your washer behaves. The symptoms reveal whether the problem is mechanical, electrical, or safety-related.
Washer Shows Zero Reaction
If pressing the start button produces no lights, sounds, or movement, the issue may extend beyond the button itself. First, confirm the machine has power. Test the outlet with another device, and check your home’s circuit breaker for tripped switches. If other buttons on the panel work, such as cycle selection, but only start fails, the problem likely isolates to that specific switch.
Button Requires Excessive Force
When you must slam or press at an angle to get the washer to start, the internal switch mechanism is worn out. Over time, the plastic plunger inside the button collapses or loses spring tension. Even if the button occasionally clicks, this behavior signals imminent complete failure.
Intermittent or Delayed Start
Sometimes the washer starts only after multiple presses or when the control panel is tapped. This points to loose connections or failing switch contacts. Dirt, moisture, or oxidation can interfere with electrical continuity, especially in humid laundry rooms.
Perform Essential Preliminary Checks
Skip disassembly initially. Rule out simple causes first, as many button problems actually stem from preventable issues.
Verify Power Supply and Outlet
Unplug the washer and test the outlet with a lamp or phone charger. If nothing powers on, the issue is external to the machine. Check your breaker panel for a tripped switch. Inspect the washer’s power cord for cuts, kinks, or burn marks, as damaged cords can intermittently cut power.
Inspect the Cycle Dial and Knobs
On GE top-loaders, the cycle dial must be properly set for the start button to function. Rotate it through all positions. If it feels loose, cracked, or fails to click into place, it may not send the correct signal to the control board. A faulty dial will prevent startup even with a perfect start button.
Test the Lid Lock Mechanism
GE washers won’t start unless the lid fully closes and locks. Open and close the lid firmly. Listen for a distinct click, which indicates the lid lock engaging. If you do not hear it, the striker on the lid or the lock assembly inside the washer may be misaligned or broken. A faulty lid switch mimics a bad start button because the control board blocks startup for safety.
Access and Interpret Error Codes
Your GE washer can tell you exactly what is wrong. Use Field Service Mode to retrieve stored error codes.
Enter Field Service Mode
- Press and hold the Start/Pause button.
- While holding it, rotate the cycle dial seven clicks clockwise.
- Release the button. You should hear a click, and the lights will flash.
This mode cycles through any stored fault codes. If the washer starts normally after this, the issue might have been a temporary glitch or corrupted memory.
Read and Clear Error Codes
Press Start/Pause repeatedly to scroll through codes. If all lights flash together, all codes have been displayed.
- Lid Lock plus Paws Flashing indicates a lid switch or pressure sensor issue.
- No lights or partial display suggests a possible control board or power problem.
- Sensing Fill Light Only shows the water level sensor test for verifying water entry.
To clear codes, turn the dial to the second position (Sensing Fill) and hold Start/Pause for three seconds. Exit and run a test cycle. If the same code returns, the fault is active and needs repair.
Test the Start Button Electrically

If the button feels dead or unresponsive, test it with a multimeter. This confirms whether the switch is broken or if the issue lies elsewhere.
Disconnect Power and Access the Panel
Unplug the washer. Use a 1/4-inch socket wrench to remove the three screws on the back of the control panel. Gently slide the panel forward and lift it straight up to disengage the mounting clips. Do not disconnect wires yet.
Locate and Test Button Continuity
Flip the control panel over. Find the start button switch on the front side of the control board, usually a small black or gray tactile switch near the red button.
Set your multimeter to continuity or Ohms. Place one probe on each terminal of the switch.
- Press the button: You should see zero ohms or a beep (continuity).
- Release the button: Should read infinite resistance (open circuit).
No continuity when pressed means the switch is dead and must be replaced.
Replace the Start Button Assembly
If testing confirms a faulty switch, replacement is straightforward and inexpensive. The most common part number is WH01X10088, but always verify compatibility with your model.
Gather Tools and Parts
- Replacement start button (WH01X10088)
- 1/4-inch and 5/16-inch sockets with ratchet
- Small flathead screwdriver or plastic pry tool
- String or thin wire for knob removal
- Multimeter for verification
Remove Control Knobs and Panel
Loop a piece of string behind each knob and pull outward gently. This pops them off without damaging the switch stems. Set aside.
Remove the three 1/4-inch screws from the back of the washer top. Slide the control panel forward, then lift it straight up. Be careful, as wiring harnesses are still attached.
Access and Replace the Button
Locate the motherboard inside the panel. Remove the two 5/16-inch screws securing it. Lift the board carefully and flip it over.
Find the start button switch. On most models, it is a push-in component. Pull the old button out from the back. Compare it to the new one. Worn buttons often appear discolored or collapsed.
Push the new button in from the front or back, depending on design, until it clicks into place. Ensure it sits flush and secure.
Reassemble and Test
Reinstall the motherboard and secure with screws. Reconnect all wiring harnesses, making sure they are fully seated.
Slide the control panel back into place, pressing down until the clips snap. Reinstall the rear screws and reattach the knobs.
Plug in the washer. Press the start button lightly. It should click and start immediately. Run a short cycle to confirm full operation.
Rule Out Other No-Start Causes
If the new button does not fix the issue, the problem lies elsewhere. Do not replace the control board yet. Check these common culprits first.
Check the Lid Lock Assembly
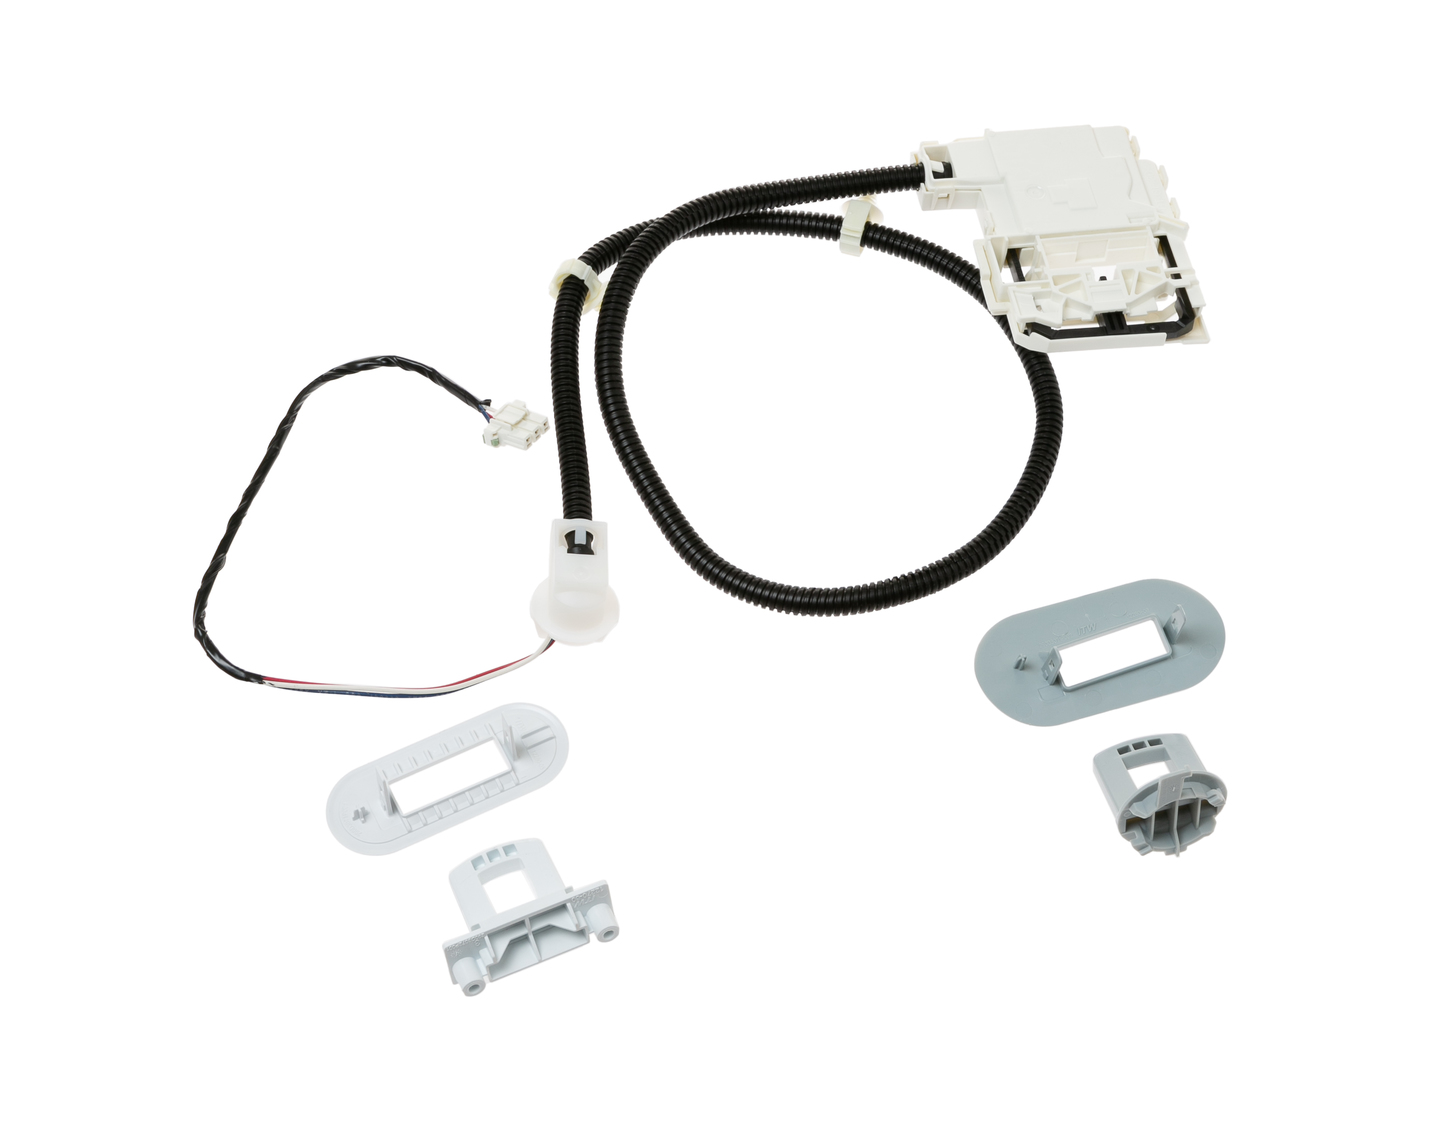
Even with a working button, a faulty lid lock prevents startup. Inspect the lid lock assembly for warping or melted plastic. Check the striker pin on the lid for damage. Re-seat any loose connectors. Replace the entire assembly if cracked or non-functional.
Inspect Water Inlet Valves and Filters
The washer will not start if it cannot detect water flow. Ensure hot and cold water valves are fully open. Check inlet hoses for kinks or crushing. Clean the mesh filters at the back of the washer where hoses connect. Remove them with pliers and rinse under running water. Clogged filters frequently cause no-start conditions.
Test Drive System Components
If the motor tries to run but the tub does not move, the issue is mechanical. Look for oil stains or rubber shavings, which are signs of belt or clutch failure. Inspect the drive belt for fraying or looseness. Check the pulley for wobble, which indicates bearing wear.
Use a multimeter to test the clutch. One wire pair should read approximately 0.01 ohms. The other should read 5200 to 5700 ohms. Significant deviation means the clutch is failing.
Evaluate the Control Board
If everything else checks out, the control board may be defective. Confirm it is receiving 120V power. Test if it sends signals when buttons are pressed. Look for burn marks, bulging capacitors, or corrosion. Board replacement costs $125 or more, so only proceed after verifying all other components are functional.
Prevent Future Start Button Failures
A little maintenance extends the life of your washer controls significantly.
Clean and Inspect Regularly
Wipe the control panel with a dry cloth. Avoid harsh cleaners or sprays that can seep inside and damage switches. Every few months, check knobs and buttons for stiffness or resistance.
Avoid Excessive Button Pressure
Press the start button firmly but gently. Repeated hard pressing accelerates wear on the internal switch. If you find yourself slamming it, replace it before it fails completely.
Keep the Area Dry
Moisture damages electronics. Do not run the washer with wet hands, and ensure the laundry room is well-ventilated to prevent humidity buildup.
Replace Worn Parts Early
If the cycle dial feels loose or the lid does not latch smoothly, fix it now. These issues force you to overuse the start button, leading to premature failure.
Frequently Asked Questions About GE Washing Machine Start Button Issues
Why does my GE washing machine start button have no response at all?
This typically indicates a failed tactile switch inside the button. However, first verify that the machine has power by checking the outlet and circuit breaker. If other panel buttons work but start does not, the switch itself is likely defective.
Can I fix the start button without replacing the entire control panel?
Yes. The start button is a separate component that can be replaced individually. The common part number is WH01X10088, which costs significantly less than replacing the entire motherboard.
How do I know if the lid lock is causing the start button to appear broken?
GE washers won’t start if the lid is not fully locked. Listen for a clicking sound when closing the lid. If absent, the lid switch or striker may be faulty, preventing startup even when the start button works perfectly.
What tools do I need to replace the start button on a GE washer?
You will need a 1/4-inch socket wrench, a 5/16-inch socket, a small flathead screwdriver or plastic pry tool, string or thin wire for knob removal, and a multimeter for testing.
Is it worth repairing a GE washing machine with start button problems?
Yes. Replacing the start button is a $10 fix that resolves the issue in most cases. This is far more cost-effective than replacing the entire control board, which can cost $125 or more.
Key Takeaways for Fixing Your GE Washing Machine Start Button

A GE washing machine start button not working is rarely a mystery. By following a structured diagnostic path, you can pinpoint the true cause in under an hour. Always check power supply and lid lock first before assuming the button is bad. Use a multimeter to test continuity on the start switch, confirming it shows zero ohms when pressed and infinite resistance when released. Replacing the button (part number WH01X10088) is a $10 fix that saves you from an unnecessary $125 control board replacement. Prioritize safety by unplugging the washer before working inside, and consult your model’s manual if any step feels unclear. With the right approach, your washer will be back in action quickly.