
If your clothes take forever to dry or you’ve noticed a burning smell during cycles, your dryer vent likely needs attention. Cleaning your washing machine dryer vent removes built-up lint, restores proper airflow, and significantly reduces fire risk. According to the U.S. Fire Administration, failure to clean dryer vents is the leading cause of clothes dryer fires, with thousands reported annually. A clogged vent forces your dryer to work harder, increasing energy bills and creating dangerous overheating. This guide walks you through safety checks, tool preparation, disassembly, deep cleaning with a drill-powered brush, and final reassembly with pro tips to prevent future buildup.
Essential Safety Steps Before Cleaning
Before touching any tools, prioritize safety. Dryer vents involve electricity, gas (for gas models), and flammable lint, so proper shutdown is essential.
Unplug Dryer or Shut Off Gas Supply
For electric dryers, unplug the unit from the wall outlet. For gas dryers, locate the gas shut-off valve behind or near the appliance and turn it clockwise to cut off the fuel supply. Never move the dryer without completing this step first. After reconnecting, check for gas leaks by applying soapy water to connections. Bubbles indicate a leak that requires professional attention.
Pull Dryer Safely from Wall
Gently pull the dryer away from the wall, leaving enough space to access the rear panel. Avoid kinking or crushing the flexible duct. If the duct resists movement, disconnect it before pulling further. Keep the floor clear to prevent tripping hazards while you work.
Identify Vent Blockage Warning Signs
Knowing when to clean your dryer vent can prevent appliance damage and serious fire hazards. Watch for these clear symptoms.
Extended Drying Times
If clothes remain damp after a full cycle or require multiple runs, airflow is severely restricted. Lint buildup traps moisture inside the drum and prevents hot air from escaping, forcing the dryer to run much longer to achieve the same results.
Burning or Musty Smells
A faint burning odor signals overheating caused by trapped lint near heating elements. Musty smells suggest mold growth from excess humidity, which is common when vents are blocked and moisture cannot escape properly.
Excessive Heat and Poor Airflow
The dryer exterior should never be too hot to touch. If it feels hot, the unit is overheating due to restricted airflow. Check the outdoor vent flap during operation. It should open freely. If it stays closed or moves sluggishly, debris is blocking the vent.
Gather Required Cleaning Tools
Using the right tools makes the difference between a quick fix and a thorough cleaning. Here is what you need.
Basic Tools and Supplies
• Screwdriver for removing covers and clamps
• Shop vacuum with hose attachment (regular vacuums can clog with lint)
• Microfiber towels for sealing gaps and wiping parts
• Old pantyhose as a DIY lint trap for exterior vent
• Degreaser like Blue Dawn and a brush for cleaning lint screen
Dryer Vent Cleaning Kit
A basic kit costs around $20 at hardware stores and includes:
• Flexible rods (12 to 24 feet long)
• Rotating brush head
• Drill adapter and vacuum adapter
• Set screw and Allen wrench
• Clog removal tool
Pro Tip: Use electrical tape on rod joints to prevent unscrewing and leave tabs for easy removal later.
Optional but Helpful Add-Ons
• Cordless drill to power the brush rotation
• Borescope for visual inspection of duct interior
• Leaf blower to blast out loose lint first
• Wool dryer balls to reduce future residue buildup
Inspect and Disconnect Ductwork
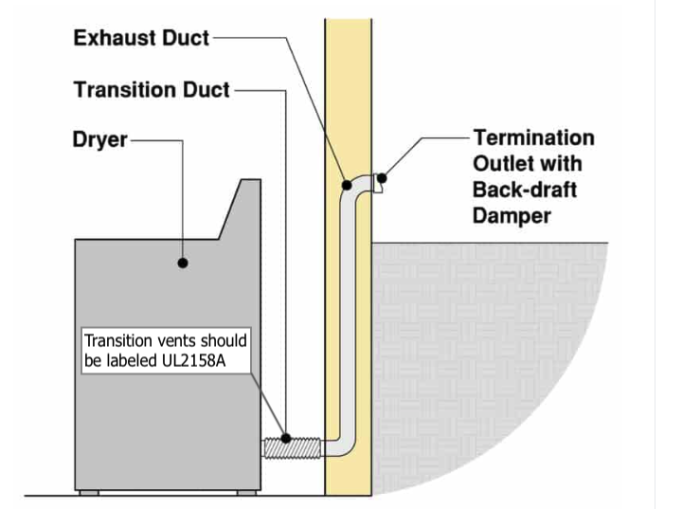
Starting from the inside ensures safe access to the vent system without causing damage.
Remove Duct from Dryer
Locate the duct connection at the back of the dryer. It is typically secured with a band clamp, which is a metal ring with a screw. Loosen the screw with your screwdriver and slide the duct off the smooth exhaust pipe.
Check Flexible Duct Condition
Inspect the flexible duct for kinks, crushing, holes, tears, or brittleness. Check the inside for excessive lint accumulation. Replace immediately if damaged. Plastic or foil ducts degrade every 5 to 7 years and significantly increase fire risk. Upgrade to rigid metal ducts for better airflow and safety.
Clean Internal Components
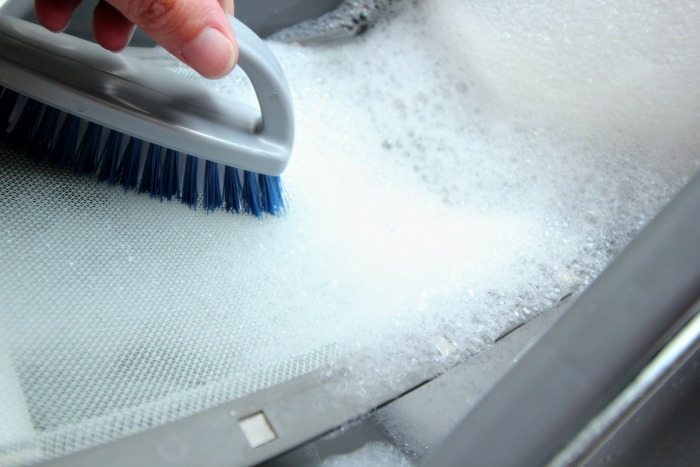
Lint hides beyond the trap. Cleaning internal parts prevents dangerous hidden buildup.
Wash Lint Screen Thoroughly
Remove the lint screen and wash it in warm, soapy water. For clogged pores caused by fabric softener residue, soak in hot water with Blue Dawn for 30 minutes, then scrub with a brush. Let it dry completely before reuse.
Clear Lint Compartment Housing
Use a screwdriver to remove the cover of the lint filter compartment. With a flexible brush and shop vac, clean all crevices and the internal vent tube. This area traps lint even when the screen appears clean.
Prepare Exterior Vent Outlet
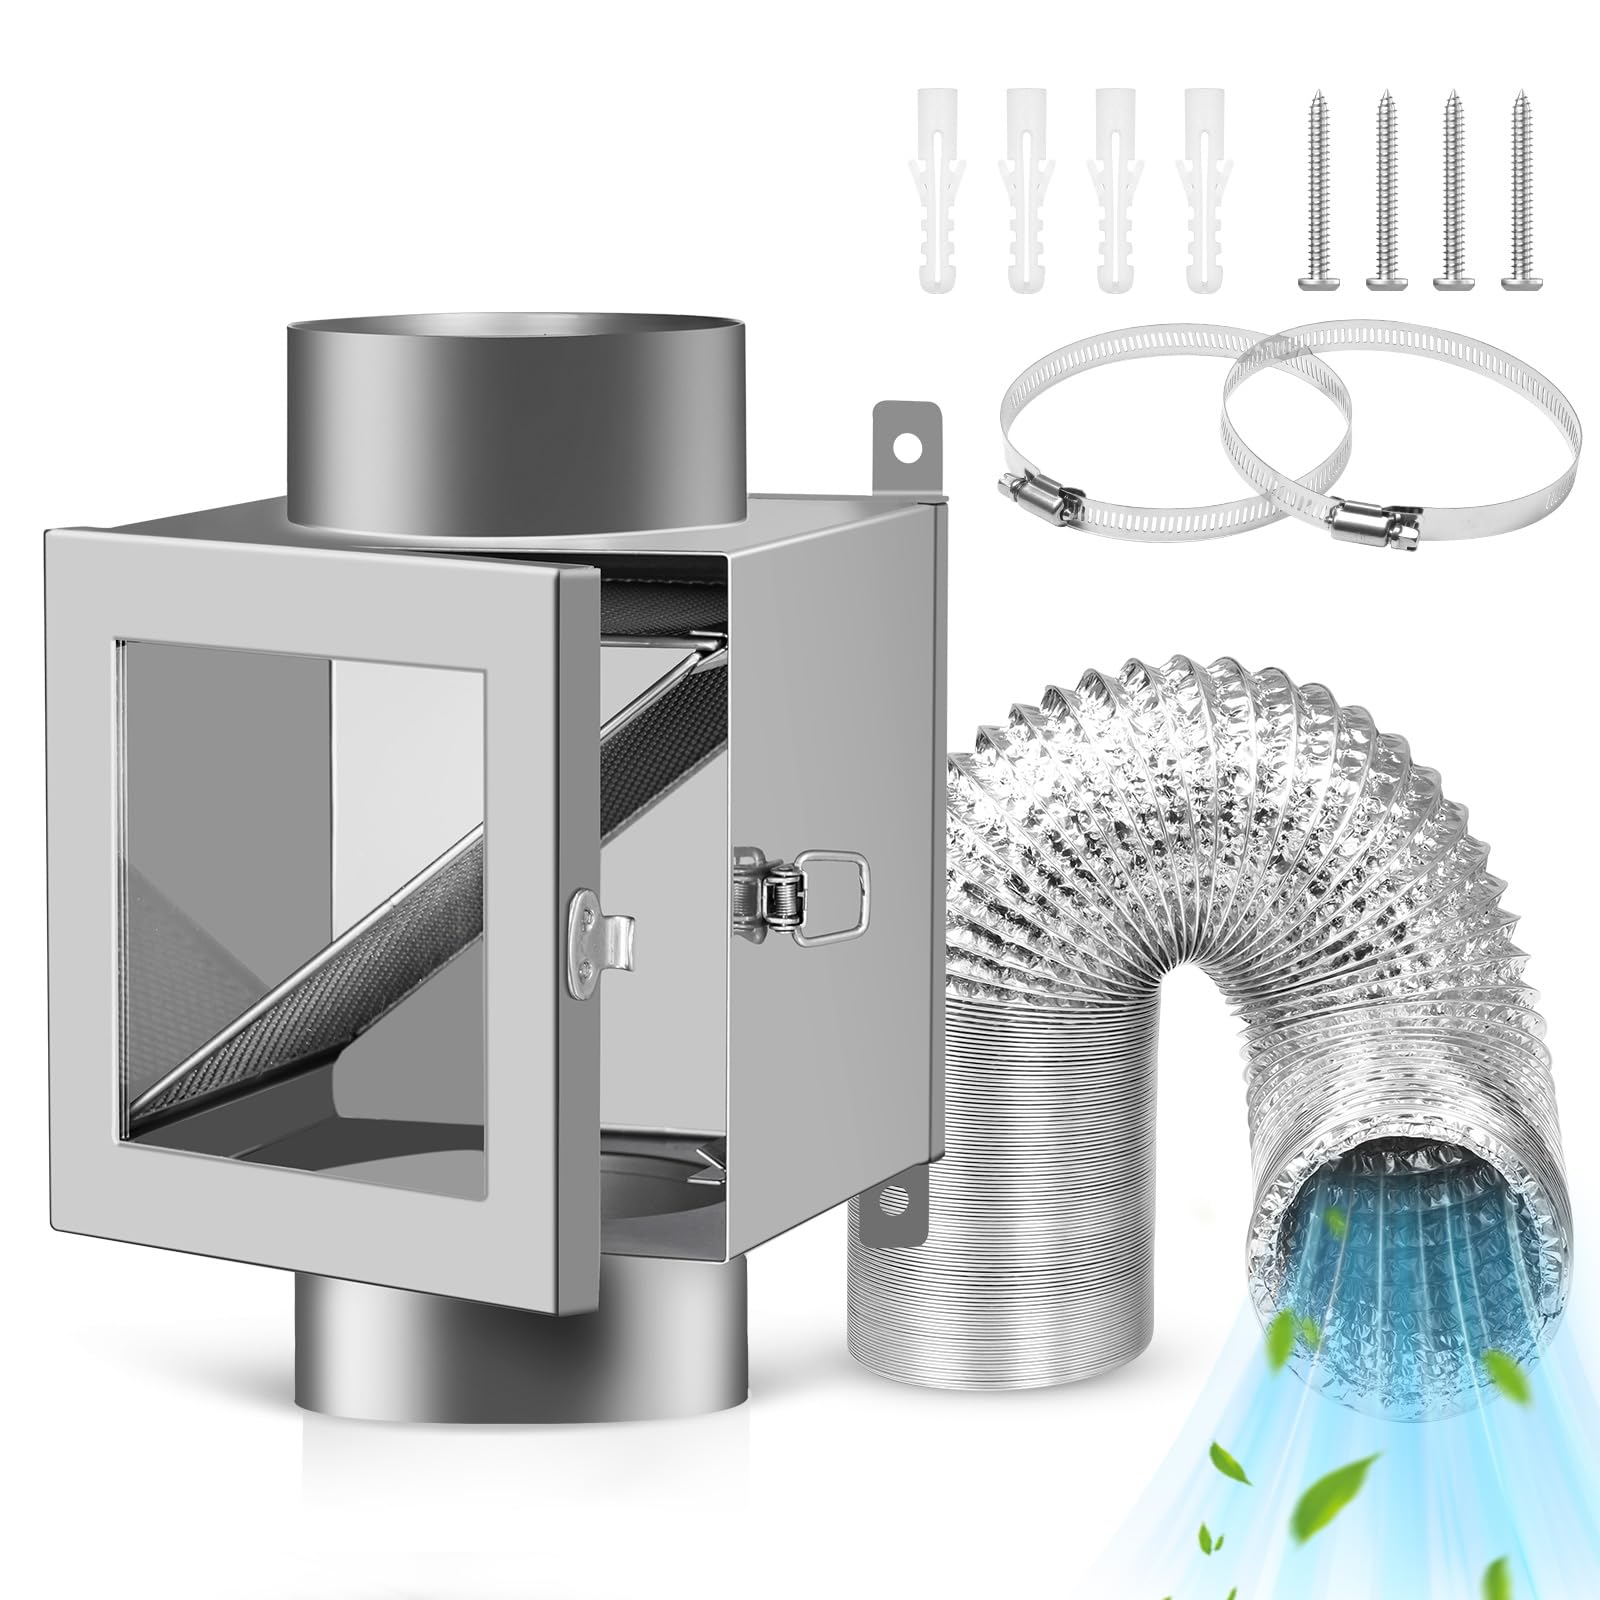
The outdoor end is where lint exits the system. Clearing it ensures full airflow restoration.
Locate Exterior Vent Exit
Walk around your home while the dryer runs. Listen for airflow or smell for fabric softener scent. Common exits include side walls, roofs, or crawl spaces.
Warning: If the vent exits on the roof, do not attempt DIY cleaning. Roof access is dangerous. Hire a professional instead.
Clear Outdoor Obstructions
Remove leaves, bird nests, rocks, or snow blocking the vent. Ensure the flapper opens freely. If the vent is near an AC unit, clean the condenser coils. Dryer lint can reduce AC efficiency significantly.
Install DIY Lint Trap
Wrap an old pair of pantyhose around the exterior vent and secure with a rubber band. This catches lint blown out during cleaning, keeping your yard clean and simplifying disposal.
Perform Deep Vent Cleaning
Now clean the duct itself using a leaf blower first (optional), then a rotating brush for deep scrubbing.
Blast Loose Lint With Leaf Blower
Insert a leaf blower into the indoor vent opening where the duct was disconnected. Seal the nozzle with a microfiber towel. Turn on for 30 to 60 seconds to push loose lint out the exterior, where the pantyhose trap catches it.
Assemble Brush and Drill System
- Attach the rotating brush head to the first rod and secure with the set screw and Allen wrench.
- Connect the drill adapter to the other end of the rod.
- Feed the rod through the smaller hole of the vacuum adapter.
- Attach the adapter to the duct opening on the indoor side.
- Connect the shop vac hose to the larger hole.
Crucial: Turn on the shop vac before inserting the brush to capture dislodged lint immediately.
Rotate Brush Through Duct
Set your drill to forward (clockwise) only. Reverse can unscrew rods and leave the brush stuck inside the duct. Use low to medium speed.
Push the brush 6 to 12 inches into the duct, then pull back while spinning. Add rods as needed, taping each joint with electrical tape. Stabilize the rod near the entry to prevent kinking. At bends or flaps, pause and gently wiggle through. Have an assistant hold the exterior flapper open when pulling the brush back.
Confirm Cleaning Completion
Stop when the brush comes out clean and the vacuum collects no more lint. Use a borescope to visually confirm the duct is clear. A clean duct looks smooth and free of debris.
Clean Flexible Duct If Reusable
If your flexible duct is in good condition, you can clean it rather than replace it.
- Straighten the duct gently without crushing it.
- Insert the brush assembly from one end.
- Use the same push-pull drilling method.
- Vacuum both ends to remove dislodged lint.
Note: Replace flexible ducts every 5 to 7 years or sooner if damaged.
Reconnect and Test System
Proper reassembly ensures safety and optimal performance.
Reattach Ductwork Securely
Slide the flexible duct onto the dryer’s exhaust port, ensuring it is fully seated. Secure with the band clamp. Tighten firmly but do not crush the duct. Reconnect to the wall vent and clamp it securely. Leave a small gap (1 to 2 inches) between the dryer and wall for airflow and future access.
Restore Power and Run Test
Plug in the dryer or turn on the gas valve. Run a 15 to 20 minute fluff or air dry cycle.
Verify Airflow and Safety
Check that the exterior vent flap opens fully. Feel for strong, warm airflow. Confirm the dryer heats properly if using heat. Touch the exterior. It should not be excessively hot. If issues persist, re-inspect for kinks or incomplete cleaning.
Upgrade for Long-Term Performance
:max_bytes(150000):strip_icc()/dryer-duct-types-2718618v8-21bc3d393fb8432fb738f5bc4fc57b5c.jpg)
Prevent future clogs with better materials and habits.
Replace Ducts With Rigid Metal
Ditch plastic or foil flex ducts. Rigid metal ducts resist kinking, trap less lint, are non-flammable, and last decades. Use short, straight runs when possible. Fewer bends mean easier cleaning.
Switch to Wool Dryer Balls
Fabric softener sheets leave waxy residue on lint screens, reducing airflow. Wool dryer balls reduce drying time, soften clothes naturally, prevent static, and last for years. Wash them monthly to remove lint buildup.
Maintain Clean Vents Year-Round
Prevention beats emergency cleaning.
Clean Lint Trap After Every Load
This is non-negotiable. Even one missed load can contribute to dangerous buildup over time.
Schedule Deep Cleaning Bi-Annually
Clean your dryer vent deeply every 12 months for average households. Large families, pet owners, or daily users should clean every 6 to 9 months. Set calendar reminders. Spring and fall are ideal times.
Inspect Exterior Flap Monthly
Ensure it opens freely. Clear snow, ice, or debris quickly. Check for bird nests in spring.
Avoid Overloading Dryer
Packing too many clothes restricts airflow and increases lint production. Leave space for tumbling.
Key Takeaways for Cleaning Your Dryer Vent
Cleaning your washing machine dryer vent restores fast drying times, cuts energy costs, and protects your home from fire hazards. The process involves disconnecting power, clearing lint from the trap and internal housing, using a drill-powered brush to clean the duct itself, and testing airflow upon reassembly. Replace damaged plastic ducts with rigid metal, clean the lint trap after every load, and schedule deep cleaning twice yearly. With the right tools and a simple yearly routine, this essential maintenance takes under an hour and delivers lasting peace of mind.
Frequently Asked Questions About Cleaning Dryer Vents
How often should I clean my dryer vent?
Deep clean your dryer vent system at least once every 12 months. Households with larger loads, pets, or daily dryer usage should clean every 6 to 9 months.
Can I clean my dryer vent myself or do I need a professional?
You can clean most dryer vents yourself using a vent cleaning kit. However, if the vent exits on the roof, hire a professional. Roof access is dangerous without proper equipment.
What happens if I do not clean my dryer vent?
Neglected dryer vents accumulate highly flammable lint, creating serious fire risk. Blocked vents also force the dryer to work harder, increasing energy bills, shortening appliance life, and causing overheating.
What tools do I need to clean a dryer vent?
You need a screwdriver, shop vacuum, and a dryer vent cleaning kit (around $20). Kits include flexible rods, a rotating brush head, drill adapter, and vacuum adapter. Optional tools include a cordless drill, borescope, and leaf blower.
How do I know if my dryer vent is clogged?
Signs include extended drying times, a burning smell during operation, excessive heat on the dryer exterior, and a vent flap that does not open freely when the dryer runs.



