Your Amana washing machine won’t start, the lights are unresponsive, or it’s stuck mid-cycle. You’re not alone, and you may not need a repair technician. Most Amana top-load washers respond to simple reset procedures that take minutes and cost nothing. Whether it’s a power glitch, frozen control panel, or post-outage failure, a proper Amana washing machine reset can restore full function without replacing parts.
This guide covers every proven reset method, from basic power cycling to advanced diagnostic recalibration. You’ll learn step-by-step sequences, error code meanings, and when to suspect hardware failure. If your washer has a six-light control panel (common on Amana, Whirlpool, Maytag, and some Kenmore models), these techniques apply directly.
Power Cycle Reset for Unresponsive Controls

Unresponsive controls or a blank display often stem from electrical glitches. A power cycle forces the control board to reboot, clearing temporary errors.
Wait 30 Minutes for Full Discharge
Many users unplug for 1 minute and give up when the washer stays dead. But a 30-minute wait is critical after power loss or surge. The internal capacitor must fully discharge to reset the logic board.
Unplug the washer or turn off the circuit breaker. Wait at least 30 minutes, not 1 or 5. Restore power and test the machine.
Case in point: An Amana NTW4516FW3 failed to turn on after a storm. A 1-minute reset did nothing. After 30 minutes unplugged, it powered up normally with no parts replaced.
This deep discharge resets corrupted memory on the control board. If your washer froze mid-cycle or won’t respond after an outage, this is your first move.
Enter Diagnostic Mode on Six-Light Panels
If a power cycle fails, enter diagnostic mode to access internal system checks. This only works on models with a six-light control panel and a dial.
Dial Sequence Within 6 Seconds
Timing is everything. Follow this exact sequence.
Turn the cycle dial clockwise to the 12:00 position. Within 6 seconds, rotate three clicks right (clockwise), one click left (counter-clockwise), then one click right (clockwise). If done correctly, the lights will start blinking.
Too slow? If the lights don’t blink, start over immediately. The window is strict.
This activates diagnostic mode, the gateway to recalibration. If your model doesn’t respond, confirm it has the six-light panel. Older or basic models may lack this feature.
Alternative Sequence for Frozen Displays
For stubborn units with locked screens, try this extended sequence.
Dial to 12:00. Rotate two full turns clockwise back to 12:00. Click right twice, left once, right three times, left once, then right once. The indicator light should flash.
Use this only if the standard method fails. It’s designed for deeper software locks.
Run Factory Recalibration

Once in diagnostic mode (lights blinking), initiate a full system recalibration. This rebalances the drum, resets motor logic, and clears internal faults.
Press Start After 4 Clicks
With lights blinking, turn the dial 4 clicks to the right. Press the Start button. Wait 2 to 3 minutes while the machine runs internal checks. The lid will unlock automatically when complete.
Afterward, run a second cycle empty. This confirms the reset and relearns drum balance.
Pro tip: Never skip the empty cycle. It ensures the control board recalibrates load sensing and spin accuracy.
This is the closest thing to a hard reset for Amana washers. It fixes issues like off-balance spins, failed drain attempts, and erratic cycle behavior.
Advanced Button Reset for Wet Load Errors
For persistent wet load errors or a cycle-complete light that won’t illuminate, use this button-based reset.
Hold Start for 10 Seconds
Perform a 30-minute power cycle first. Plug in the washer. Press Start twice quickly. The display should begin blinking. Hold Start for 10 seconds until blinking stops. Release, then tap Start once. Wait 5 to 10 minutes. The lid will lock and filling will begin.
Success verified: Units using this method have run reliably for over a year post-reset.
This sequence resets water level sensors and drain logic, common culprits in residual water issues. Use it when the drum stays full or the machine refuses to spin.
Reset Lid Switch Logic
Some Amana models require manual triggering of the lid switch if the washer thinks the lid is open.
Close Lid 6 Times in 12 Seconds
Lift and close the lid six times. Complete all six within 12 seconds. Try starting a cycle.
This resets the lid lock sensor. If the padlock icon is lit, the system may be stuck in safety mode.
Note: First, rule out Control Lock activation (see below). A locked control panel mimics lid switch failure.
If the lid won’t lock or the machine won’t start, combine this with a power cycle for best results.
Unlock Control Lock
A common cause of dead controls is the Control Lock feature, accidentally enabled and disabling all buttons.
Deactivate Child Safety Lock
Press and hold the Control Lock button for 3 to 5 seconds. The padlock icon should disappear. Test operation.
If your model lacks a labeled button, consult the manual. Some use Options plus Start or Spin plus Soil Level to unlock.
Critical: No reset will work while Control Lock is active. Always check this first.
Decode Error Codes
If resets fail, check for error codes. These pinpoint hardware issues.
F01: Control Board Failure
Meaning: Main control board malfunction. Fix involves board replacement or unit replacement. The board often costs nearly as much as a new washer, so most users replace the machine.
E1 or E2: Drain or Water Level Issue
Causes include clogged drain pump, kinked hose, or faulty pressure switch. Action involves cleaning the pump filter and checking hoses. If code returns, test the water level sensor.
E3: Motor or Lid Lock Fault
Causes include failed motor, broken lid lock, or motor-to-board communication error. Diagnostic step involves listening for motor hum. If silent, test lid lock first.
Rule of thumb: If error codes persist after recalibration, the problem is hardware-based, not software.
Inspect Key Mechanical Parts
When all resets fail, inspect these three high-failure components.
Lid Switch
Symptoms include washer won’t start or lid won’t lock. Test by opening and closing the lid. If the padlock light flickers or doesn’t engage, the switch is failing. Cost is approximately $23 with easy DIY replacement.
Drive Belt
Symptoms include drum doesn’t spin, loud squealing, or motor runs but no agitation. Cause is wear from heavy loads or age. Cost is approximately $12 for a single belt or $30 for a set of four.
Motor Coupler
Symptoms include motor runs but drum is still with grinding noise. This is a small plastic piece between motor and transmission. Cost is $9 to $10. Replace belt and coupler together since one failing often stresses the other.
DIY win: Replacing all three costs under $60. A new washer starts at $500. Repair makes sense if the tub and exterior are intact.
Reset vs. Replace: Make the Call

Repair Mechanical Parts
If the issue is the lid switch, belt, or coupler, repair it. Parts are cheap and labor is manageable with YouTube guidance. Reset first, then replace only what’s broken.
Replace for F01 Code
If you see F01, the control board is likely dead. Board replacement is expensive and time-consuming. For washers over 5 years old, replacement is usually smarter.
Strategic insight: A full reset prevents unnecessary repairs. Many dead washers just need a 30-minute power cycle.
Final Reset Checklist
Follow this sequence for maximum success.
Unplug for 30 minutes. Check if Control Lock is on and disable it. Try the 6-lid-lift reset. Enter diagnostic mode using the dial sequence. Run factory recalibration (4 clicks plus Start). If wet load issue persists, do the 10-second Start hold. Check for error codes. Inspect lid switch, belt, and coupler if all else fails.
Frequently Asked Questions About Amana Washing Machine Reset
How do I reset my Amana washing machine?
Unplug the washer for at least 30 minutes to perform a power cycle reset. This clears temporary software glitches and reboots the control board. For deeper resets, enter diagnostic mode using the dial sequence and run factory recalibration.
Why won’t my Amana washer start even though it’s plugged in?
Check if Control Lock is activated (padlock icon lit). Verify the lid is fully closed and the lid switch is working. If controls are completely dead, try a 30-minute power cycle first before assuming hardware failure.
What does the F01 error code mean on my Amana washer?
F01 indicates a main control board failure. This is a hardware problem, not a software glitch. Control board replacement often costs nearly as much as a new washer, so replacement is usually the smarter choice for units over 5 years old.
How do I enter diagnostic mode on an Amana washer?
Turn the dial clockwise to the 12:00 position. Within 6 seconds, rotate 3 clicks right, 1 click left, then 1 click right. The indicator lights will begin blinking if successful. This only works on models with a six-light control panel.
Can I reset my Amana washer without unplugging it?
Some models support a button-based reset sequence. Press Start twice quickly, hold Start for 10 seconds until blinking stops, release, then tap Start once. Wait 5 to 10 minutes for the cycle to begin.
Why is my Amana washer stuck with water in the drum?
This is often a wet load error. Try the advanced button reset: power cycle for 30 minutes, press Start twice quickly, hold Start for 10 seconds, then tap Start once. This resets water level sensors and drain logic.
Key Takeaways for Resetting Your Amana Washing Machine
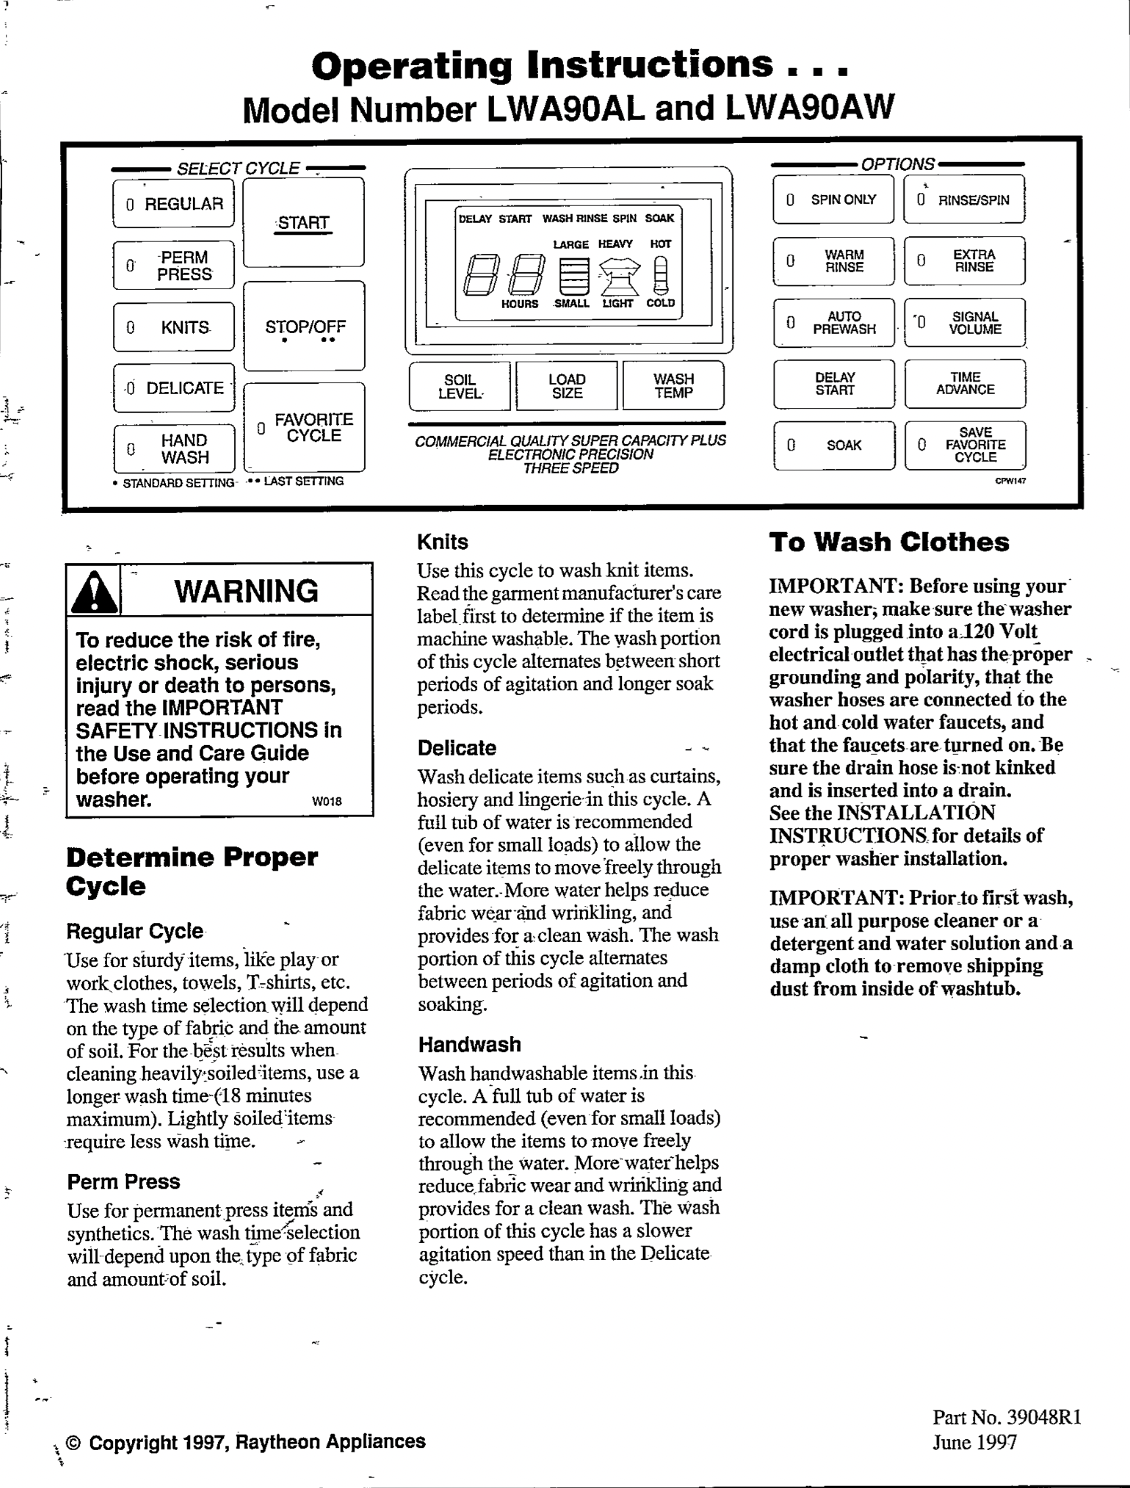
A proper Amana washing machine reset solves most no-start, no-spin, and frozen-control issues. Always start with power cycling for 30 minutes because many users give up too soon. The longer wait allows the internal capacitor to fully discharge and clears corrupted memory on the control board.
Use diagnostic mode to recalibrate when software glitches strike. The dial sequence (3 right, 1 left, 1 right within 6 seconds) followed by factory recalibration (4 clicks plus Start) rebalances the drum and resets motor logic. This fixes erratic behavior, failed drains, and balance errors without touching any parts.
Reserve part replacement for confirmed hardware failures only. If error codes persist after full recalibration, inspect the lid switch, drive belt, and motor coupler. These three components account for most mechanical failures and cost under $60 combined to replace. With these steps, you’ll save time, money, and avoid premature replacement of a working appliance.