If your Amana washing machine won’t start, won’t spin, or is leaking water, you’re not alone. Amana washers especially top-load and front-load models often develop predictable issues tied to specific components like the lid lock, drain pump, or water inlet valve. The good news? Most common problems can be diagnosed quickly using built-in diagnostics and repaired with basic tools.
We’ll walk you through diagnostic mode activation, error code meanings, component testing, and repair procedures. You’ll also learn when to call a pro and how to prevent future breakdowns. Let’s get your washer running again.
Activate Built-In Diagnostic Mode on Your Amana Washer
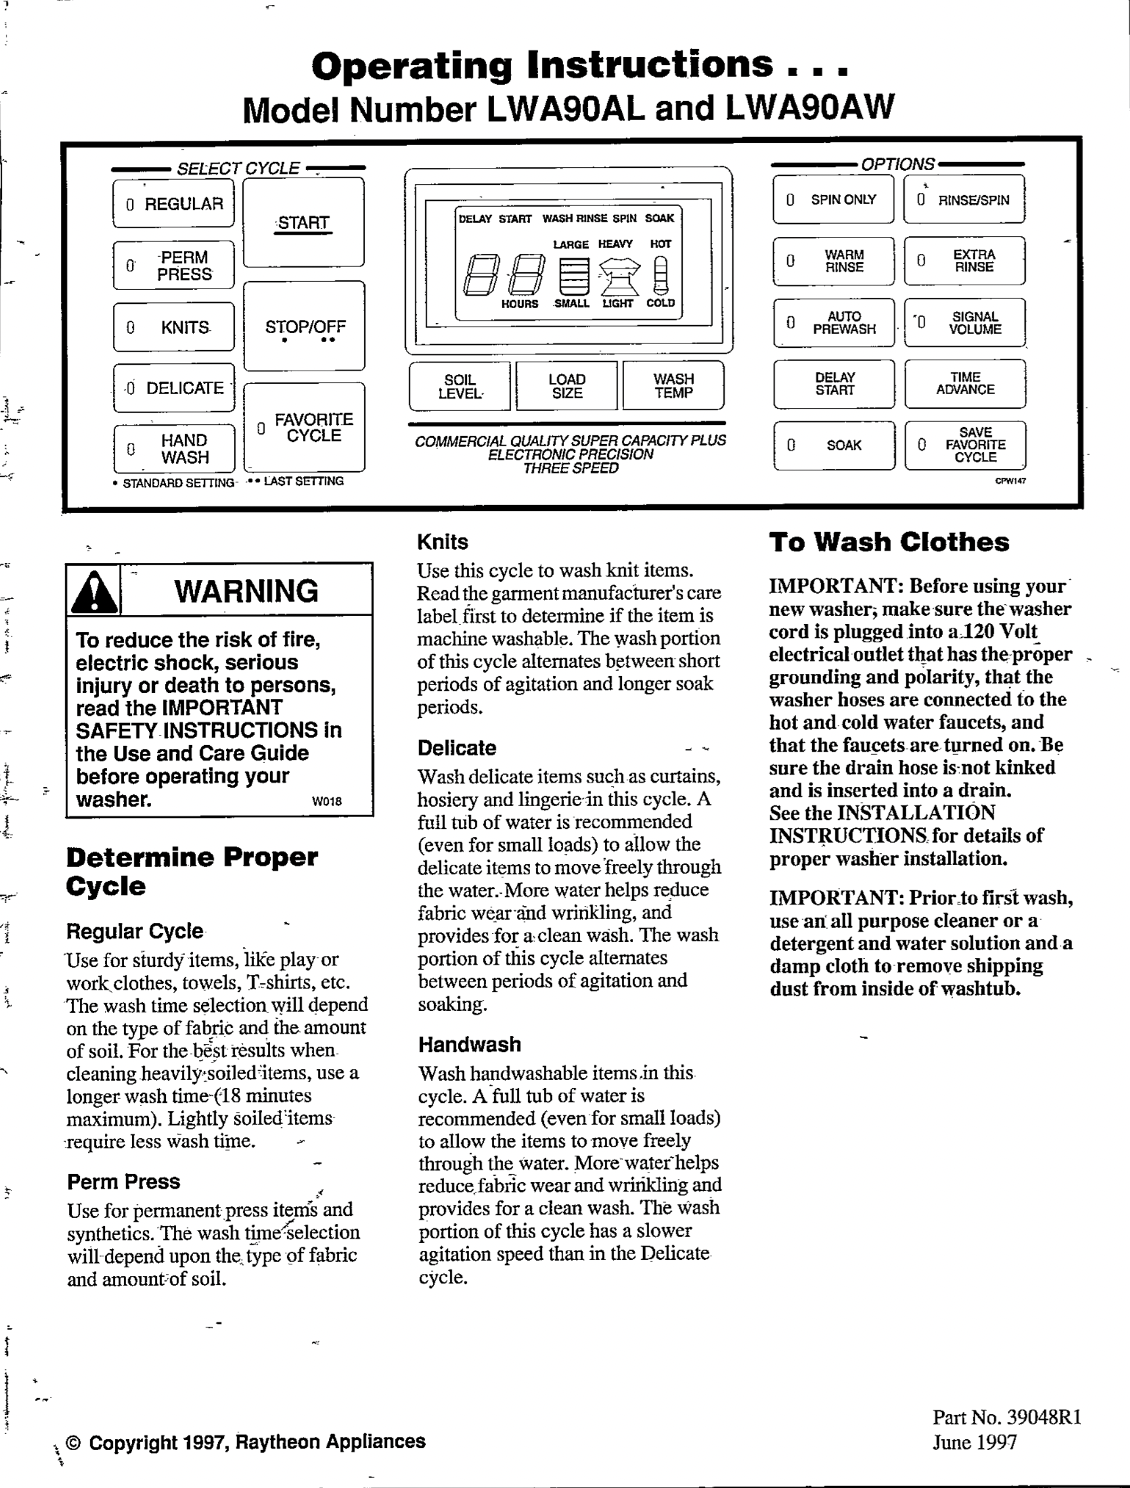
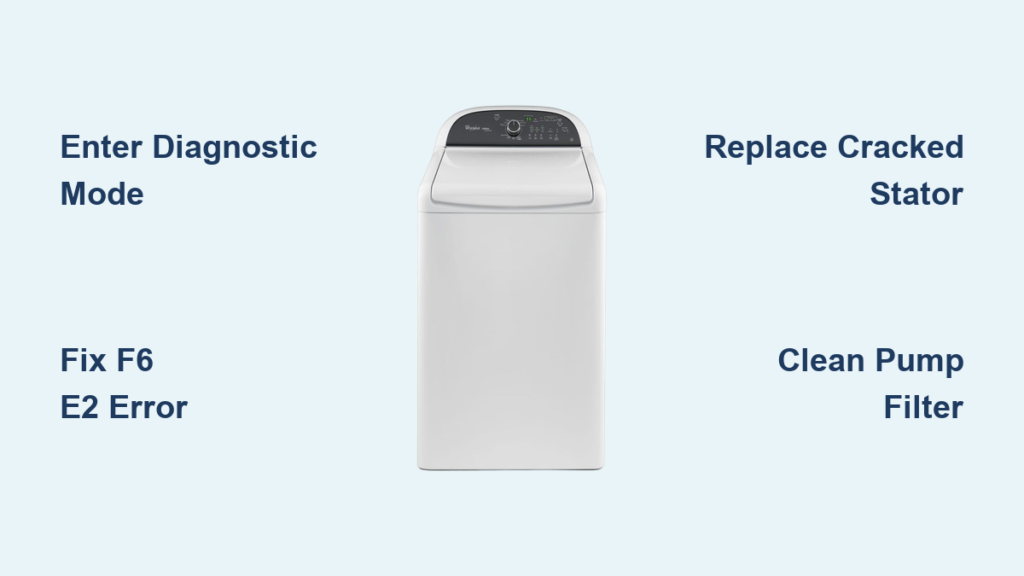
Amana washing machines come with a hidden diagnostic mode that reveals real-time cycle status and error codes. Using this feature helps skip guesswork and target repairs accurately.
Enter the Diagnostic Sequence
To activate diagnostics:
- Turn the control dial counterclockwise two full turns.
- Return it to the 12 o’clock position.
- Press the buttons in this specific order: one press to the right, two presses to the right, three presses to the right, one press to the left, then one press to the right.
If done correctly, all indicator lights will blink rapidly except the lid lock light, which stays off. This confirms diagnostic mode is active.
Read Fault Codes and Phase Lights
Once in diagnostic mode, watch the lights carefully:
• Flashing Wash Light indicates fill and agitation phase is active.
• Flashing Rinse Light means the rinse cycle is in progress.
• Flashing Spin Light shows the machine is attempting to spin.
• Flashing Done Light signals cycle completion.
If a fault exists, multiple lights flash in a pattern. E1 means no water fill (inlet valve or pressure switch issue). E5 indicates off-balance load detected. F0E2 signals over-sudsing. E7 means motor or drive system failure. A flashing lid lock light alone indicates lid switch or lock assembly failure on vertical modular models.
Access the Hidden Service Manual for Accurate Repairs
Inside every Amana washer is a folded technical manual labeled for technical service representatives only. It contains wiring diagrams, part numbers, and troubleshooting flowcharts critical for accurate repairs.
Remove the Front Panel Safely
- Unplug the washer or turn off the circuit breaker.
- Disconnect water hoses if desired (allows you to tilt the unit forward).
- Locate two small screws: one at the top edge of the front panel (left and right), and one in the lower corner on each side.
- Remove screws and gently pull the panel forward without disconnecting any wires.
The circuit board is on the right side. Inlet valves, motor, and sensors are on the left side.
Use the Technical Manual During Repairs
Inside the panel cavity, look for the small folded paper manual. This manual includes terminal wiring diagrams, a 32-part service list, shifter motor specs, optical sensor calibration, and drive system layout. Keep this manual during all repairs to prevent miswiring and ensure correct part replacement.
Diagnose Why Your Amana Washer Won’t Spin
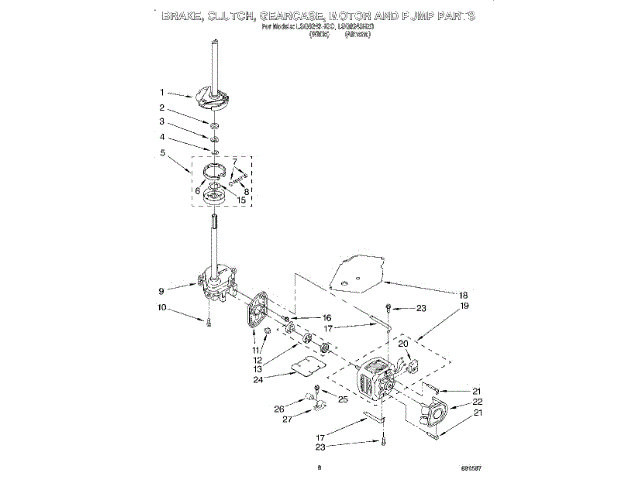
A washer that agitates but won’t spin leaves clothes soaked. Causes vary by model type: Direct-Drive versus Vertical Modular.
Direct-Drive Models (Lid Doesn’t Lock)
In older Amana top-loaders, the lid stays unlocked during wash. If it won’t spin, check these common culprits:
• Broken Motor Coupler: A small rubber-and-plastic piece connecting motor to transmission. Inspect for cracks or separation.
• Worn Clutch or Clutch Band: Prevents spin basket from engaging. Look for glazing or wear.
• Failed Lid Switch: Even if lid closes, a bad switch blocks spin. Test continuity with a multimeter.
• Bad Timer: Electro-mechanical failure halts cycle progression.
Pro Tip: Spin issues often start with weak performance before failing completely. Address early to avoid complete failure.
Vertical Modular Models (Lid Locks During Cycle)
Newer Amana washers lock the lid during high-speed spin. No-spin problems here usually mean:
• Failed Shifter Assembly: Can’t move transmission from agitate to spin. Listen for a click. If absent, it’s likely faulty.
• Worn or Broken Drive Belt: Check for looseness, fraying, or breakage. A slipping belt won’t reach spin speed.
• Basket Speed Motor Fault: Monitored by optical sensors. Use diagnostics to confirm E7 code.
Replace belts and shifter motors only with OEM parts. Aftermarket versions often fail prematurely.
Fix an Amana Washer That Won’t Start
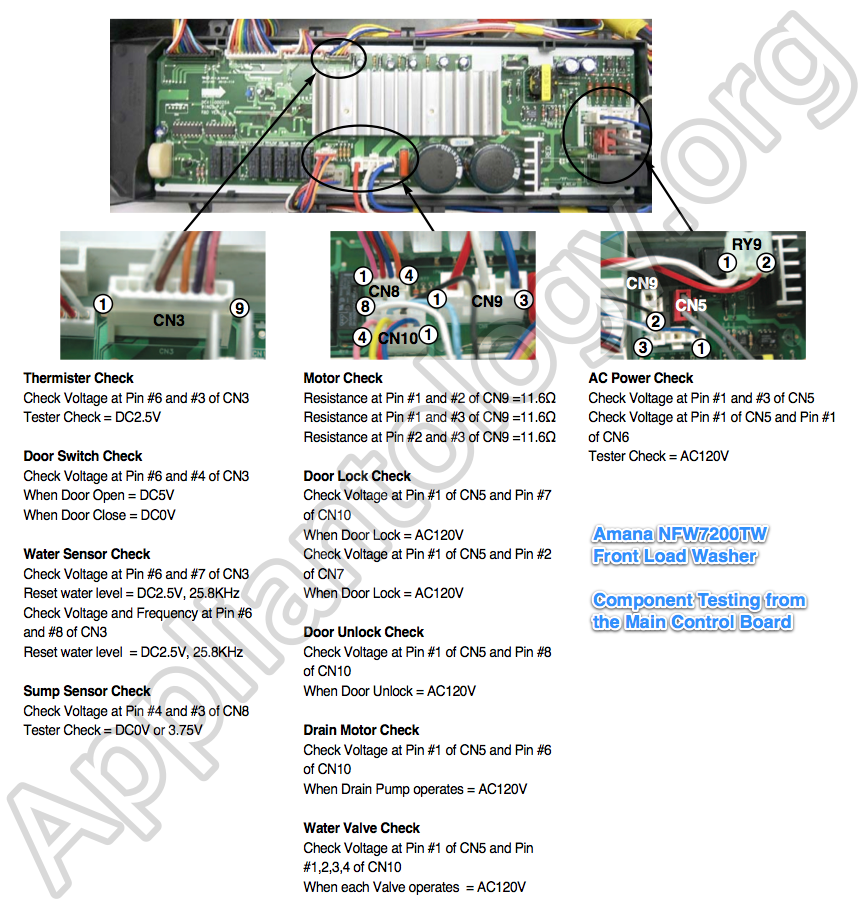
When pressing start does nothing, the issue could be power supply, lid lock, or control board failure.
Check Power Supply First
Confirm the outlet has power by testing with a multimeter or lamp. Amana washers use 120V, but some units share circuits with dryers requiring dual 120V legs (240V total). A tripped leg stops operation completely. Reset the breaker and ensure the plug is fully seated.
Test Lid Lock and Switch
On vertical modular models, a flashing lid lock light indicates failed lock mechanism. Even if the lid appears closed, a broken switch prevents startup. Use diagnostic mode. If lid lock light flashes alone, replace the assembly.
Warning: Never bypass the lid lock. It’s a safety hazard and voids service coverage.
Inspect Control Boards
Three boards can fail on your Amana washer:
• Main Control Board: The brain of the washer. Look for burn marks or bulging capacitors.
• User Interface Board: Front panel buttons and display. If buttons don’t light up, this may be dead.
• Motor Control Board: Sends power to the motor. Failure causes no response at all.
Boards are model-specific. Use the service manual’s part list to match exact numbers.
Solve Drainage Problems on Your Amana Washer
If water remains after the cycle ends, check for clogs or failed components.
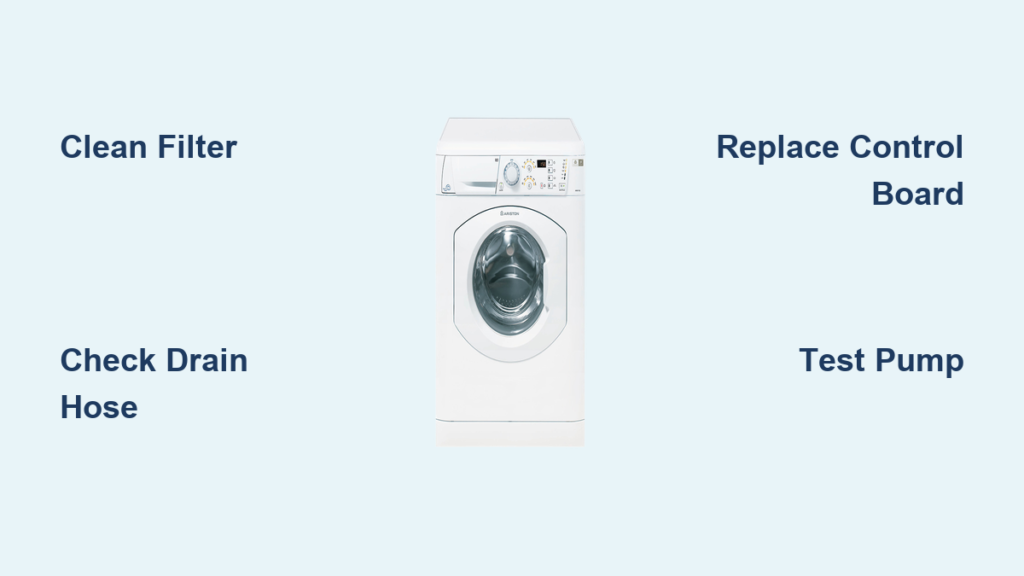
Clear Hose and Pump Blockages
- Unplug washer and move it forward.
- Locate the drain hose behind the unit. Ensure no kinks exist.
- Disconnect from standpipe and check for backups in your home’s drain system.
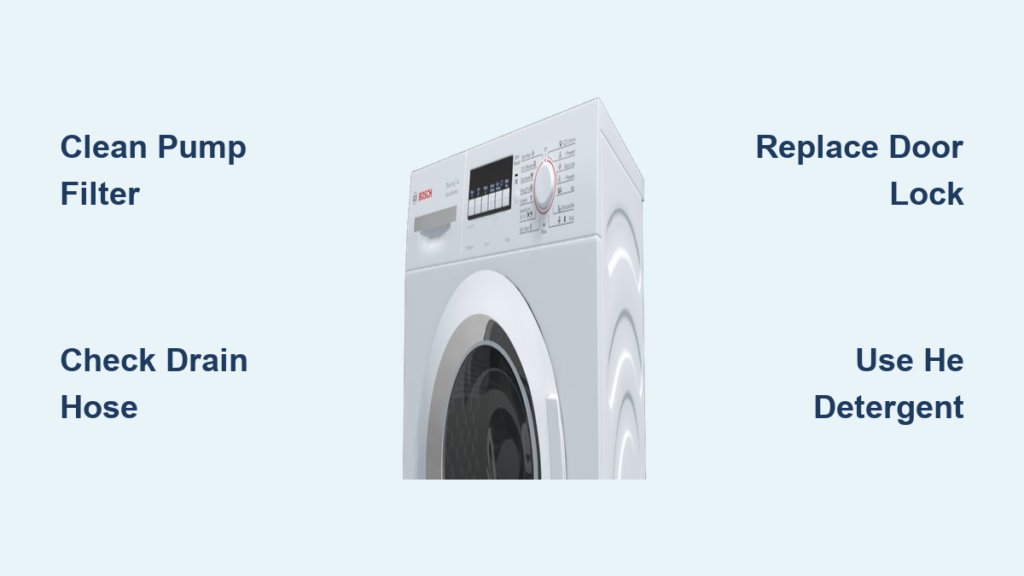
- For front-load models: Remove the pump filter (usually front bottom panel). Place towels underneath. Turn filter counterclockwise to open. Expect water spill. Remove lint, coins, or debris.
Pro Tip: Clean the filter every 3 to 6 months to prevent clogs and odors.
Test Drain Pump and Pressure Switch
If no humming occurs during drain phase, test the pump for power. No voltage means check wiring and control board. The water-level pressure switch tells the washer when to drain. Verify the air tube is clear and attached. Test switch continuity with a multimeter. Replace faulty pumps or switches using OEM parts.
Stop Leaks and Water Overflow on Your Amana Washer
Water on the floor means a leak, which is common at hoses, seals, or valves.
Inspect Hoses and Connections
Check inlet hoses (hot and cold) for cracks or loose fittings. Tighten connections with a wrench, but don’t overtighten. Replace rubber hoses with braided stainless steel versions every 5 years.
Diagnose Overflow and Fill-When-Off
If the washer fills when not in use, a stuck water inlet valve is likely. The solenoid fails open, allowing constant flow. Replace immediately. A failed pressure switch can’t detect water level, causing overflow. Test and replace if needed.
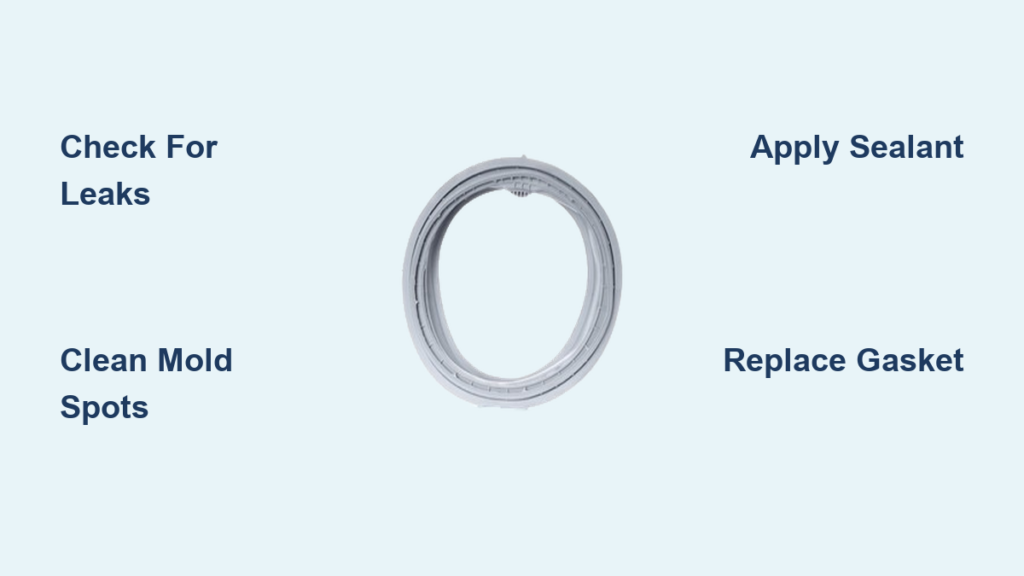
For front-load models, check the door boot seal for tears or mold buildup. Wipe clean monthly and leave door ajar when idle.
Reduce Noise and Vibration from Your Amana Washer
Loud banging or walking across the floor signals imbalance or mechanical wear.
Level the Washer Properly
- Use a carpenter’s level on the top of the washer.
- Adjust front legs by hand. Turn clockwise to raise, counterclockwise to lower.
- Ensure all four feet touch the floor firmly.
- Lock jam nuts once level is achieved.
Tip: Place anti-vibration pads under feet to reduce noise significantly.
Check for Internal Damage
• Worn Bearings: Loud grinding during spin. Requires tub replacement. Best left to professionals.
• Loose Drive Belt: Slaps during agitation. Inspect tension and replace if cracked.
• Foreign Objects: Coins or socks stuck between tub and basket cause thumping. Remove front panel to inspect.
If noise persists after leveling and cleaning, suspect motor or transmission issues.
Eliminate Mold and Odors from Front-Load Washers
Front-load Amana washers are prone to musty smells due to trapped moisture in the door seal.
Clean the Door Boot Seal
- Mix ¾ cup bleach with 1 gallon warm water.
- Wear gloves and wipe the rubber gasket thoroughly, especially the folds.
- Let sit for 5 minutes, then rinse with clean water.
- Run a hot clean cycle with an Affresh tablet.
- Clean the drain pump filter to remove organic buildup.
Prevent Future Odors
• Use HE detergent only. Regular detergent causes oversudsing and triggers F0E2 code.
• Leave the door slightly open after each use.
• Wipe the seal dry weekly.
Avoid liquid fabric softener. It coats sensors and reduces efficiency.
Replace Key Components Correctly on Your Amana Washer
:max_bytes(150000):strip_icc()/repair-washing-machine-water-inlet-valve-1824606-03-3cb389ab4b214126995bcf693e4ced71.jpg)
When a part fails, replacement must be precise, especially with wiring and compatibility.
Install a New Water Inlet Valve
- Shut off water and unplug washer.
- Disconnect inlet hoses from the back.
- Remove screws holding the valve in place.
- Disconnect electrical connectors. Note positions for reconnection.
- Install new valve (OEM recommended) and reconnect hoses and wires.
- Test for leaks and proper fill.
Test function: Run a short cycle and watch for correct hot and cold mixing.
Swap Out Drain Pump or Motor
- Access pump via front or rear panel (model-dependent).
- Disconnect hoses and electrical plug.
- Remove mounting bolts.
- Install new pump. Ensure impeller spins freely.
- Reconnect and test.
Warning: Never force connections. Use the wiring diagram from the service manual.
Know When to Call a Professional Technician
Some repairs require tools, training, or safety certifications.
Call a Technician If You Notice
• Burn marks or smell electrical burning.
• Motor overheats or emits smoke.
• Suspect refrigerant leaks (in combo units).
• Gas line is involved (dryer hookups).
• Diagnostic codes persist after basic fixes.
Tampering with internal systems may void warranty and make future service harder.
Average Repair Costs and Decision Guide
Average repair cost ranges from $150 to $400. Use the 50% rule: If repair exceeds half the cost of a new washer and it’s over 10 years old, consider replacement.
Find Trusted Amana Repair Services
• W Service (Whirlpool Affiliate): Factory-trained techs, OEM parts, 24/7 booking.
• Sears Home Services: Nationwide, same-day appointments, diagnostic fee applied to repair.
• Mr. Appliance: Local franchises, all-day availability.
Prevent Future Breakdowns with Regular Maintenance
Regular maintenance extends your Amana washer’s life beyond 10 years.
Follow These Prevention Tips
• Clean dispenser drawer monthly. Prevents clogs.
• Inspect hoses every 6 months. Replace every 5 years.
• Use correct detergent amount. Oversudsing damages pumps.
• Balance large loads. Prevents E5 errors and vibration.
• Run clean cycles monthly with bleach or tablet.
Pro Tip: Schedule annual professional maintenance to catch small issues early.
Key Takeaways for Amana Washing Machine Repair
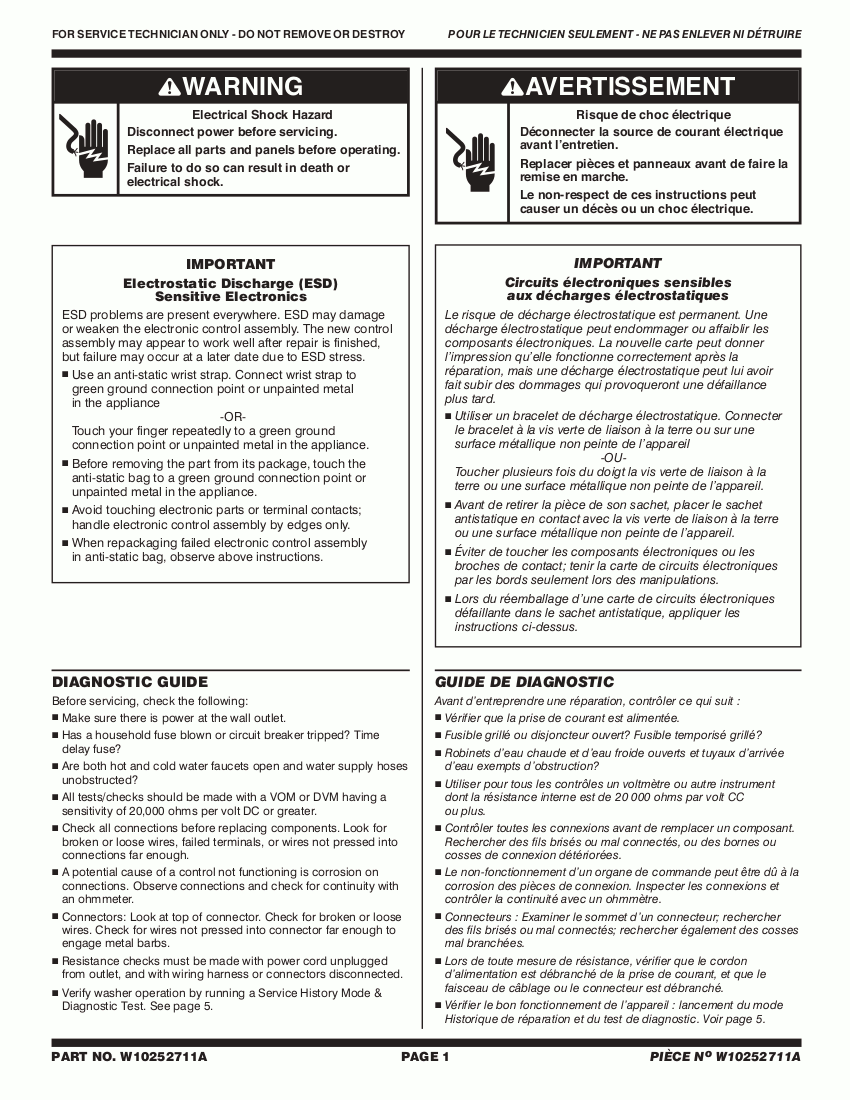
Most Amana washing machine problems, from no spin to leaks, are diagnosable using built-in tools and fixable with basic skills. Use the hidden service manual, activate diagnostics, and test components step by step. When in doubt, call a certified technician to avoid causing additional damage. With proper care, your Amana washer can deliver years of reliable service.
Frequently Asked Questions About Amana Washing Machine Repair
How do I run diagnostics on my Amana washing machine?
Turn the control dial counterclockwise two full times, then return it to 12 o’clock. Press the buttons in this sequence: one right, two right, three right, one left, one right. All lights will blink rapidly except lid lock if successful.
What does E7 mean on my Amana washer?
E7 indicates a motor or drive system failure. This commonly points to a failed shifter assembly, worn drive belt, or basket speed motor fault. Check these components and replace as needed.
Why is my Amana washer leaking water from the front?
Front-load leaks usually come from the door boot seal. Check for tears or mold buildup. Wipe clean monthly and leave door ajar when idle. Also inspect inlet hoses and connections for cracks or looseness.
Can I replace the lid lock on my Amana washer myself?
Yes, if you have basic tools. Unplug the washer, access the lock assembly behind the front panel, disconnect the wiring, and install an OEM replacement. Never bypass the lid lock as it’s a safety feature.
How much does Amana washer repair typically cost?
Average repair costs range from $150 to $400. Use the 50% rule: if repair exceeds half the cost of a new washer and the unit is over 10 years old, replacement is often the better choice.
Why does my Amana washer smell like mold?
Musty odors in front-load washers come from moisture trapped in the door boot seal. Clean the seal with bleach solution, run hot clean cycles monthly, and leave the door open between uses to allow airflow.