
Hockey gear develops a notorious “rink stink” that no one wants to be around. After games and practices, sweat, bacteria, and odors soak into pads, jerseys, and gloves, creating a health hazard that can lead to mold, mildew, or even skin infections. The good news? You can safely wash most hockey gear in a washing machine if you follow the right steps. Using hot water or fabric softener can ruin your pads in a single cycle. But with cold water, a gentle setting, and proper drying, machine washing removes odors, extends gear life, and keeps you healthier on and off the ice.
This guide covers exactly which items can go in the washer, how to prepare them, the safest machine settings, and why drying is just as critical as washing. Whether you are a parent handling youth gear or a player maintaining your own equipment, these steps ensure clean, fresh, and long-lasting protection without destroying your investment.
What Hockey Gear Can You Safely Machine Wash

Most protective padding handles machine washing well when cleaned properly. Focus on items made from synthetic fabrics and closed-cell foam, which resist water absorption and bacterial growth. These include shoulder pads, elbow pads, shin guards, hockey pants (breezers), and chest protectors. Compression shirts, base layers, socks, and jerseys are always washer-safe and should be cleaned more frequently. The hockey bag itself can also be washed to eliminate hidden bacteria lurking in corners.
Always check manufacturer labels before washing. Some newer gear models have special coatings or materials that require hand washing only. If the gear is frayed, stitched loosely, or near the end of its lifespan, skip the machine entirely. Even gentle cycles can finish off worn-out padding. When in doubt, hand-wash delicate or aging items to avoid irreversible damage.
Jerseys Need Inside-Out Treatment
Jerseys are safe to machine wash but need special care to preserve graphics and numbers. Always turn them inside out before loading. This protects screen prints and lettering from abrasion against other gear or the drum wall. Use a cold, gentle cycle with mild detergent. Avoid bleach and fabric softener, which degrade elastic fibers and fade colors over time. For best results, wash jerseys separately or with other soft items like socks and base layers to reduce friction and prevent snagging.
Protect Shin Guards and Elbow Pads
Shin guards and elbow pads are built to survive impacts, not aggressive washing. To keep them intact, secure all Velcro straps before loading. Unfastened tabs can snag and tear other gear. Place them loosely in the drum without overpacking. If using a top-loader with a central agitator, surround them with towels to cushion movement. Stick to cold water and a delicate cycle. Never use high spin speeds, which can warp padding or dislodge internal plastic inserts.
Essential Pre-Wash Preparation Steps
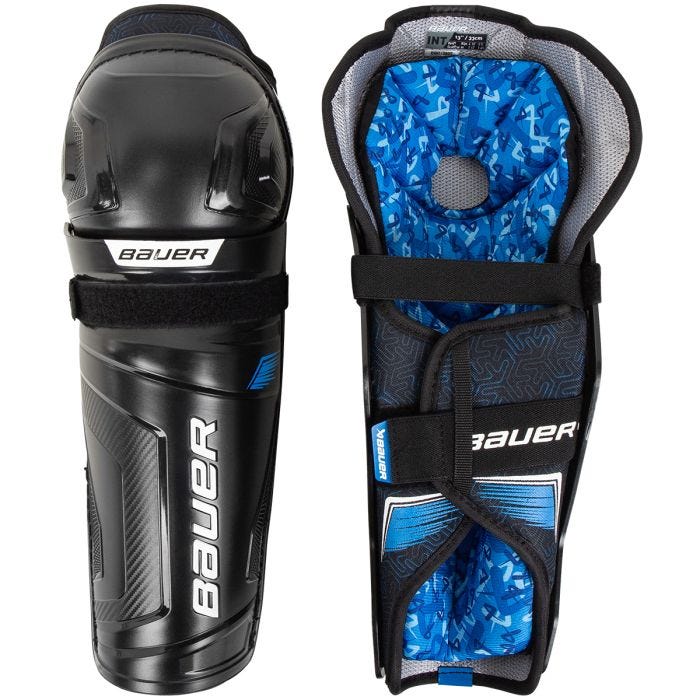
Prep work makes or breaks a successful wash. Skipping simple steps leads to damaged gear and lingering odors. Start by securing all Velcro closures on pads, pants, and guards. Loose flaps act like sandpaper in the drum, tearing at fabrics and snagging seams. Next, remove any washable liners or inserts, especially in pants and chest protectors. These often have different material needs and should be washed separately.
Turn jerseys inside out to protect graphics. Loosen the load. Do not cram gear tightly into the drum. Overloading prevents water circulation and reduces cleaning effectiveness. For top-loading machines with agitators, add 2-3 old towels around the gear to absorb impact and protect padding from the central post.
Use Cold Water Only
Hot water is the fastest way to ruin hockey gear. Most protective equipment relies on adhesives and solvents to bond foam layers and maintain shape. Temperatures above 85°F begin to melt these binders, causing padding to soften, separate, or collapse. Once damaged, the gear loses its shock-absorbing ability and becomes unsafe. Always select a cold water cycle with no exceptions. Even warm water risks long-term degradation. Cold water cleans effectively without compromising structural integrity.
Choose Mild Detergent and Skip Softener
Use a mild, bleach-free laundry detergent. Harsh chemicals strip protective coatings and break down synthetic fibers. Never use fabric softener. It leaves behind a waxy residue that coats moisture-wicking fabrics, reducing breathability and attracting more dirt and odor over time. This residue is why some gear smells worse after washing. It is trapping bacteria instead of releasing it. For extra odor control, add 2 tablespoons of baking soda or 1 cup of white vinegar to the wash cycle. Both boost cleaning power naturally without damaging materials.
Best Washing Machine Settings for Hockey Gear
Selecting the right cycle protects both your gear and your washing machine. Use “Delicates,” “Gentle,” or “Activewear” mode. These reduce agitation intensity and spin speed, minimizing stress on padding and stitching. Avoid heavy-duty or permanent press cycles. They are too rough for foam-based equipment.
For bulky loads like pads, pants, and chest protectors, skip the high-speed spin or set it to low. Excessive spinning can warp padding or cause uneven water extraction that leads to longer drying times. If your machine allows, add an extra rinse cycle to ensure all detergent is flushed out, preventing residue buildup.
Separate Soft and Bulky Loads
Wash in two stages to maximize cleaning and minimize damage. Load one should include soft items like jerseys, socks, base layers, and the hockey bag. These can handle slightly more agitation and dry faster. Load two should include bulky gear like shoulder pads, elbow pads, shin guards, and breezers. Washing them separately prevents soft fabrics from getting crushed and allows each load to be optimized for drying time and care needs.
Gear Items to Never Machine Wash
Some hockey gear should never see the inside of a washing machine. Helmets, skates, gloves, and goalie-specific equipment like leg pads or blockers are too fragile for submersion and agitation. Water trapped inside helmet shells leads to mold growth in foam liners and weakens structural integrity. Skates suffer immediate rust on blades and eyelets, while glue in the boot breaks down, compromising fit and safety.
Gloves are especially vulnerable. The combination of leather, foam, and stitching often fails under machine agitation, leading to cracked palms, shifted padding, or torn seams. Even if some users report success, the risk is not worth the reward. These items need alternative cleaning methods.
Never Machine Wash Skates or Helmets
Skates and helmets are off-limits for machine washing. Submerging either exposes critical components to moisture that cannot fully escape. In skates, water ruins blade temper, rusts hardware, and degrades internal padding. For helmets, trapped moisture fosters mold in the foam, creating respiratory risks and foul odors that will not wash out. Instead, wipe them down after every use with a disinfectant spray or damp cloth. Remove liners when possible and air dry separately.
Gloves Require Hand Cleaning Only
Gloves are the most controversial item. While some players toss them in the wash, many report destroyed gloves with cracked leather, collapsed padding, and broken stitching. Machine washing accelerates wear and shortens glove life dramatically. Instead, hand wash them occasionally. Fill a sink with cold water and mild detergent. Submerge gloves, squeeze gently, then rinse thoroughly. Stuff with crumpled newspaper to absorb moisture and maintain shape during drying.
How to Properly Dry Hockey Gear After Washing
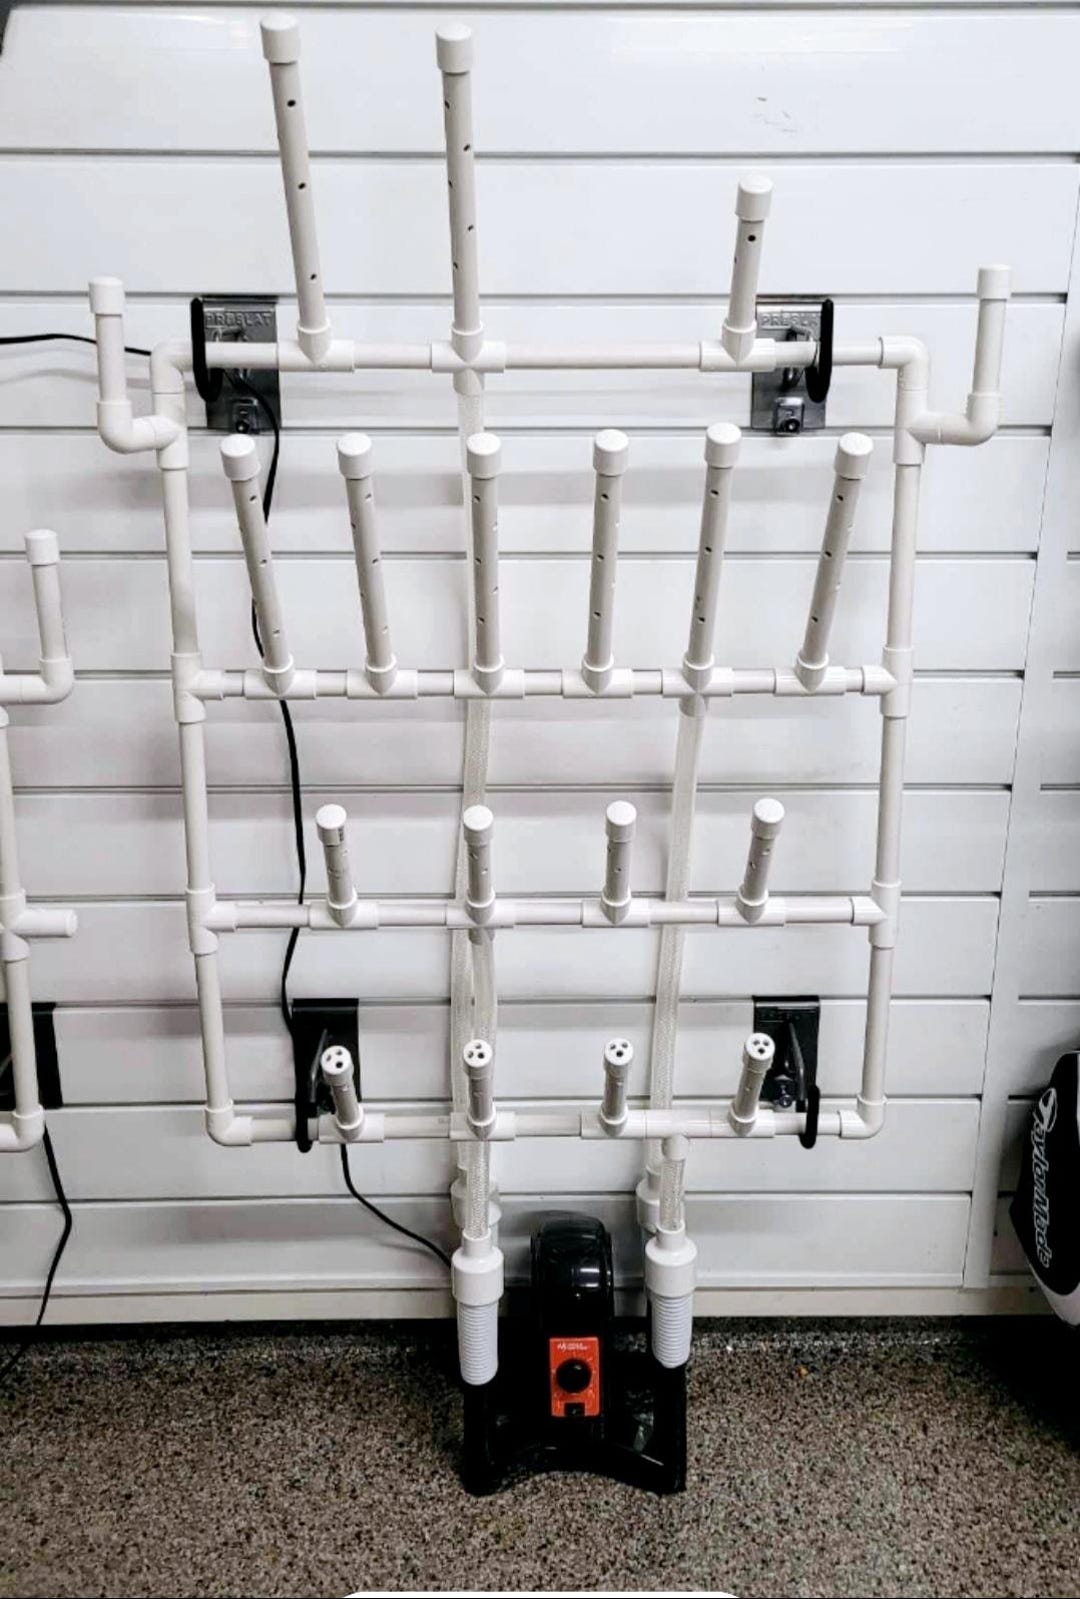
Drying is where most cleaning efforts fail. Putting gear away damp leads to mildew, which is the real source of persistent, foul odors. Never use a dryer. Even low heat damages foam, shrinks elastic bands, and melts adhesives. The only safe method is air drying in a well-ventilated space.
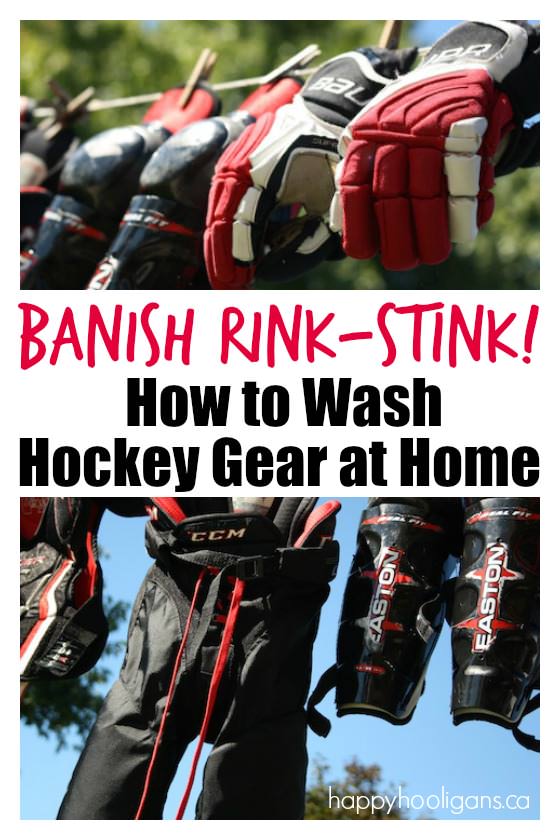
Hang gear individually on a drying rack or clothesline. Spread pads out so air circulates through every layer. Position fans to blow across and through the equipment. A dehumidifier nearby speeds up drying by pulling moisture from the air.
Sunlight: Use Sparingly
Sunlight naturally kills bacteria and freshens gear, but prolonged exposure fades colors and degrades plastics. Limit direct sun to 1-2 hours. After initial UV exposure, move gear to a shaded, airy area to finish drying. Rotate items every few hours to ensure all sides dry evenly.
Dry Time: 12-24 Hours Minimum
Allow at least 12-24 hours for full drying. Thick items like chest protectors and hockey pants may take longer. Do not rush the process. Gear must be 100% dry before storage. Test by feeling deep inside padding. No cool or damp spots should remain.
Alternative Deep Cleaning Methods
Machine washing works for routine maintenance, but deep cleaning every few months requires more effort. The “bathtub soup” method is ideal for heavy buildup or gear too bulky for the washer.
Fill a tub with 3-6 inches of warm (not hot) water. Add 1/2 cup mild detergent, 2 tablespoons baking soda, and 1 cup white vinegar. Submerge safe items (no helmets or skates), stir occasionally, and soak for 45-60 minutes. Drain, then rinse thoroughly with clean water until no soap remains. Air dry completely.
For travel or tournaments, use disinfectant wipes daily. In hotel rooms, hang gear on shower rods or balcony rails. Stuff gloves and skates with newspaper to absorb internal moisture.
Common Mistakes That Damage Hockey Gear
Avoid common errors that shorten gear life and waste your cleaning efforts. Never use fabric softener. It causes residue that traps odor instead of removing it. Never use bleach. It breaks down foam and fabric, compromising protection. Never use hot water. It melts glue in padding and destroys shock absorption. Never store gear damp. This leads to mold, pests, and health risks.
Follow the 24-hour rule. Never leave gear in a closed bag longer than a day. Store only when bone-dry, in a cool, dry place. Zip the bag shut to keep out mice, bees, or scorpions, but only after confirming everything is dry.
How to Keep Hockey Gear Fresh Between Washes
Proper care extends gear life from 2-3 years to over a decade, saving hundreds or thousands of dollars. Clean gear is not just about smell. It is about health and performance. Bacteria in damp equipment can cause skin infections. Mold poses respiratory risks.
Wash soft items weekly. Deep clean pads mid-season and at the end of play. Apply mink oil to leather components like goalie gloves before and after storage to maintain flexibility. Wipe down helmets and skates with disinfectant after every use. Remove gear from the bag immediately after playing to allow air circulation.
Frequently Asked Questions About Washing Hockey Gear
Can you put hockey shoulder pads in the washing machine?
Yes, shoulder pads can be machine washed on a cold, gentle cycle. Remove any removable liners first. Secure all Velcro straps to prevent snagging. Place pads loosely in the drum and use mild, bleach-free detergent. Air dry completely before storage or use.
How often should you wash hockey gear?
Soft items like jerseys, socks, and base layers should be washed after every use. Bulky padding like shoulder pads and shin guards should be deep cleaned every 2-4 weeks during the season, or more often if odors develop. At minimum, deep clean all gear mid-season and at the end of the season before storage.
Why does my hockey gear still smell after washing?
The most common cause is incomplete drying. Mildew forms in damp gear and causes worse odors than the original sweat. Ensure 12-24 hours of drying with good airflow before storing. Another cause is fabric softener residue, which traps bacteria. Stop using softener and rinse gear with vinegar to remove buildup.
Can you wash a hockey bag in the washing machine?
Yes, hockey bags can be machine washed on a gentle cycle with cold water. Remove all loose items and debris first. Use mild detergent without bleach. Air dry completely before putting gear back inside.
What temperature water is safe for washing hockey gear?
Always use cold water only. Hot water melts the adhesives that hold foam layers together in protective gear, causing padding to separate or collapse. Even warm water risks long-term damage. Cold water effectively cleans without compromising structural integrity.
Final Tips for Clean, Long-Lasting Hockey Gear
By following these steps, cold water, gentle cycle, no softener, and full air drying, you keep your gear fresh, safe, and ready for every shift on the ice. The key is consistency. Wash soft items after every use, deep clean bulky pads regularly, and always dry completely before storage. This routine prevents the “rink stink,” extends the life of your equipment, and protects your health. Take care of your gear, and it will take care of you on the ice.



