
You’ve draped your favorite quilt over the bed for months, and now it’s time to freshen it up. But how do you wash a quilt in a washing machine without ruining its softness, color, or stitching? Many people hesitate, rightly so, because a single wrong move can lead to shrinkage, color bleeding, or torn seams. The good news: if your quilt is modern, cotton-based, and machine-stitched, you can safely clean it at home using the right method.
This guide walks you through every critical step, from checking washability to drying for that perfect crinkle, so your quilt stays beautiful for years. You’ll learn exactly what to do and what to avoid before your quilt hits the wash.
Check If Your Quilt Can Be Machine Washed

Before loading anything into the washer, confirm your quilt can handle it. Not all quilts are built for machine cleaning, and forcing the wrong one can cause irreversible damage.
Identify Quilt Type and Construction
Machine washing is only safe for certain types. Safe to machine wash includes modern, machine-stitched quilts made of cotton or cotton blends. Do not machine wash antique, vintage, hand-quilted, or fragile quilts, as these can unravel under agitation. Specialty fabrics like silk, wool, or velvet quilts require professional cleaning. If you’re unsure, err on the side of caution. Delicate or sentimental quilts should be hand-washed or professionally cleaned.
Read the Care Label First
Always check the manufacturer’s tag. If it says “Dry Clean Only,” follow that instruction, especially for quilts with silk trims, embellishments, or down filling. Labels override general rules. No label? Treat it as hand-wash only unless you’re certain of its materials and construction.
Test for Colorfastness
New or dark-colored quilts may bleed dye, so test first. Dampen a white cloth with cold water and gently rub it on different colored areas of the quilt. If color transfers, do not machine wash at home. For minor bleeding, use color catcher sheets during washing. For heavy bleeding, seek professional cleaning.
Inspect and Repair Before Washing
Washing stresses seams and fabric. A small tear can become a big hole if you don’t fix it first.
Spot Damaged Areas
Lay the quilt flat and examine both sides for loose threads, worn patches, stretched or separating seams, and small holes or fraying. Pay extra attention to high-stress areas like corners and edges.
Fix Stitches and Tears
Use a needle and thread to reinforce loose stitching, secure unraveling threads, and patch small holes with matching fabric. If you’re not confident sewing, take it to a seamstress. It’s cheaper than replacing the quilt.
Avoid Bleach Spots from Paper Piecing
If your quilt was made with foundation paper piecing, ensure only unbleached paper was used. Regular bleached paper can leach chemicals and leave bleach-like spots when wet.
Choose the Right Washing Machine
The machine you use can make or break your quilt. Choosing correctly protects your investment.
Use a Front-Loading Machine
Front-loaders are safest because they clean with a gentle tumbling motion that won’t snag or twist fabric. Avoid top-loading machines with agitators. The central post can pull, tear, and tangle quilt layers.
Check Machine Capacity
Your quilt needs room to move. King-size quilts require a large-capacity washer. If it doesn’t fit loosely, go to a laundromat with commercial machines. Overstuffing leads to poor cleaning and mechanical stress.
Never Mix with Other Laundry
Wash one quilt at a time. Zippers, buttons, or hooks from other items can snag delicate fabric.
Use the Right Detergent and Additives

Harsh chemicals damage fibers and fade colors. Choose wisely to preserve your quilt’s beauty.
Pick a Mild Liquid Detergent
Use Woolite or detergent for delicates. Choose non-bio formula for feather/down-filled quilts. Select dye-free and perfume-free options for sensitive fabrics. Avoid heavy-duty detergents. They strip natural oils and weaken fibers.
Skip Bleach and Fabric Softener
Only use bleach on 100% white cotton if necessary. It shortens fabric life. Fabric softener leaves a residue that reduces breathability, so it’s best avoided.
Add Vinegar and Color Catchers
Add half a cup of distilled white vinegar in the rinse cycle to remove detergent residue and brighten colors. Use one to four color catcher sheets to prevent dye transfer, especially on first wash or mixed-color quilts.
Wash Using the Gentle Cycle
Now it’s time to wash, safely and effectively. Follow these settings to protect your quilt.
Set Cold Water and Gentle Cycle
Set water temperature to cold or cool only. This prevents color bleeding and shrinkage. Warm or hot water is only for sanitization, such as after illness, and should be used with caution. Select the Delicate, Gentle, or Quick Wash cycle. Shorter cycles reduce stress on seams. Set soil level to Light.
Control Spin Speed
Set spin to medium. High speed can distort the quilt’s shape and compress batting.
Monitor the Wash
If possible, keep an eye on the cycle. Make sure the quilt isn’t getting bunched or unbalanced.
Dry Your Quilt the Right Way
How you dry matters as much as how you wash. Choose the method that matches your quilt’s needs.
Remove Immediately After Washing
Don’t let a wet quilt sit. It can develop mildew or stiffness. Move it to the dryer or drying area right away.
Never Wring or Twist
Wringing damages stitching. Let the spin cycle remove most water. For hand-washed quilts, press between clean towels to absorb moisture.
Machine Dry for a Crinkled Feel

Machine drying works well for durable cotton quilts and can create that popular crinkled texture.
Use Medium Heat
Medium heat helps achieve the popular crinkled texture. Low heat may leave the quilt stiff. High heat risks shrinkage, warped batting, and faded colors.
Add Dryer Balls
Toss in two to three clean tennis balls or wool dryer balls. These prevent batting from clumping, keep the quilt fluffy, and reduce drying time.
Stop Before Fully Dry
Dry only until close to dry, about 80 to 90%. Then finish by air drying flat to prevent over-drying and stress.
Smooth Out Wrinkles
After drying, shake the quilt and hold it flat for a few seconds. This reduces wrinkles and restores its shape.
Air Dry for Maximum Safety

Air drying is best for heirlooms, antiques, or delicate quilts. It’s the gentlest option.
Lay Flat to Dry
Spread on a clean drying rack, bed of towels, or chairs. Outdoors? Choose a shady, breezy spot. Never use direct sunlight because it fades colors.
Never Hang a Wet Quilt
Hanging by one end stretches the fabric and can tear seams. The weight of water is too much for stitching to bear.
Speed Up Drying
Use fans or open windows for airflow. Place dry towels on top and replace when wet. Flip the quilt halfway through if drying on a surface.
Wash Frequency and Maintenance
Over-washing shortens a quilt’s life. Clean only when needed to preserve its beauty.
How Often Should You Wash
Daily use on bed or couch warrants washing every one to two months. Seasonal use means once per season. Decorative display needs only one to two times a year. Antique heirlooms should only be washed when absolutely necessary. Less washing equals longer life and brighter colors.
Spot Clean Between Washes
For small stains, mix one part white vinegar with two parts water. Dab, don’t rub, on the stain. Blot with a clean, damp cloth and air dry.
Vacuum to Remove Dust
Use a vacuum with a low-suction setting. Cover the nozzle with a nylon stocking to protect fibers. Gently vacuum both sides. This keeps your quilt fresh without washing.
Freshen Without Washing
On dry, sunny days, air out your quilt in the shade for one to two hours. It removes odors and revives the fabric.
Store Your Quilt Properly
Good storage prevents creases, mildew, and damage. Take care of your quilt between uses.
Best Storage: Lay It Flat
If possible, store your quilt spread out on a made bed. This avoids folds and keeps it ready to use.
Folded Storage Tips
If folding is necessary, use a cotton or muslin storage bag. Never use plastic. Store in a dark, dry closet. Avoid attics or basements. Refold every few weeks in a different direction to prevent permanent creases.
Know When to Skip the Machine
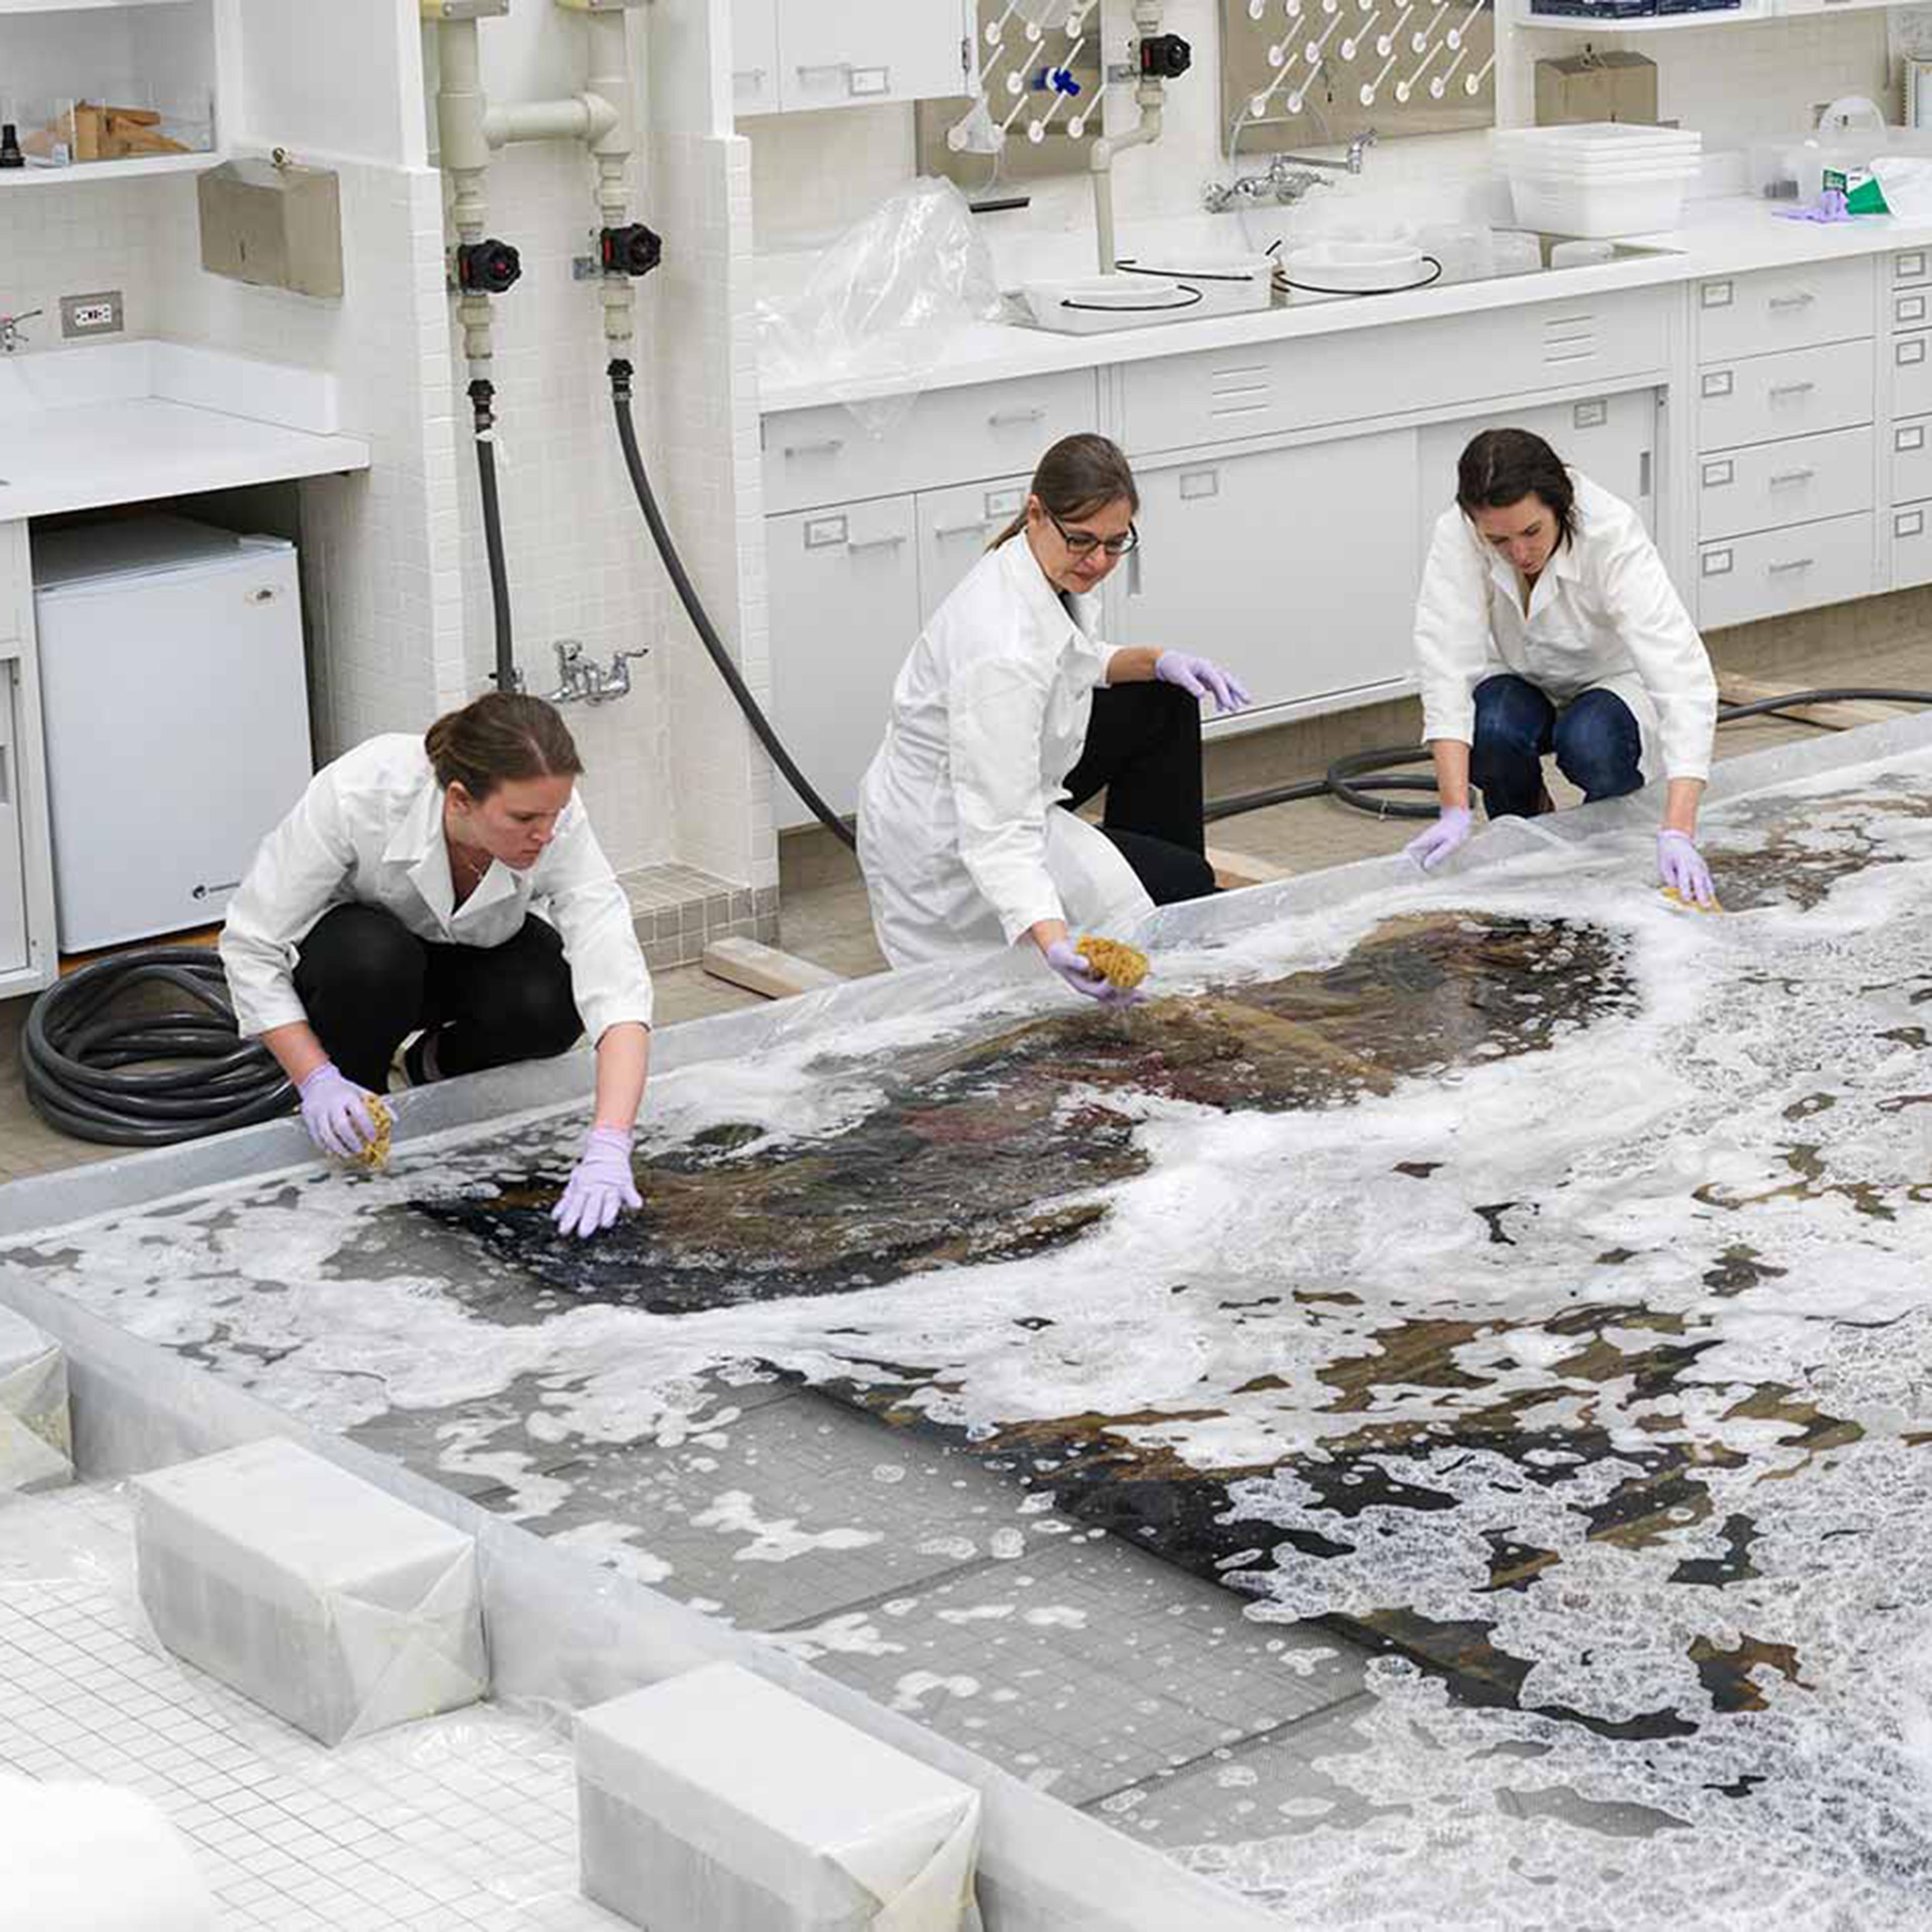
Not every quilt belongs in a washer. Some need professional care to avoid damage.
Send These to a Professional
Antique and heirloom quilts have high risk of unraveling and need conservation. Hand-quilted pieces have stitches that can break under agitation. Silk, wool, and velvet require specialized solvents. A “Dry Clean Only” label means trimmings or blends may degrade in water. Quilts too big for your home machine risk damage. For valuable or delicate quilts, professional cleaning is worth the cost.
Troubleshoot Common Problems
Fix issues fast and prevent them next time. Knowing what goes wrong helps you avoid mistakes.
Color Bleeding
Cause: Unstable dyes, hot water, no color catchers. Fix: Rewash in cold water with two to four color catcher sheets and air dry flat.
Stiff Fabric
Cause: Low heat drying or detergent residue. Fix: Rewash with vinegar in rinse cycle. Dry on medium heat with dryer balls.
Shrinkage
Cause: Hot water or high heat drying. Fix: Not reversible. Prevent by using cold water and low or medium heat.
Seam Damage
Cause: Agitator machine, wringing, or hanging wet. Prevention: Use front-loader, never wring, and lay flat to dry.
Mildew Smell
Cause: Delayed drying or damp storage. Fix: Rewash with half a cup of vinegar and mild detergent. Dry completely before storing.
Frequently Asked Questions About Washing Quilts
Can I wash a vintage quilt in my washing machine?
No. Vintage and antique quilts should not be machine washed. The agitation can unravel stitching and cause irreversible damage. These quilts often require professional textile conservation.
What temperature should I use to wash a quilt?
Always use cold or cool water. Cold water prevents color bleeding and shrinkage. Only use warm or hot water for sanitization after illness, and understand that this carries some risk.
How do I prevent my quilt colors from bleeding?
Test for colorfastness before washing. Use color catcher sheets, wash in cold water, and add half a cup of distilled white vinegar to the rinse cycle. These steps protect against dye transfer.
Can I use regular laundry detergent on my quilt?
No. Use mild, liquid detergents formulated for delicates. Avoid heavy-duty detergents, bleach, and fabric softeners. These can damage fibers, strip colors, and leave residue in the batting.
How do I dry my quilt without damaging it?
Remove the quilt immediately after washing. Machine dry on medium heat with dryer balls until 80 to 90% dry, then finish air drying flat. Never wring or hang a wet quilt.
How often should I wash my quilt?
For daily use, wash every one to two months. For seasonal use, once per season. For decorative display, one to two times a year. Less washing preserves colors and fabric integrity.
Key Takeaways for Washing Your Quilt at Home
Washing a quilt in a washing machine is safe only when done correctly. Always check the care label and test for colorfastness before starting. Use a front-loading machine with cold water and a gentle cycle. Choose mild detergent, skip harsh chemicals, and add vinegar and color catchers for protection.
For drying, remove the quilt immediately and either machine dry on medium heat with dryer balls until nearly dry, or lay flat to air dry completely. Never wring or hang a wet quilt. Store properly in a cotton bag or flat on a made bed.
With proper care, your quilt can stay soft, vibrant, and cozy for generations. The effort you put in now rewards you with a lasting, beautiful piece that brings comfort for years to come.



