
Is your washing machine shaking violently during the spin cycle? You’re not alone. Excessive vibration is one of the most common—and disruptive—issues homeowners face. It can rattle walls, walk across the floor, and even damage the appliance over time. The good news: in most cases, how to stop a washing machine from vibrating comes down to a few fixable causes like improper leveling, unbalanced loads, or forgotten transit bolts. Left unchecked, these issues can lead to worn suspension parts or costly repairs.
This guide walks you through every step, from simple DIY fixes to advanced diagnostics, so you can eliminate shaking for good. Whether you’re in an apartment with thin walls or a house with tile flooring, we will cover proven solutions that work across brands like Samsung, LG, and Whirlpool. By the end, you will know exactly how to stabilize your washer, prevent future problems, and extend its lifespan.
Level the Washing Machine Correctly

A slightly uneven floor is the number one cause of washer vibration. Even a 1/4-inch tilt can make the drum wobble at high speeds. Leveling ensures all four feet make solid contact with the floor and distribute weight evenly.
Check for Rocking Before Adjusting
Start by testing stability. Grasp the top corners and gently rock the machine side to side and front to back. If it rocks, the feet are uneven. This rocking motion amplifies during the spin cycle, causing loud shaking. Never skip this test, even if the washer looks level.
Adjust Front and Rear Leveling Feet
Each corner has an adjustable foot. Use the spanner tool included with your washer or a wrench to turn them. Follow these steps:
- Turn clockwise to raise the machine.
- Turn counterclockwise to lower it.
For rear feet, you may need to tilt the unit slightly forward to access them. Always support the machine safely and never let it fall.
Use a Spirit Level for Precision
Place a spirit level on top of the washer, first front to back, then side to side. Adjust the feet until the bubble is centered on both axes. Do not rely on sight alone, as floors can be deceptive.
Tighten Lock Nuts After Leveling
Once level, secure each foot by tightening the lock nut against the base. This prevents the foot from creeping down during operation. Recheck the level after tightening.
Test at High Spin Speed
Run a spin cycle at 1200 RPM with a balanced load. If the machine runs smoothly with minimal vibration, leveling was the fix. Recheck after moving the unit, as even a small shift can throw it off balance.
Remove Transit Bolts Immediately

Transit bolts secure the drum during shipping. If left in place, they prevent the drum from floating freely, causing violent shaking and potential internal damage.
Locate and Remove Rear Shipping Bolts
Transit bolts are typically 2 to 4 large bolts on the back of the machine. Use the included spanner to unscrew them completely. Never start the washer without removing these first.
Install Plastic Plug Caps
After removal, insert the plastic caps provided into the empty holes. These keep dust and moisture out of the drum assembly.
Store Bolts for Future Moves
Keep the bolts and any shipping boards in a safe place. You will need them if you ever move the machine again. Reinstall them before transport to protect internal components.
Running a washer with transit bolts installed can void your warranty and damage suspension springs or shock absorbers. Stop use immediately if you suspect they are still in place.
Install Anti-Vibration Pads

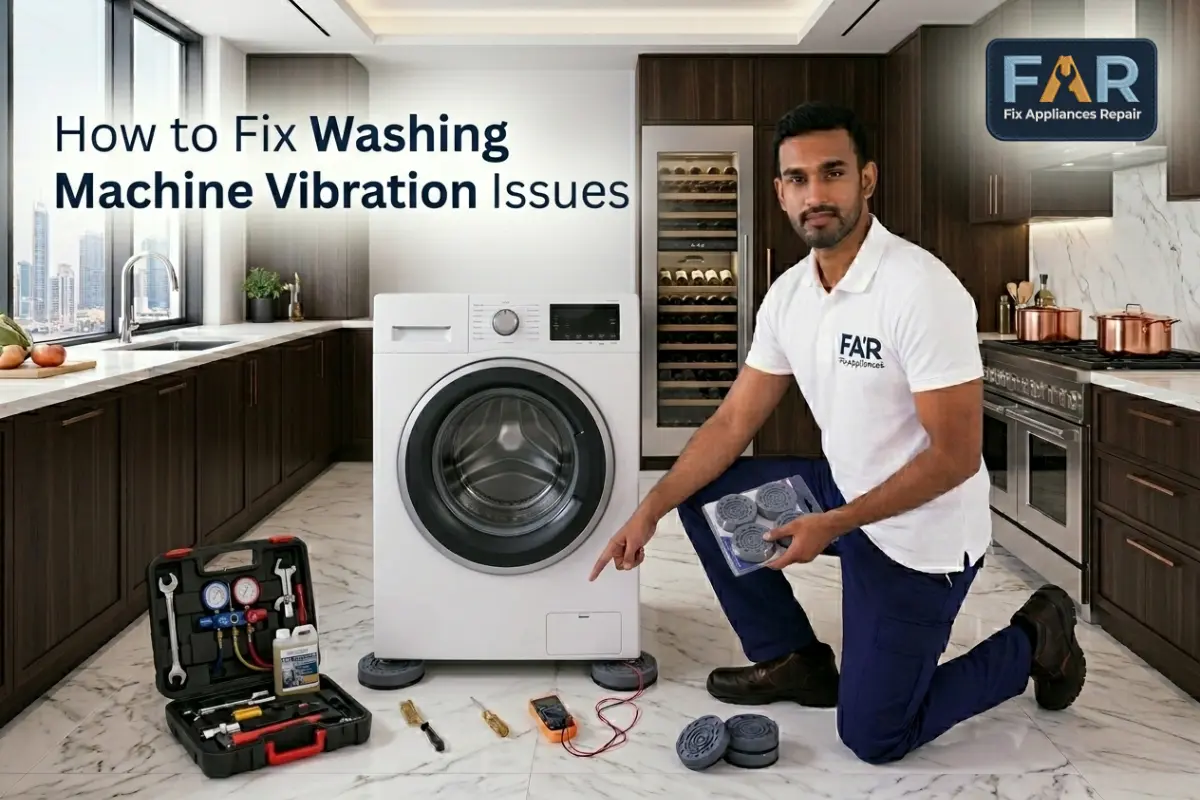
Even a perfectly leveled washer can transmit vibrations to hard flooring like tile or concrete. Anti-vibration pads absorb shock and reduce noise transmission.
Choose the Right Isolation Solution
Consider these options based on your situation:
- Rubber pads are affordable and effective for minor vibrations.
- Gel-based mounts offer superior dampening for high-RPM models.
- Full isolation platforms are heavy-duty trays with built-in rubber feet, ideal for apartments.
Place one pad under each leveling foot. Ensure the machine sits flat and does not rock after installation.
Prevent Floor and Wall Transmission
In multi-story homes, vibrations travel through floors and into shared walls. Pads help decouple the washer from the structure, reducing noise neighbors can hear. For maximum isolation, place the entire unit on a dedicated anti-vibration platform.
Load Laundry Evenly and Avoid Overloading
User error accounts for many vibration issues. How you load the drum directly affects balance during the spin cycle.
Distribute Clothes in a Ring Shape
Spread laundry evenly around the drum wall. Avoid piling everything on one side. Think of it like balancing a car tire, as uneven weight causes wobbling.
Never Exceed 75% Capacity
Overloading prevents the drum from balancing properly. Clothes clump together, creating heavy spots that throw off rotation. As a rule, fill only three-quarters of the drum. You should be able to close the door without forcing it.
Balance Bulky Items with Counterweights
Washing a comforter or heavy blanket alone creates a massive imbalance. Pair it with 3 to 4 towels or jeans to distribute weight. This counterbalance lets the drum spin smoothly.
Untangle Wet Garments Before Loading
Knotted clothes form dense clumps when wet. These act like weights, destabilizing the drum. Shake out shirts, sheets, and delicates before loading.
Run a Calibration Cycle
Modern washers use sensors to detect load weight and adjust spin balance. If the sensor is not calibrated, it cannot compensate for uneven loads.
When to Perform Calibration
Calibrate after the following situations:
- Initial installation
- Moving the machine
- Persistent vibration despite proper leveling
Follow Brand-Specific Steps
Calibration sequences vary by brand. For Samsung, press and hold Spin and Delay Start for 3 seconds, then press Power. For LG, press Tub Clean and Signal simultaneously, then start an empty cycle. Consult your user manual for the exact steps. A successful calibration improves spin efficiency and reduces vibration.
Clean the Pump Filter Monthly
A clogged filter restricts water drainage, leaving excess water in the drum. This changes the load’s center of gravity, causing imbalance and shaking.
Locate the Filter Access Panel
Most front-loaders have a small door at the bottom front. Place a towel or shallow tray underneath to catch residual water.
Remove and Clear Debris
Twist the filter counterclockwise to remove. Pull out lint, coins, hair, and small objects. Rinse it under running water and reinsert securely.
Recommended Cleaning Frequency
Clean every 1 to 3 months, depending on usage. High-volume households should clean monthly to prevent buildup.
Diagnose Worn Suspension Components

If vibration persists after all user-side fixes, internal mechanical failure is likely. These parts wear out over time and cannot be ignored.
Identify Failed Shock Absorbers
Shocks control tub movement during spin. When worn, the tub slams side to side, causing loud banging. Open the door and push down on the drum. If it bounces more than once or makes a clunking sound, shocks may be bad.
Check Suspension Springs
Springs support the tub and absorb vertical motion. If broken or sagging, the tub shifts excessively. Look through the gap between the cabinet and tub. If a spring is detached or stretched, it needs replacement.
Inspect Snubber Rings and Damper Pads
These rubber components reduce friction between moving parts. When worn, they cause grinding noises and instability. Replace in sets, even if only one looks damaged. Mismatched parts lead to uneven wear.
Replace Worn Drum Bearings
Severely loud grinding or rumbling during spin may indicate failing drum bearings. This is a serious issue that can lead to total drum failure.
Recognize the Symptoms
Watch for these warning signs:
- Loud roaring or jet-engine noise during high-speed spin
- Drum wobbles when spun by hand
- Rust stains inside the drum from degraded seals
Professional Repair Required
Bearing replacement requires disassembling the drum and is not a DIY job for most users. Contact a qualified technician. Delaying repair can damage the outer tub or motor.
Follow Brand-Specific Best Practices
While core principles apply universally, some brands have unique requirements.
Samsung Calibration Requirements
Samsung emphasizes running the calibration cycle after installation. Skipping it can strain internal components and increase vibration. Use the correct spanner tool for precise leveling.
LG Front-Loader Load Guidelines
LG machines are sensitive to mixed fabric types like towels and shirts. These shift differently during spin, creating imbalance. Stick to similar-weight items per load.
All Brands Lock Nut Warning
After adjusting leveling feet, always secure the lock nuts. LG and others specifically warn that loose nuts cause instability, even if the machine appears level.
Use the Troubleshooting Decision Matrix
When vibration strikes, use this quick-reference guide to identify and fix the issue.
| Symptom | Likely Cause | Action |
|---|---|---|
| Machine rocks when pushed | Uneven feet | Re-level and tighten lock nuts |
| Violent shaking at start | Transit bolts still installed | Stop use, remove bolts immediately |
| Intermittent wobbling | Unbalanced load | Redistribute clothes, add counterweights |
| Shaking plus slow drain | Clogged filter | Clean pump filter |
| Noise travels to walls | Hard flooring | Install anti-vibration pads |
| Constant vibration after fixes | Worn shocks or springs | Call technician |
Prevent Future Vibration Issues
Once you have stabilized your washer, take steps to keep it that way.
Perform Quarterly Maintenance
Add these tasks to your routine:
- Recheck leveling
- Clean the pump filter
- Inspect feet for wear
- Run a calibration cycle
Avoid Common Mistakes
Never overload the machine. Stick to 75% capacity. Do not ignore small shakes, as they worsen over time. Skip DIY bearing or shock replacement unless you have experience.
Extend Appliance Lifespan
Proper leveling and load management reduce stress on motors and suspension systems. This can add years to your washer’s life and prevent costly repairs.
Frequently Asked Questions About Washing Machine Vibration
Why does my washing machine vibrate even on a level floor?
Even with a level floor, vibration can occur from unbalanced loads, remaining transit bolts, or worn internal components like shock absorbers. Hard flooring surfaces also transmit vibrations more easily than carpet.
Can I use my washer with transit bolts still in place?
No. Running a washer with transit bolts installed can cause severe internal damage, void your warranty, and create violent shaking. Remove them immediately before first use.
How often should I clean my washing machine pump filter?
Clean the pump filter every 1 to 3 months. High-volume households should clean monthly to prevent debris buildup that causes imbalance and drainage issues.
Are anti-vibration pads worth it for apartments?
Yes. Anti-vibration pads significantly reduce noise transmission through floors and walls. This is especially valuable in multi-story buildings where vibrations can disturb neighbors.
When should I call a professional for washer vibration?
Call a professional if vibration persists after leveling the machine, balancing loads, removing transit bolts, and cleaning the filter. Internal issues like worn shocks, springs, or bearings require trained technicians.
Key Takeaways for Stopping Washing Machine Vibration
Vibration is rarely due to one single cause. It is usually a chain of small oversights. Start by removing transit bolts and checking that the machine is level with a spirit level. Then move through load management, keeping loads balanced and below 75% capacity. Perform regular maintenance, including cleaning the pump filter every 1 to 3 months. If vibration continues after all user-side fixes, internal components like shocks or springs are likely worn and need professional attention. By following this guide, you will not only stop your washing machine from vibrating but also protect your home and appliance for years to come.



