
If your Whirlpool washing machine door won’t open, whether it’s a front-loader with a locked door or a top-loader with a stubborn lid, you’re facing a common frustration. Many homeowners encounter this issue mid-cycle or during maintenance, and the solution is often simpler than calling a service technician. This guide covers every method to open a Whirlpool washing machine safely, from electronic unlocks to manual emergency releases and panel removal techniques for repairs.
Unlock a Stuck Front-Load Door
Front-load Whirlpool washers use an electronic door lock that engages during cycles for safety. If your door won’t open after pausing, try these methods before resorting to disassembly.
Wait for Natural Unlock Cycle
After pressing Pause/Cancel, the door may stay locked for up to 5 minutes while the washer drains water, stops spinning, and cools down. This is normal behavior.
Listen for a click, which indicates the lock has disengaged. If the drum is still spinning or water remains inside, wait longer. Never pry the door open during an active cycle.
Perform a Power Reset
If the door stays locked after waiting, reset the control system by unplugging the washer or turning off the circuit breaker. Wait 45 minutes to ensure full system discharge, then restore power and try opening the door again. This often clears software glitches causing lock failure.
Disable Control Lock Feature
A lit Control Lock or Child Lock light disables the entire control panel, including door release. Press and hold the Control Lock button for 3 seconds. You’ll hear one long beep or three short beeps when deactivated. Try opening the door again.
Use Emergency Door Release on Front Loaders
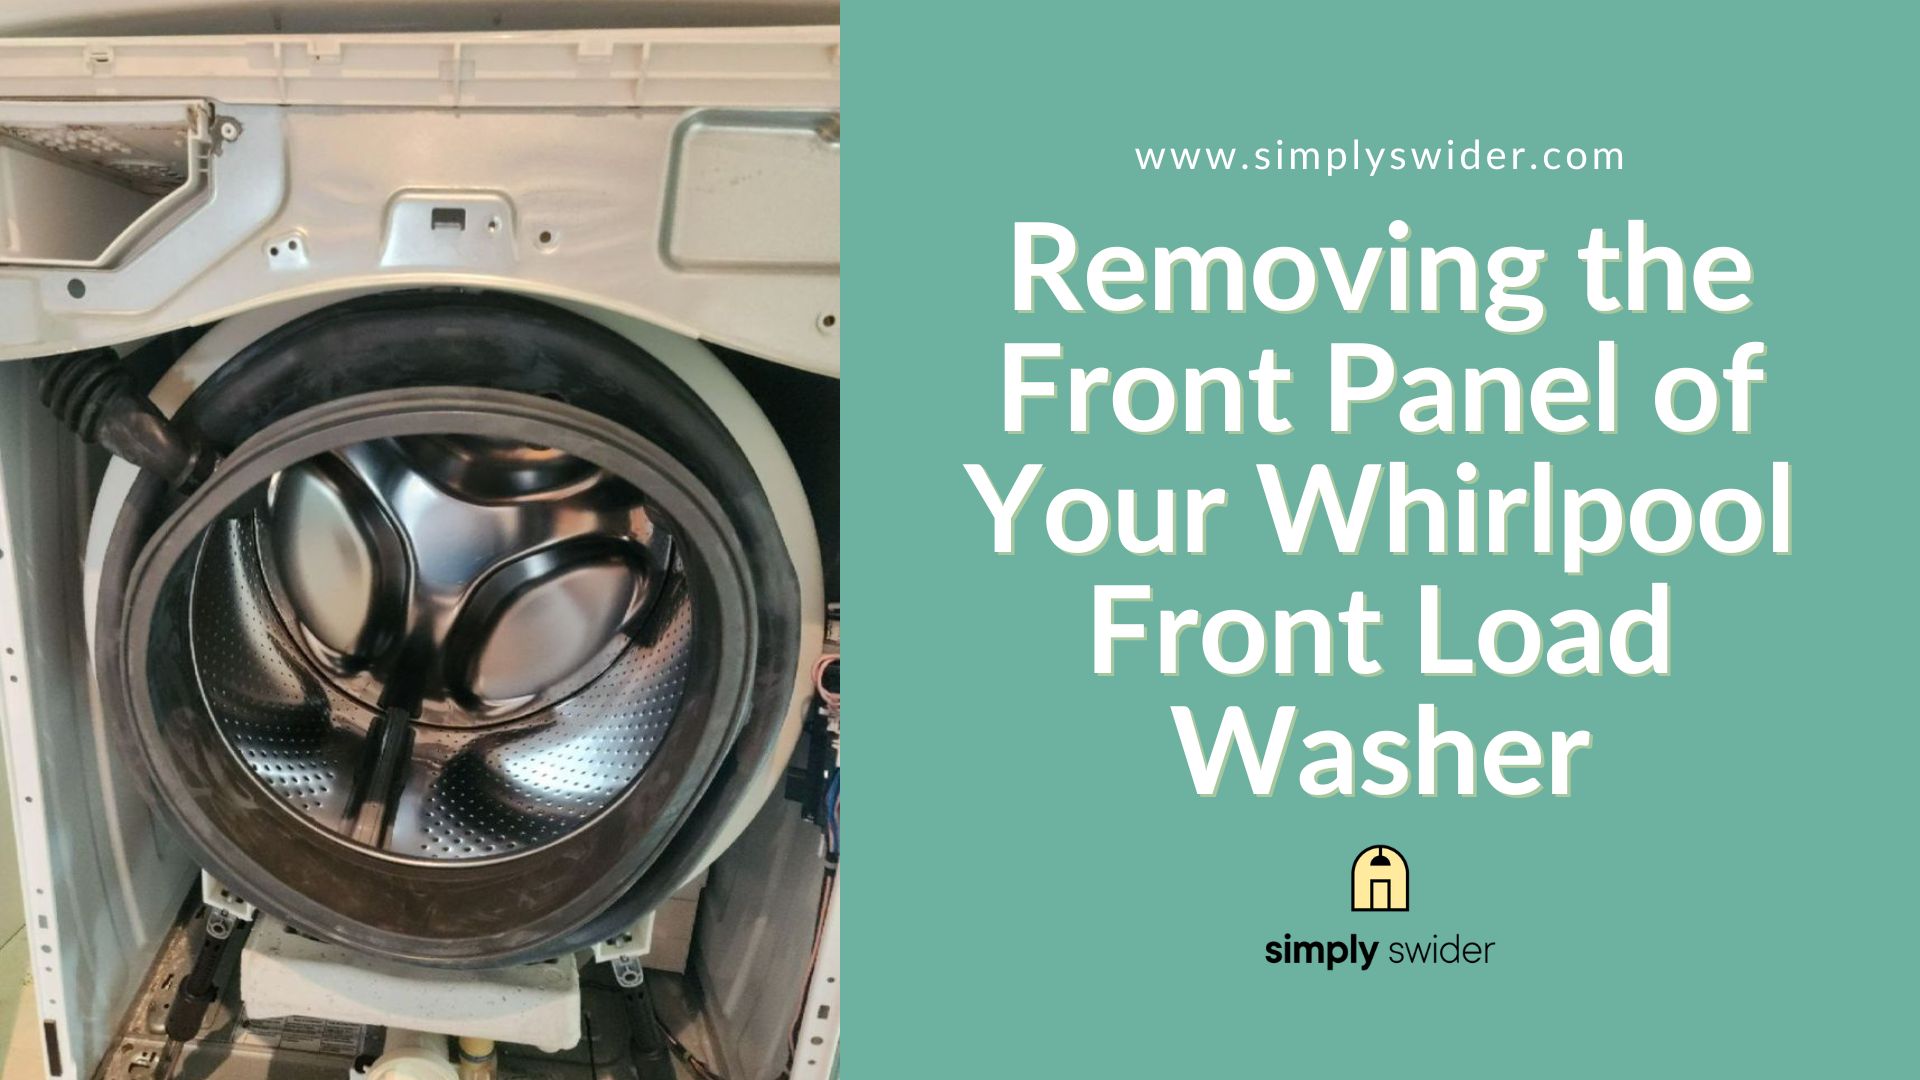
When electronic methods fail, use the manual emergency release behind the lower front panel. This mechanical release works when the electronic lock fails.
Remove the Base Panel Safely
Unplug the washer and turn off the water valves by closing the red and blue handles. Place towels underneath to catch residual water.
At the bottom front, press the end tabs inward to release the clips. If a screw is present, remove it with a Phillips screwdriver and keep it safe. Pull the panel down and away to remove it.
Pull the Manual Release Tab
Behind the panel, near where the screw was located, look for a small plastic tab labeled “Door open.” This is usually red or yellow. Gently pull it downward. You’ll feel resistance as it disengages the lock. Do not yank; a steady pull is enough.
Open the Door Carefully
Once released, open the door slowly. Water may spill out if the drum wasn’t fully drained. Retrieve your items and inspect for clogs, then reattach the base panel before using the washer again.
Open a Top-Load Lid During Operation
Top-load Whirlpool washers don’t lock during all cycles, but some models restrict lid access while agitating or spinning. Here’s how to handle it safely.
Lift the Lid Correctly
To open during a safe pause, pull the lid slightly forward to disengage side hooks. Lift it up and tilt back slightly to clear retention tabs. Let it rest fully open, but do not force it past its hinge point. Never slam the lid, as internal components can break.
Secure the Lid for Repairs
When working inside the drum, prevent the lid from snapping shut by using one of two methods.
The tape method involves using strong packing tape across both sides of the lid to the cabinet. The cord method requires threading paracord through lid holes, knotting the ends, and hooking them over internal support rods, similar to a car hood prop.
Remove Top Panel on Older Whirlpool Models
For access to internal parts like the pump, motor, or tub, older top-loaders require panel removal with visible screws.
Access the Front Panel
Insert a putty knife under the front edge of the top panel. Gently pry upward. There’s a spring clip in the center that pops loose. Once open, remove the single front screw, which covers water hoses and wires.
Remove Side Screws
Locate two star-bit screws on the top corners of the lid. These are 7 to 8 mm in size. Use a star-bit screwdriver or drill bit to remove them. These are not Phillips screws, and using the wrong tool will strip them.
Lift the Top Panel Safely
Support the lid with one hand, as it’s spring-loaded. Pull the panel forward to release side hooks. Lift and tilt back to free it from the chassis. Set aside carefully, noting any wire connections underneath.
Remove Top Panel on New Style Models
Newer Whirlpool top-loaders use hidden metal latches instead of screws, making disassembly tricky without the right technique.
Prepare Rear Access
Move the washer away from the wall. Remove two quarter-inch screws from the rear cabinet. Take off the wire harness cover, which is held by one more quarter-inch screw. Set aside the cover to expose the internal chassis.
Release Hidden Metal Latches
Inside the chassis, locate two rigid metal tabs that secure the lid. These are not springs. Use a flathead screwdriver or putty knife to bend each latch upward and outward. Apply gentle pressure until you hear a soft click, which means the latch released.
Pry the Lid Forward and Up
Push the lid fully back toward the rear of the unit. Insert a plastic pry tool or putty knife between the lid and cabinet at the front. Gently pry forward. Avoid the small metal lips at the back to prevent bending. Once both sides release, lift the lid and pivot it toward the wall.
Disconnect Wiring If Needed
Some models have control panel wires attached. Note the connector positions before disconnecting. Gently unplug each harness, and do not pull on the wires. Set the panel aside safely.
Alternative: Remove Control Panel First
If rear access isn’t possible, open the lid by removing the control panel instead.
Remove Control Panel Screws
Locate screws at the front corners and sides of the control panel. Remove them with a quarter-inch or star-bit driver.
Lift the Control Panel
Insert a plastic pry tool under the front edge. Gently lift, as hidden clips release with light pressure. Flip the panel forward and rest it on the washer body.
Remove Hidden Top Screws
With the control panel up, you’ll see screws underneath securing the top panel. Remove them, then use a pry tool to release perimeter plastic clips. Lift the top straight up and check for wiring before setting it down.
Fix Common Opening Problems
Even with the right steps, issues can arise. Here’s how to avoid damage and solve frequent problems.
Door Won’t Unlock After Drain
If water is gone but the door stays locked, check for error codes like F8 E1 or LO FL. These mean the washer detected low water flow at startup. The system runs a continuous drain for 8 to 10 minutes. Do not interrupt it. Wait the full time before pressing any buttons.
Lid Resists Opening After Reassembly
If the lid sticks or won’t close smoothly, the internal metal lips may be bent from forced removal. Inspect them with a flashlight. Use pliers to gently realign any warped tabs. Always push the lid fully back before prying.
Cracked Console or Broken Clips
Prevent these damages by never using metal tools on plastic clips. Use plastic pry tools instead. Work slowly around the perimeter. If plastic is brittle, warm it slightly with a hairdryer. Support the full weight of the panel, as letting it hang can crack the console.
Prevent Future Lock Issues
Keep your Whirlpool washer functioning smoothly with these maintenance tips.
Clean the Drain Pump Regularly
A clogged pump can prevent draining, keeping the door locked. Every 3 months, run a clean cycle with washer cleaner or vinegar. Check the drain filter for front-loaders to remove lint, coins, or debris.
Install Drain Hose Correctly
For front-loaders, the drain hose should extend no more than 4.5 inches into the standpipe. Too deep causes siphoning, leading to drainage errors and persistent lockouts.
Reset After Power Outages
If power returns after an outage, wait 1 minute before turning on the washer. If it locks immediately, wait up to 8 minutes, as it may be running a self-test cycle.
When to Call a Professional
Some issues require expert help. Contact Whirlpool support or a technician if the door remains locked after all reset and manual release attempts. You should also call if you see visible damage to the lock mechanism or metal latches. If the F8 E1 or LO FL error persists after the 10-minute drain cycle, professional service is needed. Call if you’re uncomfortable handling electrical components or wiring.
Whirlpool Customer Service is available at 1-800-253-1301 in the US and 1-800-807-6777 in Canada.
Frequently Asked Questions About Opening a Whirlpool Washing Machine
Why won’t my Whirlpool front-loader door open after the cycle ends?
The door may stay locked if the washer is still draining, if the drum is spinning, or if the internal temperature is too high. Wait up to 5 minutes after pressing Pause/Cancel. If an F8 E1 or LO FL error displays, the washer runs an 8 to 10 minute drain cycle where controls are unresponsive.
How do I manually release a locked front-load Whirlpool door?
Unplug the washer and remove the bottom front panel. Behind the panel, find the small plastic tab labeled “Door open.” Pull it downward to mechanically disengage the lock. Open the door carefully, as water may spill out.
Can I open a top-load Whirlpool washer lid during spinning?
Most top-loaders allow lid opening when the drum is not spinning or agitating. Pull the lid slightly forward to disengage side hooks, then lift and tilt back. Never force the lid open while the machine is in active spin mode.
What tools do I need to remove a Whirlpool washer top panel?
For older models, you’ll need a putty knife and a 7 to 8 mm star-bit screwdriver. For new-style models, a quarter-inch screwdriver, putty knife, and plastic pry tool are required. Phillips screwdrivers are only needed for front access panels.
Why does my new Whirlpool washer stay locked after first use?
Newly installed units may lock automatically after the first power-up. LED lights may flash. Wait 1 minute initially, then up to 8 additional minutes if the door remains locked, as the machine may be running an internal test cycle.
How do I turn off the Control Lock on my Whirlpool washer?
Locate the button marked with a padlock symbol. Press and hold it for 3 seconds. Successful deactivation is signaled by one long beep or three short beeps. If no dedicated button exists, try holding the Start/Pause button for 3 seconds.
Key Takeaways for Opening Your Whirlpool Washing Machine

Opening a Whirlpool washing machine doesn’t require a service call when you know the right techniques. For front-loaders, always try waiting for the natural unlock cycle, performing a power reset, and disabling Control Lock before resorting to the manual emergency release behind the bottom panel. For top-loaders, understand whether you have an older model with visible screws or a new-style model with hidden metal latches, as the removal process differs significantly.
Safety comes first: always unplug the washer and shut off water supplies before attempting any manual release or panel removal. Use the correct tools, work slowly to avoid cracking plastic clips, and keep screws organized for reassembly. If error codes persist or visible damage occurs, contact Whirlpool customer service at 1-800-253-1301. With patience and the steps in this guide, you can safely open any Whirlpool washer model yourself.



