
A leaking or seized washing machine tap can quickly turn into a household headache, flooding your laundry room, damaging floors, or leaving you without water for essential chores. Whether the issue is a dripping connection, a stubborn handle that won’t turn, or a faulty adapter causing leaks, most problems can be resolved with basic tools and the right approach. This guide covers how to fix a washing machine tap, focusing on two key areas: repairing the tap adapter and fixing the plumbing tap valve.
Identify the Problem First
Before grabbing tools, determine exactly where the issue lies. Misdiagnosis leads to wasted effort and recurring leaks.
Is It the Adapter or the Tap
Check these common leak locations to pinpoint the problem.
• Leak at the hose-tap junction indicates a faulty adapter seal
• Drip from the tap spout when off points to a worn internal washer
• Water leaking around the tap handle suggests a damaged O-ring
• Tap won’t turn could mean seized due to corrosion or plastic deformation
Quick Diagnostic Steps
Follow these steps to confirm the source before repairing.
- Turn off water supply at the main valve
- Inspect visually for cracked plastic, hardened washers, or mineral buildup
- Check connection tightness by wiggling the adapter
- Test flow by opening the tap slightly to see if water escapes from the body
Fixing a Leaky Tap Adapter

Most washing machine leaks stem from poor connections at the tap adapter, not the plumbing itself. The good news? You likely won’t need to replace the entire unit.
What’s in a Tap Adapter
Understanding the components helps you identify what needs attention.
• Plastic base connects to the washing machine hose
• Metal ring with four screws clamps the adapter to the tap
• Rubber washer creates the primary seal against the tap face
• Teflon backup ring often causes leaks instead of preventing them
• Internal filter blocks debris from entering your machine
Step-by-Step: Secure the Adapter
- Clean all parts thoroughly, removing scale from the tap face and adapter
- Attach the metal connector to the tap with threaded end facing down
- Tighten all four screws evenly using a screwdriver
- Install the rubber washer but skip the Teflon ring entirely
- Hand-tighten the plastic base without using pliers
- Test before connecting the hose by turning on the tap
Pro Tip: Remove the Teflon backup ring completely. It lifts the rubber washer away from the tap surface, creating gaps that cause leaks. Direct contact equals a better seal.
Why This Fix Works
The Teflon ring displaces pressure and prevents the rubber washer from seating flat against the tap. By removing it, you allow full surface contact between rubber and tap, creating a watertight seal without spending money on parts. Users report zero leaks after ditching the Teflon ring.
Repairing a Dripping Plumbing Tap
If water drips from the spout when the tap is off, the internal washer inside the valve is likely worn. This is one of the most common washing machine tap problems and takes under 30 minutes to fix.
Tools You’ll Need
Gather these items before starting your repair.
• Adjustable wrench
• Flathead screwdriver
• Replacement washer matching the original size and shape
• Bucket for catching residual water
Replace the Washer: 30-Minute Fix
- Shut off the main water supply or open the lowest tap to relieve pressure
- Remove the handle cap by prying it off with a flathead screwdriver
- Loosen the retaining nut by hand or with a wrench if stuck
- Pull out the spindle, gripping with a wrench and tapping gently if seized
- Inspect the washer and replace it with a new one, ensuring proper seating
- Reassemble and test by turning water back on slowly
Difficulty: Low
Time: Under 30 minutes
Cost: Less than $5 for washers
Fixing a Seized Tap That Won’t Turn
A frozen handle means the spindle is stuck, common in plastic taps where the square head deforms under torque.
Try This First: Loosen the Retaining Nut
- Turn off water supply first
- Loosen the large nut around the stem by half a turn
- Try turning the handle again
- If it moves, re-tighten the nut and test for leaks
If this doesn’t work, you’ll need to remove the stem entirely.
Remove the Stem
- Fully unscrew the retaining nut
- Pull or unscrew the stem from the tap body
- Check for damage such as deformed square head or cracks in plastic
- Never force plastic taps as they crack easily
Final Decision
If the stem turns freely but the tap still leaks, replace the entire tap. If the stem won’t budge, a full tap replacement is required.
Installing a New Washing Machine Tap
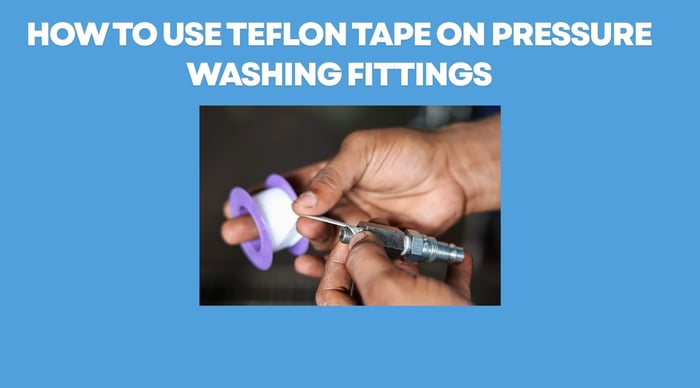
Sometimes repair isn’t an option. Here’s how to install a new tap correctly.
Tools and Materials
• Adjustable wrench
• Teflon tape
• New tap (compression-style recommended)
Seal Threads Properly
- Wrap Teflon tape clockwise around pipe threads at least 10 full wraps
- Too little causes leaks, wrong direction makes tape unravel during installation
- Screw the tap onto the pipe and tighten securely with a wrench
Connect the Hose
• If the tap has external threads, attach the hose directly and hand-tighten
• If no threads exist, use a four-screw metal adapter with a rubber washer
• Never use pliers on plastic components
Test for Leaks
- Open main water supply slowly
- Check the pipe connection, hose-to-tap joint, and tap body
- Fix any drips immediately before using the machine
Prevent Future Tap Problems
Avoid repeat repairs with these simple maintenance habits.
Clean Regularly
• Remove scale and debris from the tap face and adapter
• Soak rubber washers in vinegar to soften mineral buildup
Inspect Washers Every 6 Months
• Replace washers that are hard, cracked, or indented
• Keep spares on hand since they cost only pennies
Don’t Over-Tighten
• Hand-tighten plastic parts only
• Metal nuts need snug tightening but never force
Upgrade When Needed
• Plastic taps fail faster than brass or chrome alternatives
• Consider upgrading for longer-lasting performance
When to Call a Plumber
DIY works for most issues, but know your limits.
Call a Pro If
• Leak persists after you’ve attempted all repairs
• Tap body is cracked or severely damaged
• Main water shutoff is inaccessible
• You’re uncomfortable working with pressurized water lines
Safety First: A small leak can cause thousands in water damage. If you’re unsure, get professional help.
Frequently Asked Questions About Fixing a Washing Machine Tap
Why does my washing machine tap keep leaking at the connection?
The most common cause is a faulty rubber washer or a misaligned Teflon backup ring in the adapter. Try removing the Teflon ring entirely and ensure the rubber washer makes direct contact with the tap surface.
How do I know if I need to replace the tap or just the washer?
If water drips from the spout when the tap is off, replacing the washer usually solves the problem. If the tap is seized, cracked, or continues leaking after washer replacement, you need a new tap.
Can I use pliers to tighten the plastic adapter?
Never use pliers or wrenches on plastic connectors. They crack easily under torque. Hand-tighten only.
What causes a washing machine tap to seize?
Seized taps usually result from corrosion, mineral buildup, or plastic deformation inside the stem. Plastic taps are particularly prone to this issue.
How often should I replace the rubber washer?
Inspect washers every six months. Replace immediately if they appear hard, cracked, or indented. Keeping spares prevents emergency delays.
Key Takeaways for Fixing Your Washing Machine Tap
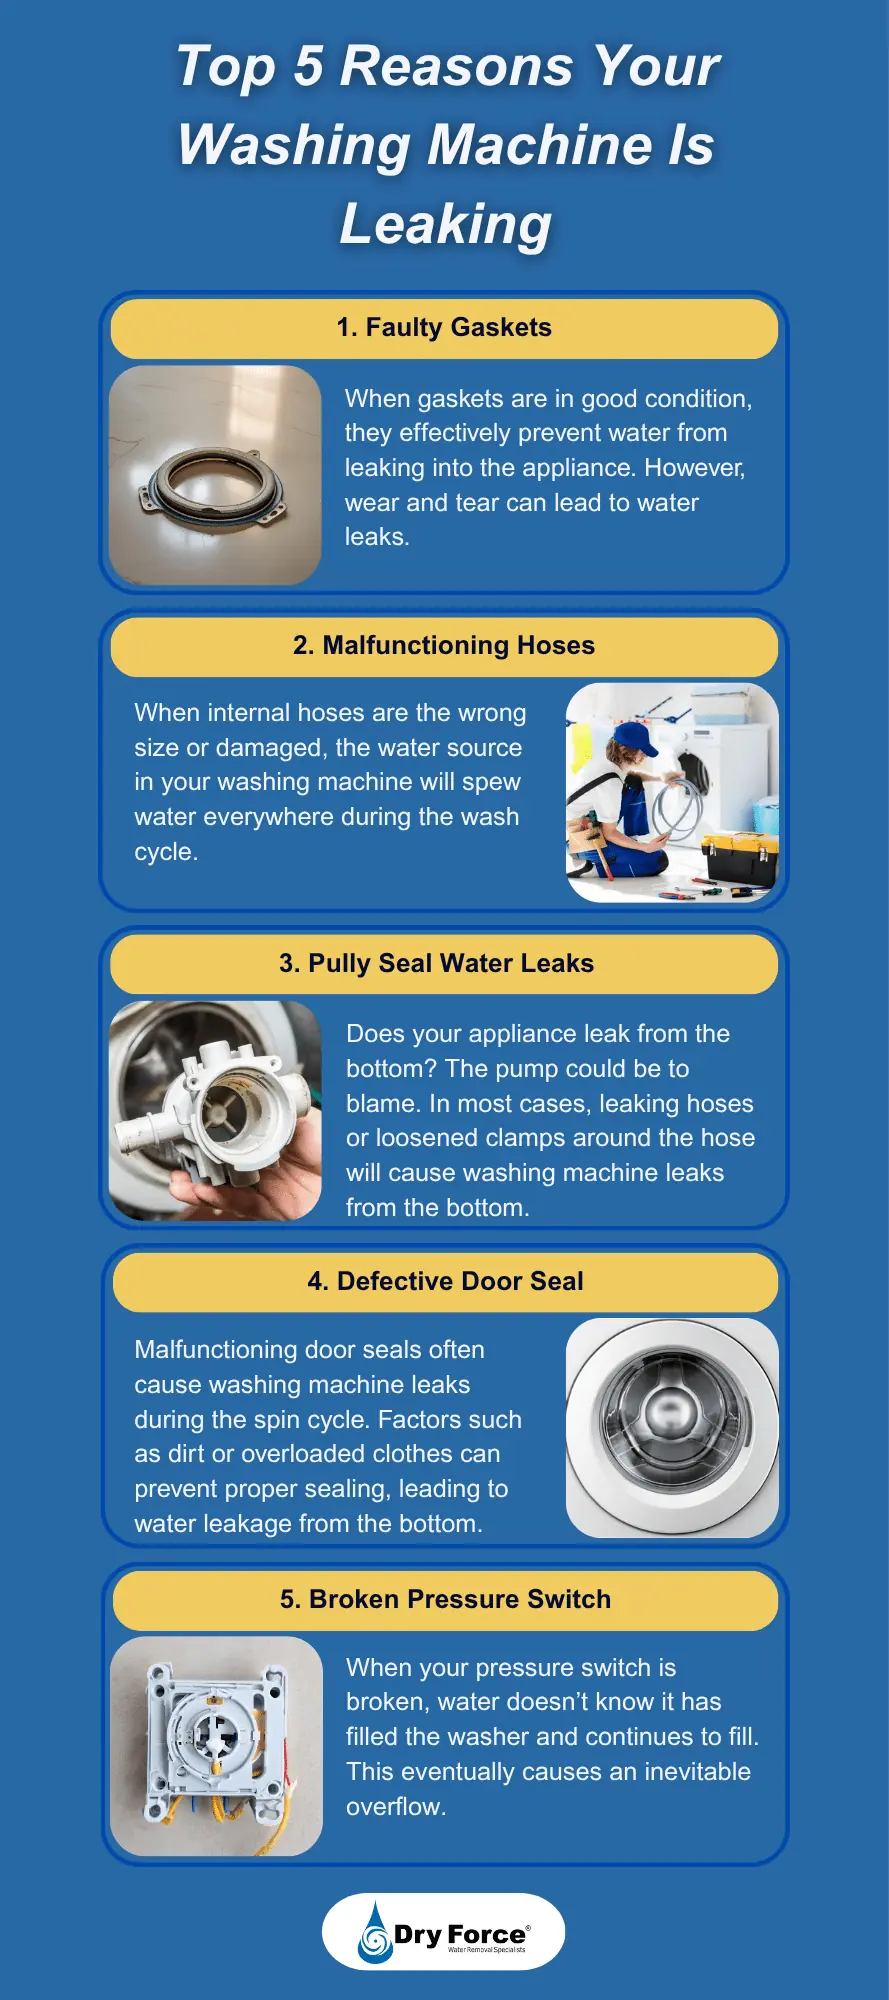
Over 90% of washing machine tap leaks come from simple causes: worn washers, scale buildup, or misaligned adapters. By removing the Teflon backup ring, ensuring even screw tension, and replacing washers promptly, you can stop leaks fast and avoid costly water damage. For seized or broken taps, replacement is often the safest and most cost-effective path. Remember to hand-tighten all plastic components, inspect washers regularly, and keep spare parts on hand for quick fixes. With this guide, you’re equipped to diagnose, repair, and maintain your washing machine tap like a pro.



