
Washing a sleeping bag might seem like a simple chore, but doing it wrong can ruin hundreds of dollars worth of insulation and leave you cold on your next trip. Many outdoor enthusiasts avoid washing their sleeping bags for years, only to discover the fabric is stained, smelly, or no longer fluffs up properly. On the flip side, washing too often or using the wrong method breaks down insulation fibers and damages water-repellent coatings.
If you’re learning how to wash a sleeping bag in a washing machine, you need to know when to wash, which machine to use, what cleaner to pick, and how to dry it properly. This guide walks you through every step, from spot cleaning to full washing, drying tricks, and long-term care, so your sleeping bag lasts for decades instead of just a few seasons.
Determine If Your Sleeping Bag Needs a Full Wash
Signs Your Bag Requires Washing
You do not need to wash your sleeping bag after every trip. In fact, over-washing shortens its life significantly. Only wash when you see clear signs of needing attention. Look for visible dirt stains on the shell fabric, lingering odors from sweat, food, or campfire smoke that do not fade after airing out, darkened grime around the hood and collar areas, or poor loft recovery when you try to fluff the bag back up. If the bag feels flat and refuses to fluff, trapped oils and debris may be weighing down the insulation.
When Spot Cleaning Is Sufficient
Most stains are localized around the face, zipper, or footbox. Before committing to a full wash, try spot cleaning first to preserve your bag’s insulation integrity. Mix one teaspoon of non-detergent soap such as Castile soap with a quarter teaspoon of warm water to create a thin, runny paste. Dip a soft-bristled toothbrush into the paste and gently scrub the stained area using small circular motions. Keep the brushing on the surface only and do not soak through to the insulation underneath. Wipe away residue with a clean, damp cloth and let the area air dry completely before storing.
Handling Blood and Stubborn Odors
For blood stains, apply undiluted technical cleaner directly to the spot. Use Nikwax Down Wash Direct for down bags or Tech Wash for synthetic bags. Let it sit for one full hour, then gently scrub with a soft brush before washing immediately. For stubborn odors like fish sauce or campfire smoke, run two back-to-back wash cycles using a technical cleaner. Always air out the bag between uses to prevent odor buildup from becoming a persistent problem.
Select the Right Washing Machine

Front-Loader Is Mandatory
Only use an oversized front-loading washing machine when learning how to wash sleeping bag in washing machine. Top-loaders with central agitators crush down clusters, fray synthetic fibers, and can rip internal baffles completely. The tumbling action in a front-loader is gentler and allows the bag to move freely without getting twisted or snagged. If you do not have access to a front-loader at home, visit a laundromat with commercial-sized machines.
Never Use Agitator Machines
Never use a top-loader with an agitator under any circumstances. These central posts twist and yank the bag during the wash cycle, causing permanent damage to stitching, baffles, and insulation. If your only option is a top-loader without an agitator, use the gentlest cycle available and monitor the wash closely. However, front-loaders remain the gold standard for washing sleeping bags safely.
Perform a Fit Test Before Starting
Before starting any wash cycle, perform a dry fit test to ensure the machine is large enough. Place the fully lofted sleeping bag in the drum. It should fit loosely with plenty of room to move around during the wash. If the bag is jammed against the sides or cannot fit comfortably, the machine is too small. A cramped bag will not clean evenly and risks fabric stress and damage. Use a commercial washer if needed, because your bag’s lifespan depends on having adequate space.
Choose the Correct Detergent
Avoid Standard Laundry Detergents
Standard detergents, fabric softeners, bleach, and optical brighteners destroy insulation performance. They strip natural oils from down fill, leave hydrophilic residues that attract dirt, and degrade water-repellent finishes dramatically. Even gentle or sensitive formulas marketed for delicate skin are not safe for sleeping bag insulation. Never use regular laundry detergent on your sleeping bag.
Use Technical Cleaners Only
For down sleeping bags, use a down-specific cleaner such as Nikwax Down Wash Direct, Grangers Down Wash, Storm Down Wash, or Fibertec Down Wash Eco. These products clean while revitalizing water repellency. For synthetic bags, choose technical cleaners like Nikwax Tech Wash or Gear Aid Revivex Synthetic Wash. If technical cleaners are unavailable, soap flakes from the supermarket or pure Castile soap are acceptable alternatives. Never substitute dish soap, shampoo, or any household cleaning product.
Follow Proper Dosage Guidelines
Use the right amount of cleaner based on your bag weight to avoid leaving harmful residues. For bags weighing one to two and a half pounds, use one hundred milliliters of technical cleaner. For bags between two and a half and four and a half pounds, use one hundred fifty milliliters. For bags over four and a half pounds, use two hundred milliliters. More soap is not better, because excess detergent is difficult to rinse out completely and will harm insulation performance.
Prepare the Sleeping Bag for Washing
Empty and Secure All Closures
Remove all liners, stuff sacks, and any accessories before washing. Zip the main zipper completely closed, fasten all snap closures, and secure any Velcro tabs. This prevents snagging during the wash cycle and protects zipper hardware from damage. Loosen all drawcords and elastic straps to prevent stress on these components.
Disengage Zipper Head
If your zipper has a detachable slider, pull the zipper head slightly off the track before washing. This reduces stress on the zipper tape during tumbling and helps prevent jams or breakage. This simple step significantly extends the life of your zipper.
Turn the Bag Inside Out
Turning the sleeping bag inside out exposes the inner liner where most sweat and oils accumulate. This protects the outer shell, especially if it has a waterproof coating that might trap air like a balloon during the wash. This step is optional but recommended for heavily soiled bags.
Wash on the Gentle Cycle

Select Cold or Warm Water
Use cold to warm water with a maximum temperature of thirty degrees Celsius or eighty-six degrees Fahrenheit. Hot water damages shell fabrics, melts synthetic fibers, and ruins insulation structure. Always verify your machine temperature setting before starting the cycle.
Choose Gentle or Delicate Mode
Set the machine to Gentle, Delicate, Woollens, or Handwash cycle. These settings use slow agitation and low spin speeds, which reduces stress on stitching, baffles, and internal construction. Avoid any heavy-duty or normal cycles.
Add an Extra Rinse Cycle
One rinse is not enough to remove all soap residue. Run at least one extra rinse cycle to flush out every trace of detergent. Residual soap attracts dirt and reduces loft and insulation effectiveness. Keep rinsing until no suds appear in the water, and repeat if necessary.
Dry Properly: The Most Critical Step
Use Low Heat Only
High heat melts synthetic fibers, damages down clusters, and shrinks shell fabric permanently. Always set the dryer to Low Heat or Air-Only mode. If your dryer has no temperature control, use the shortest cycle available and check the bag frequently throughout the drying process.
Add Dryer Balls for Fluffing
Toss two to four clean tennis balls, lightweight sneakers, or wool dryer balls into the dryer with your bag. These help break up clumps and redistribute insulation as the bag dries. Without them, down or synthetic fill will mat together and lose loft permanently. This step is essential for maintaining warmth.
Dry Down Sleeping Bags Correctly
Expect Long Drying Time
Down sleeping bags take three to six hours to dry completely, depending on fill weight and humidity levels. Be patient throughout this process. Rushing leads to mildew, clumping, and permanent damage to the down clusters.
Fluff and Massage Every Fifteen to Thirty Minutes
Stop the dryer every fifteen to thirty minutes. Remove the bag, shake it vigorously, and manually massage clumps apart with your hands. Rotate the bag’s position in the dryer to ensure even drying throughout. Check deep inside baffles near the zipper and core areas, because damp spots often hide in these locations.
Verify Complete Dryness
The bag is dry only when every inch feels completely dry to the touch. If the bag smells musty or feels like a wet sponge inside any area, keep drying. A cool-down cycle in the last ten minutes helps set the fill and finish the process properly.
Dry Synthetic Sleeping Bags Safely
Drying Time Is Shorter
Synthetic bags dry faster than down, usually in about one hour. However, synthetic fibers are more heat-sensitive than down. Use Low Heat or Air-Only settings to avoid melting or damaging the fibers.
Prevent Matting with Dryer Balls
Even though synthetic bags dry quickly, they still mat without proper agitation. Use tennis balls or dryer balls to keep fibers separated and maintain loft throughout the drying process.
Monitor for Overheating
Check the bag every fifteen minutes while drying. If the bag feels hot to the touch, stop the dryer immediately. Overheating can permanently damage the insulation structure and reduce the bag’s effectiveness.
Air Dry as an Alternative
Hang or Lay Flat in Ventilation
If you lack a dryer, air dry the bag by hanging it on a clothesline or laying it flat on a clean, dry surface in a well-ventilated, shaded area. Avoid direct sunlight because it degrades fabric over time. Choose a location with good air circulation to speed drying.
Support Weight to Prevent Stress
Wet insulation is heavy and puts stress on stitching. If hanging the bag, support it evenly with multiple hooks or a wide hanger. Never let it sag from one end because this strains the stitching and can cause tears.
Drying Takes Days
Air drying may take two to four days to complete. Flip the bag periodically and fluff it by hand to ensure even drying. Always confirm the core is completely dry before storing the bag.
Restore Water Repellency After Washing

Test DWR Performance
After washing, test the shell’s Durable Water Repellent finish to see if it needs restoration. Sprinkle water on the fabric. If the water beads up and rolls off, the coating is intact. If the water soaks into the fabric, the DWR has worn off and reproofing is needed.
Apply DWR Treatment
Use a spray-on or wash-in DWR product such as Nikwax TX.Direct or Grangers Performance Repel. Apply after cleaning and before storing the bag for the season. Some technical washes like Nikwax Down Wash Direct help revive DWR during the wash cycle, but dedicated re-proofing may still be needed for older bags.
Maintain Zippers and Hardware
Lubricate Zippers After Washing
Zippers often stiffen after a wash cycle. Apply zipper lubricant such as Gear Aid, McNETT, or beeswax to restore smooth operation. Never force a stuck zipper, because this damages the teeth and slider.
Clean and Inspect Regularly
Wipe zippers with a damp cloth to remove grit and debris. Check cord locks, toggles, and zipper teeth for damage. Clean jammed zippers with warm soapy water rather than forcing them open.
Fix Down Leakage Properly
Do Not Pull Out Escaped Feathers
If a feather pokes through the fabric, do not pull it out. Pulling enlarges the hole and creates a larger gap for more down to escape. Instead, pinch the cluster from the inside and gently push it back through. The fabric usually reseals itself around the quill.
Prevent Future Leaks
Use a sleeping bag liner to reduce friction on the shell fabric. Avoid sharp objects and rough surfaces. Small amounts of down leakage are normal, especially in new bags, because down barbs are microscopic and can pass through tight weaves.
Repair Tears and Holes
Use Temporary Field Fixes
For small rips in the field, apply gaffa tape or duct tape as a temporary fix. Clean the area first for better adhesion, and understand that this is only a short-term solution.
Apply Permanent Patches
Use adhesive repair tape like Tenacious Tape or Betrafol for permanent fixes. Cut patches with rounded corners to prevent peeling. Apply to clean, dry fabric and press firmly for adhesion.
Seek Professional Help for Major Damage
Hand-stitch small holes for a secure fix. For large tears, broken zippers, or baffle damage, send the bag to professional repair services like Rainy Pass Repairs. These services can replace zippers, fix baffles, or replenish down fill.
Store Correctly for Long Life
Never Store Compressed
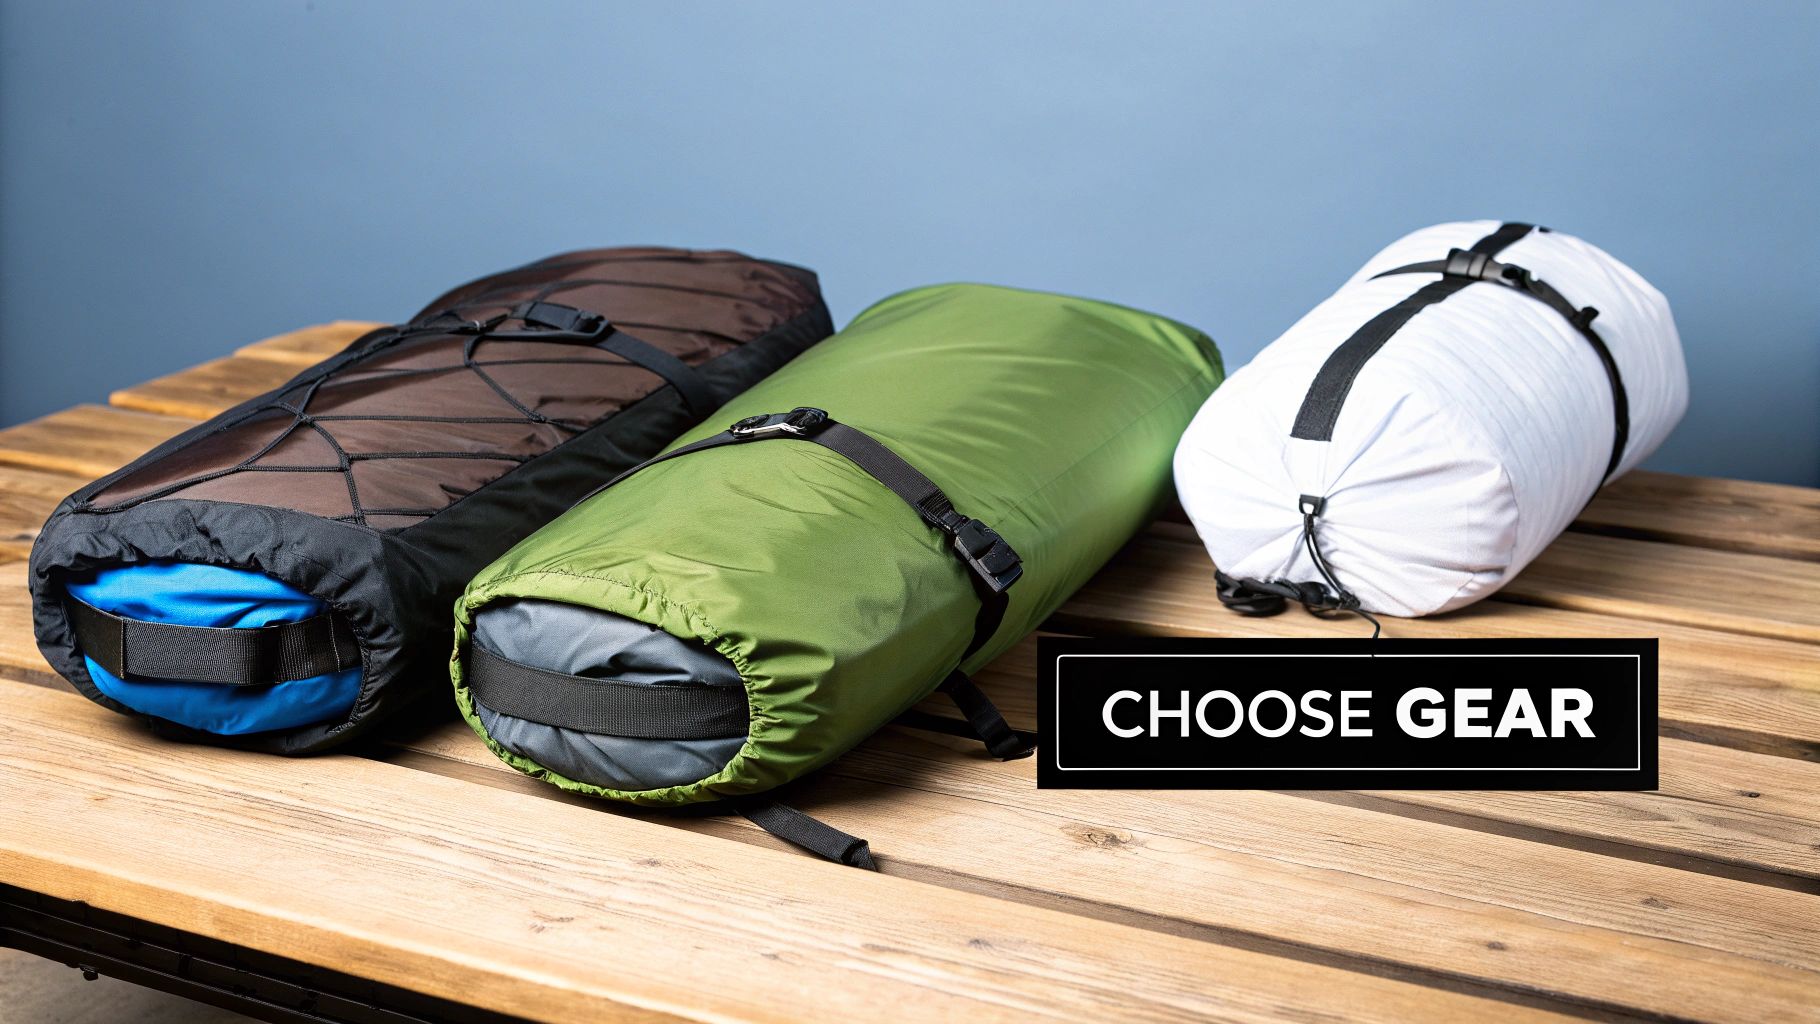
Never keep your sleeping bag in its stuff sack or compression sack long-term. Compression permanently collapses loft and reduces warmth. Always store the bag loose in a large cotton or mesh sack, a pillowcase, or hung by toe loops.
Keep in a Cool, Dry Place
Store in a dry, ventilated area away from dampness that causes mildew and direct sunlight that degrades fabric. Avoid plastic bins because they trap moisture and can cause condensation damage.
Air Out Seasonally
Fluff and air out your bag every few months during off-season storage. This prevents mustiness and keeps insulation fresh and lofty. This simple step significantly extends the useful life of your sleeping bag.
Frequently Asked Questions About Washing Sleeping Bags
Can I wash a sleeping bag in a top-loading washing machine?
You should avoid top-loading machines with agitators because they can tear internal baffles and damage insulation. If you must use a top-loader, choose one without an agitator and run it on the gentlest cycle. A front-loader is always the safer choice.
How often should I wash my sleeping bag?
Wash your sleeping bag only when it shows visible dirt, strong odors, or fails to loft properly after airing out. For most users, this means washing every few years or even less frequently. Over-washing accelerates wear and shortens the bag’s lifespan.
What happens if I use regular laundry detergent?
Regular detergent strips natural oils from down insulation, leaves residues that attract dirt, and degrades water-repellent coatings. This permanently reduces warmth and performance. Always use technical cleaners designed specifically for sleeping bags.
Can I dry my sleeping bag in high heat?
Never use high heat when drying a sleeping bag. High heat melts synthetic fibers, damages down clusters, and shrinks shell fabric. Always use Low Heat or Air-Only settings, and check frequently throughout the drying process.
How do I know if my sleeping bag is completely dry?
The bag is completely dry only when every inch feels completely dry to the touch, including deep inside baffles and near the zipper. If any area feels damp or smells musty, continue drying. Incomplete drying leads to mildew and rot inside the insulation.
Key Takeaways for Washing Your Sleeping Bag

Washing a sleeping bag in a washing machine is safe when done correctly. Always use a front-loader, apply technical cleaner designed specifically for your insulation type, and dry on low heat with tennis balls to maintain loft. Never use regular detergent or high heat, because these cause irreversible damage. Proper care can extend your sleeping bag’s life to twenty to thirty years. Wash only when necessary, dry completely, and store loose in a cool, dry place. Follow these steps, and your sleeping bag will keep you warm trip after trip.



