
You’ve probably had this happen: your favorite pair of cargo pants, gym shoes, or kids’ jacket comes out of the wash with Velcro that no longer sticks. The once-reliable fastener is now clogged with lint, limp, or peeling off entirely. The good news? Washing Velcro in the washing machine is possible when done correctly. But one wrong move, like using hot water, leaving the straps open, or tossing in a powder detergent, can ruin the fastener for good.
This guide breaks down exactly how to wash Velcro safely in a washing machine, covering shoes, apparel, and even delicate patches. You’ll learn the exact prep steps, cycle settings, and drying rules that preserve stickiness and extend the life of your gear. Whether it is muddy sneakers or workwear loaded with debris, you will avoid the most common mistakes that silently degrade Velcro over time.
Shoes with Velcro: Safe to Wash
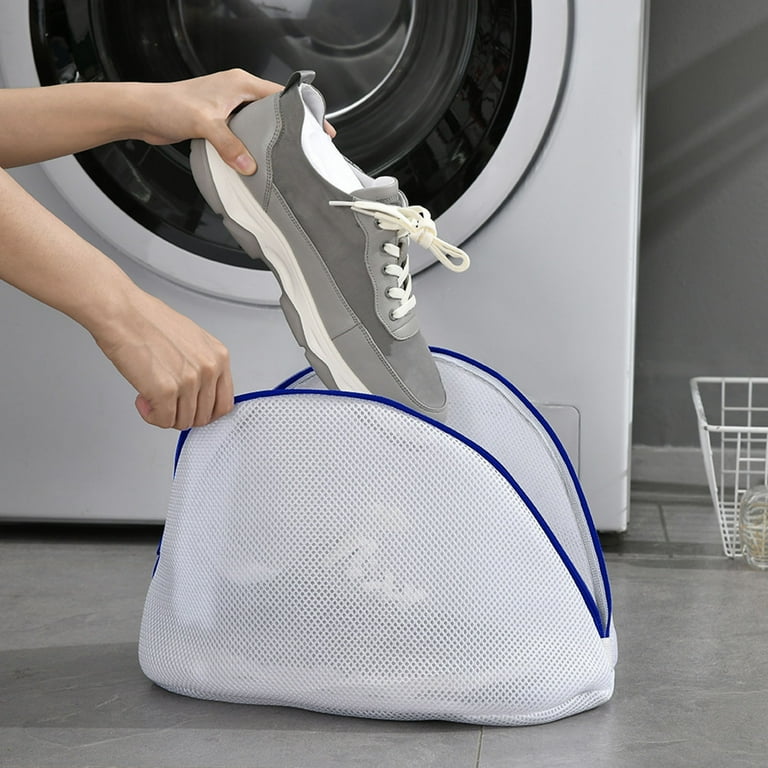
Machine washing Velcro shoes is generally safe if you follow strict protocols. Sneakers, kids’ shoes, and athletic footwear often accumulate dirt, sweat, and odors, making deep cleaning necessary. But improper washing can damage materials, weaken adhesives, or destroy the hook-and-loop mechanism.
Prep Shoes Before Washing
Skip this step and you risk clogging your washer or embedding grime deeper into the Velcro.
• Remove insoles and laces. Wash insoles separately with warm water and mild soap. They dry slowly and can harbor bacteria if left inside.
• Brush off surface dirt. Use a stiff toothbrush or soft brush to scrub mud and debris from the shoe body and Velcro straps.
• Close all Velcro straps tightly. This prevents them from snagging other clothes or collecting lint during the cycle.
Use Protective Containment
Never toss shoes directly into the drum.
• Place shoes inside a mesh laundry bag or zippered pillowcase.
• Add a clean towel to the load to cushion impact and reduce noise.
• Wash with similar items like towels or durable cottons to balance the load.
Wash Settings for Velcro Shoes
:max_bytes(150000):strip_icc()/how-to-select-the-correct-cycle-2145866_FINAL-10d1b95640284e0a8d01d4523455c7ee-25c018a4c0304212a13315b7ab181e33.png)
Using the wrong cycle can warp materials and degrade adhesive bonds. Stick to these exact settings.
Cold Water Only
• Why: Hot water weakens the glue holding Velcro to the shoe and may shrink or discolor fabric.
• Set your machine to cold below 30°C or 86°F.
Gentle Cycle Required
• Use delicate, hand-wash, or slow-spin cycle.
• Avoid heavy-duty or high-agitation settings that bend or break the tiny plastic hooks.
Liquid Detergent Only
• Never use powder detergent. Undissolved particles get trapped in the loops, clogging the fastener and reducing grip.
• Opt for a standard liquid detergent. For odor removal, add ½ cup of baking soda or white vinegar to the rinse cycle.
What Not to Wash
Not all Velcro items belong in the machine. Avoid washing if your shoes contain leather, suede, or nubuck, as water damages the material. Also skip satin, silk, or delicate fabrics due to risk of fraying or warping. Always follow manufacturer instructions and avoid items with “Do Not Machine Wash” labels. When in doubt, hand wash only.
Drying: Air Dry Only
This is the most critical step, and where most people fail.
Never Use a Dryer
• High heat melts the plastic hooks, rendering them useless.
• Adhesive breaks down under sustained heat, causing Velcro to peel.
• Shoes can warp or crack from tumbling and heat exposure.
Proper Air-Drying Method
- Remove insoles and stuff shoes with paper towels to absorb moisture and maintain shape.
- Place in a well-ventilated area away from direct sunlight or radiators.
- Wait 24 to 48 hours until completely dry before wearing or reattaching insoles.
Never re-engage Velcro while damp. Moisture trapped in the loops breeds mold and permanently weakens adhesion.
Apparel with Velcro: Wash Safely
Cargo pants, jackets, uniforms, and workwear often rely on Velcro closures. These can be machine washed, but only if you close the straps first.
Always Close Before Washing
• Open Velcro acts like a lint magnet. It grabs fibers from towels, fleece, and other fabrics.
• Closed Velcro protects the hook surface and prevents snagging.
• Check every strap before loading the machine.
Wash with Care
• Use cold water and gentle cycle.
• Liquid detergent only.
• Avoid washing with high-shed fabrics like towels or fleece unless Velcro is fully closed.
Velcro Patches: Hand Wash Only
Custom patches, especially police, military, or organizational insignia, should never go in the washing machine.
Why Machine Washing Damages Patches
• Agitation loosens the adhesive backing, causing peeling.
• Hooks can snag embroidery threads, unraveling detailed stitching.
• Colors may bleed or fade under mechanical stress.
Safe Cleaning Method
- Brush off loose debris with a soft toothbrush.
- Dampen a cloth with mild dish soap and water.
- Gently wipe the patch surface. Do not soak.
- Air dry flat, away from heat.
Never iron Velcro patches. Heat destroys both the fastener and fabric.
Store Patches Properly
• Mount patches on a felt board or patch panel.
• Never store loose. Patches can stick together and damage each other.
Restore Sticky Velcro After Washing

Even with precautions, Velcro can lose grip over time. Here is how to revive it.
Remove Lint and Debris
- Pull the fastener apart.
- Use a lint roller to remove surface fibers.
- For embedded lint, gently scrape with a T-pin or butter knife edge. Use tweezers to pluck out stubborn threads. Scrub with a stiff toothbrush using circular motions on both hook and loop sides.
Last-Resort Stickiness Fix
If cleaning does not restore grip, lightly spray fabric softener on the loop side, not the hooks. Let dry completely before testing. Always spot test first, as residue can attract more lint over time.
Cleaning Adhesive-Backed Velcro Residue
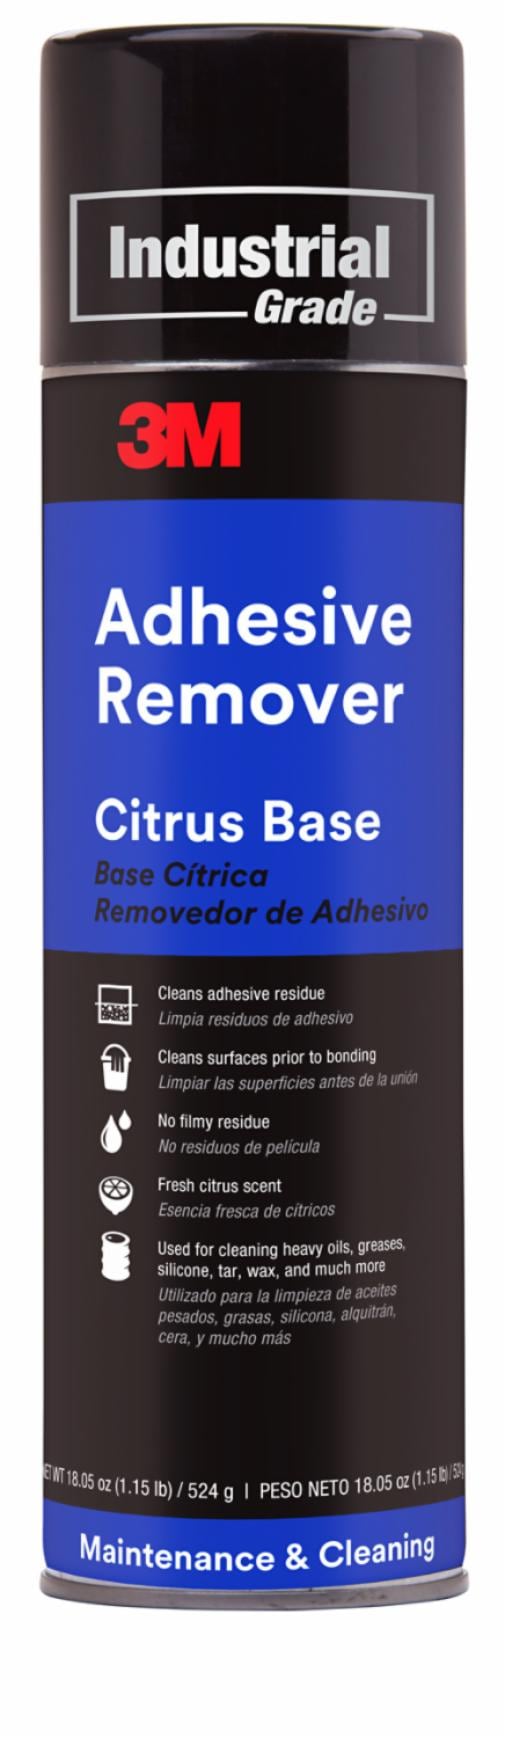
Peeling off old Velcro can leave sticky residue. Here is how to remove it safely.
Use Citrus-Based Cleaner
Products like Goo Gone or citrus degreasers dissolve adhesive without damaging fabric.
- Spot test on a hidden area.
- Apply a small amount to the residue.
- Let sit 1 to 2 minutes.
- Wipe with a cloth or scrub gently with an old toothbrush.
- Wash the area with soap and water to remove chemical traces.
Avoid acetone or harsh solvents. They can discolor or weaken fabrics.
Common Velcro Washing Mistakes
Avoid these errors that silently destroy fasteners.
| Mistake | Consequence |
|---|---|
| Leaving Velcro open | Collects lint, reduces grip, snags fabrics |
| Using hot water | Melts hooks, weakens adhesive |
| Powder detergent | Clogs loops with insoluble residue |
| Tumble drying | Destroys adhesive, deforms plastic |
| Washing with towels | High lint release clogs Velcro permanently |
When to Skip the Machine
Some items should never be machine washed, even with Velcro.
• Leather or suede shoes
• Custom embroidered patches
• Garments with delicate fabrics like silk or chiffon
• Items labeled hand wash only
For these items, spot clean or hand wash gently with a damp cloth and mild soap.
Extend Velcro Lifespan: Maintenance Tips
Make these habits part of your routine.
• Close Velcro before every wash. It takes 2 seconds and prevents 90% of lint issues.
• Brush Velcro weekly. Use a toothbrush or lint roller to remove buildup.
• Store items with fasteners closed. Prevents dust and fiber accumulation.
• Inspect for wear. Replace frayed or peeling Velcro early to avoid complete failure.
• Keep away from high-lint items in the wash, or ensure Velcro is fully sealed.
Final Thoughts on Washing Velcro
You can wash Velcro in the washing machine, but only if you follow the rules. Cold water, gentle cycle, liquid detergent, closed fasteners, and air drying are non-negotiable. Shoes and durable apparel can handle machine washing with proper prep, but patches and delicate items require hand cleaning. By closing the straps, using a laundry bag, and avoiding heat, you will keep your Velcro functional for years. And if stickiness fades, a quick brush or targeted cleaning can often bring it back. Treat Velcro with care, and it will keep your gear secure, wash after wash.
Frequently Asked Questions About Washing Velcro
Can you wash shoes with Velcro in the washing machine?
Yes, you can wash Velcro shoes in the washing machine if you use cold water, a gentle cycle, and liquid detergent. Remove the insoles and laces first, close all Velcro straps tightly, and place shoes in a mesh laundry bag.
Does washing Velcro ruin the sticky part?
Washing Velcro can ruin the sticky part if you use hot water, powder detergent, or a tumble dryer. These factors melt the hooks, clog the loops with residue, and degrade the adhesive. Always use cold water, liquid detergent, and air dry only.
How do you clean Velcro without washing it?
To clean Velcro without washing, pull the fastener apart and use a lint roller to remove surface fibers. For embedded lint, gently scrape with a T-pin or use tweezers to pluck stubborn threads. Finish by scrubbing with a stiff toothbrush.
Should you close Velcro before washing clothes?
Yes, you should always close Velcro before washing clothes. Open Velcro acts like a lint magnet, grabbing fibers from other fabrics and reducing its stickiness. Closing the fasteners also prevents snagging on delicate items.
Can you put Velcro shoes in the dryer?
Never put Velcro shoes in the dryer. High heat melts the plastic hooks and breaks down the adhesive, causing the Velcro to peel or stop sticking entirely. Always air dry shoes in a well-ventilated area away from direct heat.
How do you restore sticky Velcro after washing?
To restore sticky Velcro after washing, remove all lint and debris using a lint roller and stiff toothbrush. As a last resort, lightly spray fabric softener on the loop side, let it dry completely, and test the grip. Always spot test first to avoid attracting more lint.



