
You love your favorite ball cap, but sweat, oils, and dirt have dulled its color and left it smelling less than fresh. You’re tempted to toss it in the washing machine with your clothes, but wait. Washing a baseball cap improperly can ruin its shape, warp the brim, or fade the logo. The good news is that if it has a plastic bill and you follow the right steps, you can safely wash a ball cap in the washing machine without destroying it.
This guide gives you a clear, step-by-step method to clean your cap in the machine while preserving its structure. You’ll learn how to identify if your cap is machine-washable, the exact settings to use, and how to dry it properly so it looks like new. Whether it’s a daily driver or a sentimental favorite, you’ll keep it fresh without the risk.
Check Cap Material Before Washing

Not all caps survive a spin cycle. The key is the bill insert, the stiff layer inside the brim. Wash the wrong type, and you’ll end up with a floppy, misshapen hat.
Identify the Bill Insert Type
Flick the brim with your finger. A hollow sound indicates cardboard, common in vintage caps made before 1983. These should never be machine washed because water destroys cardboard. A solid, stiff feel means it’s plastic, and these modern caps can typically handle machine washing if the care label agrees.
Read the Care Label First
Look inside the cap for a tag. It may say “spot clean only,” which means hand wash or skip washing entirely. It may say “machine washable,” which means you can proceed with caution. No label means you should default to hand washing to be safe.
Avoid machine washing caps made of leather, suude, wool, or felt. These materials shrink, stain, or stiffen when wet.
Pro Tip: If you’re unsure about your cap’s material, wash by hand. It takes 10 minutes and guarantees no damage.
Prepare the Cap for Machine Wash
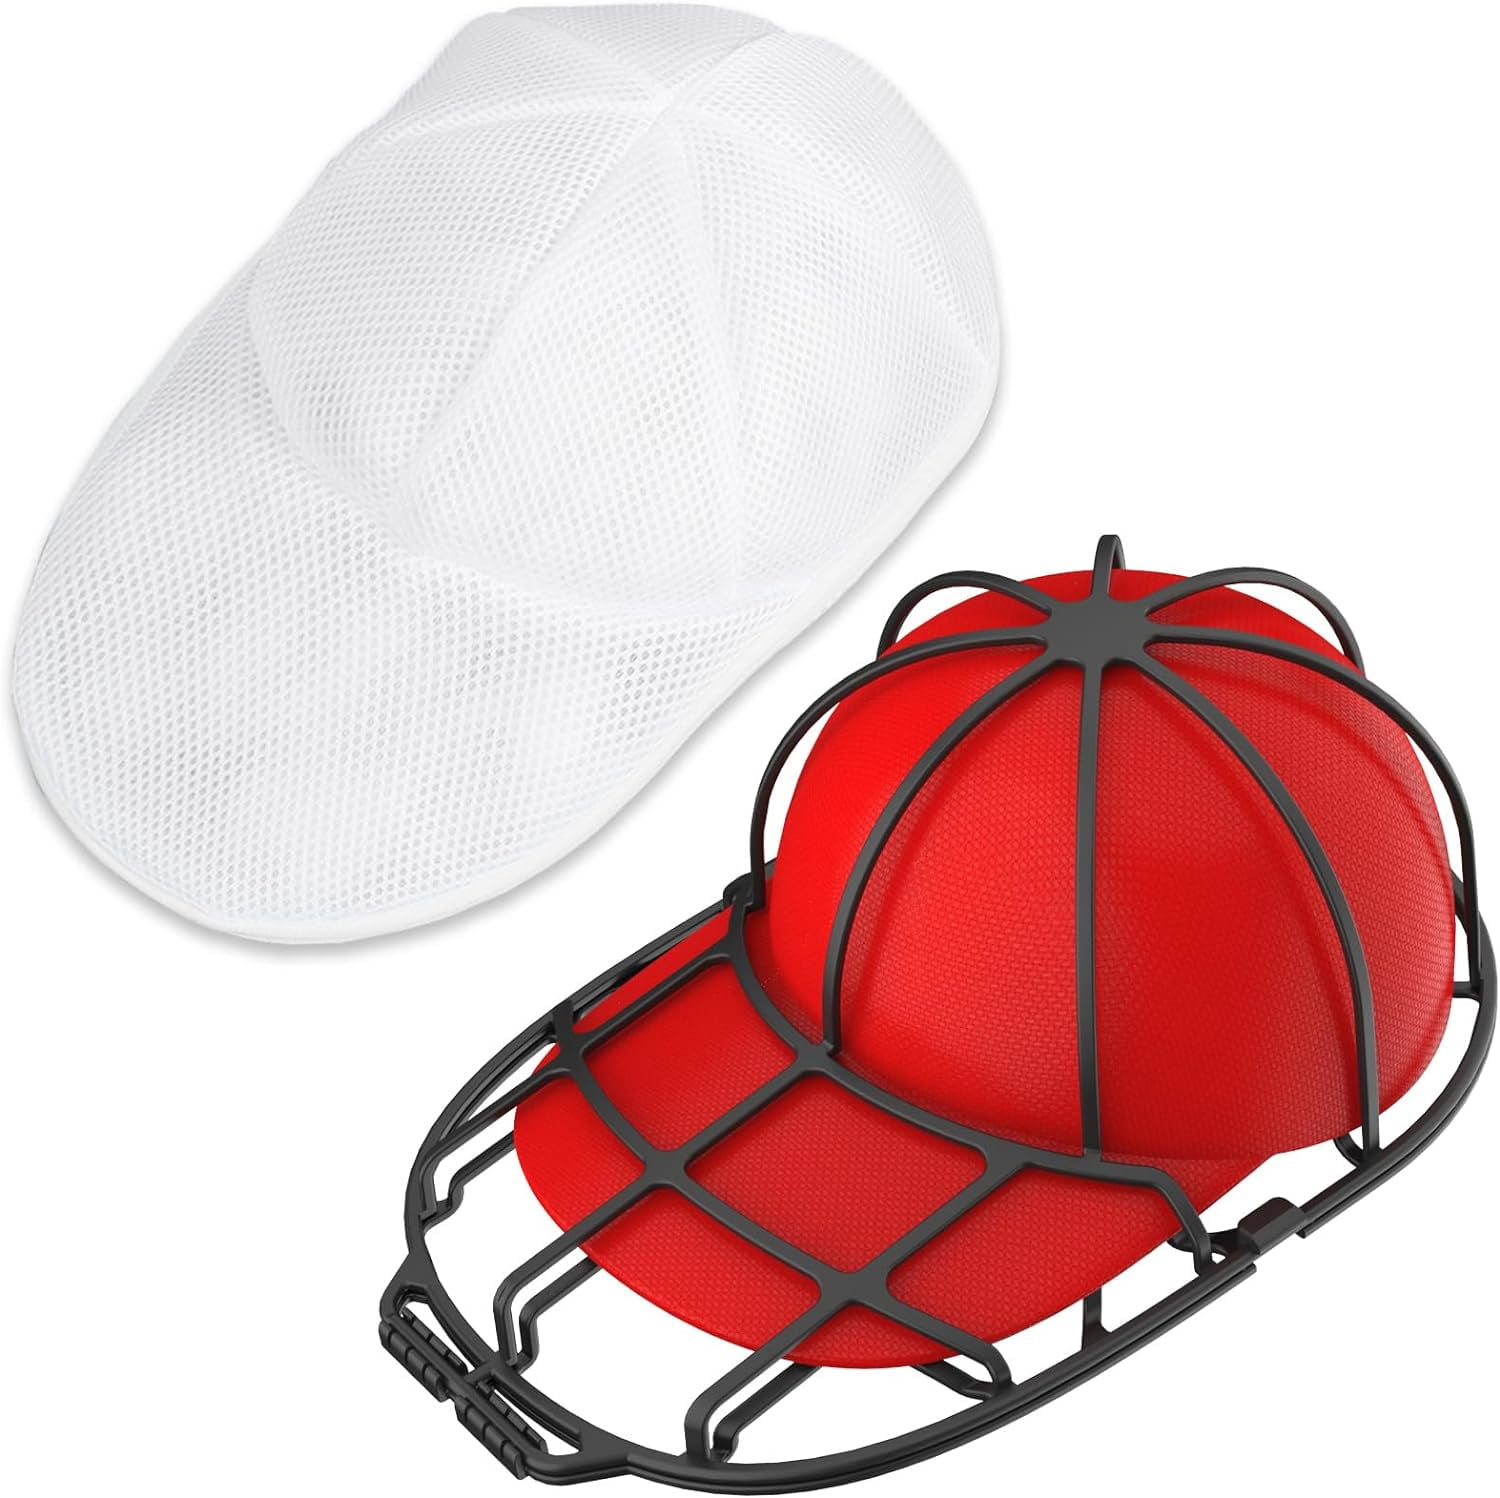
Even washable caps need protection inside the washing machine. The agitation can crush the crown or bend the bill, so prep is essential.
Turn Cap Inside Out
Flip the cap inside out before washing. This shields logos, embroidery, and colors from friction. It also targets the sweatband, which is usually the dirtiest part.
Use a Protective Enclosure
Never toss the cap loose into the drum. Use one of these options:
- Mesh laundry bag: Provides light protection and keeps the cap contained
- Pillowcase: Tie the opening with a rubber band if a bag isn’t available
- Hat washing cage: The gold standard for shape protection during spin cycles
Visual cue: If the cap can move slightly inside the enclosure but isn’t crushed, you’ve got the protection right.
Set Correct Machine Settings
:max_bytes(150000):strip_icc()/wash-with-the-right-water-temperature-2146348_FINAL-5bb51fb24cedfd0026d1752b.png)
Wrong settings equal a ruined cap. Use these specifications every time you machine wash.
Choose Cold Water
Heat causes shrinkage and color bleeding. Always select cold water for machine washing. It’s gentler on fabric and adhesives used in cap construction.
Select Gentle Cycle
Pick the delicate or hand wash setting on your machine. These reduce spin speed and agitation. Avoid normal or heavy duty cycles entirely.
Use Mild Detergent
The best options include mild laundry detergent, Tide Free and Gentle, or unscented dish soap used sparingly. Never use fabric softener because it clogs moisture-wicking fibers and leaves residue on the fabric.
Load the Machine Smartly
Wash the cap alone or with soft items like t-shirts. Avoid washing with jeans, towels, or boots because they’ll bang the cap around and cause damage. Don’t overload the machine. The cap needs space to move slightly without getting crushed.
Agitator warning: If your washer has a central post (agitator), skip machine washing entirely. The cap will get tangled and warped. Front loaders or impeller models are safer choices.
Pre-Treat Stains and Sweat Rings
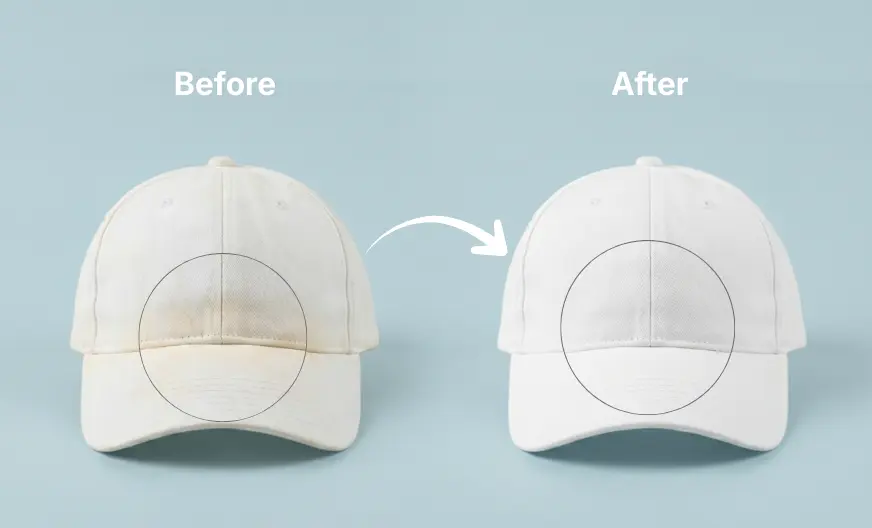
Washing alone won’t erase yellow sweat stains. Pre-treat problem areas for a deeper clean.
Neutralize Sweat with Vinegar
Sweat is acidic and bleaches fabric over time. Spray undiluted white vinegar directly onto the sweatband and front panel. Let it sit for 5 minutes. For heavy buildup, mix 1 part vinegar to 3 parts water and soak the cap for 30 minutes before machine washing.
Remove Stubborn Stains
Create a baking soda paste by mixing baking soda with water. Apply to stains and scrub gently with a soft toothbrush. For white caps only, use diluted oxygen bleach applied with a soft brush. Never use chlorine bleach because it yellows fabric.
Test first: Try any cleaning solution on an inconspicuous area first to check for colorfastness before applying to the whole cap.
Remove and Reshape Immediately After Washing

The moment the cycle ends, act fast to preserve the cap’s shape.
Take Cap Out Right Away
Leaving it bunched up leads to mildew growth and permanent creases. Don’t let it sit in the damp machine.
Reshape While Damp
Smooth the crown with your hands. Flatten the bill and curve it slightly upward to match its original shape. Adjust any folds or wrinkles now because they’ll set permanently as it dries.
Critical: Skipping this step guarantees a lopsided hat you’ll have to throw away.
Dry Without Heat or Sun
This is where most people fail when washing a ball cap. Heat destroys caps.
Never Use a Dryer
The dryer will shrink, warp, and melt parts of your cap. Even low heat setting is too risky for most caps.
Avoid Direct Sunlight
UV rays fade colors and dry the fabric unevenly, causing warping. Find a shaded spot instead.
Use One of These Drying Methods
Bowl Method for Structured Caps
Find a bowl that fits snugly under the crown. Cover it with a microfiber towel to absorb moisture. Place the cap over the bowl with the bill facing out. Cover with another towel to wick away moisture.
Stuffing Method for Floppy or Unstructured Caps
Ball up clean microfiber towels or use plastic grocery bags turned inside out. Gently stuff the crown to support its shape from within. Lay flat on a drying rack or shelf.
Balloon Method
Inflate a balloon to fit inside the crown. Cover with a towel. Slide the cap over the balloon and let it dry.
Drying time: Expect 1 to 2 hours for surface dryness and up to 24 hours for complete internal drying.
Post-Dry Finishing Touches
Once your cap is fully dry, give it a final refresh.
Remove Lint and Dust
Use a lint roller to pick up stray fibers from towels or dust that settled during drying.
Deodorize Between Washes
Extend time between deep cleans by sprinkling baking soda inside the cap, leaving it overnight, and shaking it out. You can also tuck a dryer sheet inside for 8 hours to absorb odors. For a quick refresh, wipe the sweatband with a baby wipe.
When to Avoid Machine Washing
Not every cap belongs in the machine. Avoid machine washing if the bill insert is cardboard, the material is leather, suede, wool, or felt, the care label says spot clean only, or the cap is vintage or collectible.
For these caps, hand wash only. Soak in cool water with mild detergent for 15 to 30 minutes. Gently scrub with a soft brush. Rinse thoroughly. Reshape and air dry using the bowl method.
Maintenance Tips for Cap Longevity
Keep your caps looking sharp with these simple habits.
Clean Every 2 to 4 Weeks
If worn daily, wash every 2 to 3 weeks. Sweat buildup causes irreversible fading that cleaning cannot reverse.
Rotate Your Caps
Don’t wear the same cap two days in a row. Let it air out to prevent odor and moisture damage.
Brush After Wearing
Use a soft horsehair or boar bristle hat brush to remove dust and dirt before it sets into the fabric.
Store Properly
Keep caps in a cool, dry place. Use a hard hat box for travel or long-term storage. Avoid stacking caps on top of each other because this causes crushing.
Expert note: Cleaning won’t reverse permanent dye damage from old sweat stains. Prevent it with regular washing instead.
Alternative Cleaning Methods
Dishwasher Method
Some people use dishwashers for washing multiple caps at once. Place caps inside out on the top rack only. Use mild unscented dishwasher detergent. Run a short, low-heat or air-dry cycle with no dishes in the load. Use a hat cage to maintain shape.
Risk: High heat can warp plastic bills. This method is not recommended unless you’re experienced with the technique.
Specialized Hat Cleaners
Dedicated devices exist that clean, steam, and reshape caps. These are great for collectors or frequent users. They mimic professional cleaning at home.
Frequently Asked Questions About Washing Ball Caps in a Washing Machine
Can you wash a baseball cap in a washing machine?
Yes, you can wash a baseball cap in a washing machine if it has a plastic bill insert and the care label allows it. Use cold water, gentle cycle, and a protective bag or cage. Always check the bill material first because cardboard bills will be destroyed by water.
What happens if you wash a cap with a cardboard bill?
Washing a cap with a cardboard bill insert will destroy the hat. The cardboard soaks up water, becomes soft, and then disintegrates or collapses when it dries. This damage is irreversible, and the hat will be unwearable.
How do you wash a ball cap without ruining it?
Turn the cap inside out and place it in a mesh laundry bag or hat washing cage. Use cold water and the gentle/delicate cycle with mild detergent. Remove immediately after the cycle ends and reshape while damp. Air dry using the bowl method or stuffing method to maintain structure.
Can you put a baseball cap in the dryer?
No, never put a baseball cap in the dryer. The heat will shrink the fabric, warp the bill, and potentially melt adhesives used in the cap’s construction. Air dry only, preferably with support from a bowl or stuffed towels.
How often should you wash a ball cap?
Wash ball caps every 2 to 4 weeks if worn regularly. If you wear the same cap daily, wash it every 2 to 3 weeks to prevent sweat buildup from causing permanent fading. Allow 24 hours between wears for the cap to air out completely.
What’s the safest way to wash a vintage ball cap?
The safest way to wash a vintage ball cap is by hand washing or spot cleaning only. Vintage caps often have cardboard bill inserts that cannot get wet. Check the bill material first by flicking it. A hollow sound means cardboard, which requires spot cleaning only.
Key Takeaways for Washing Your Ball Cap in the Machine
Washing a ball cap in the washing machine is possible when done correctly. The most important step is checking the bill insert material first because cardboard bills cannot survive water exposure. Always use cold water, gentle cycle, and a protective enclosure like a hat cage or mesh bag to prevent shape distortion.
The drying process matters just as much as the washing. Never use heat or direct sunlight. Instead, use the bowl method, stuffing method, or balloon method to support the cap while it air dries. Reshape while damp and remove immediately after the cycle ends.
When in doubt about your specific cap, hand washing is always the safest option. It takes 10 minutes and guarantees your cap keeps its shape, color, and character for years to come. Follow these steps, and your favorite cap will stay fresh, clean, and ready to wear.



