
If your washing machine is making loud banging or grinding noises during the spin cycle, or you notice excessive vibration, you might be dealing with a loose drum. While this issue can seem serious, how to tighten drum on washing machine often comes down to securing a central retention bolt — a fix within reach for many DIYers. However, not every wobble means a simple tightening job. A loose drum can stem from worn bearings, broken suspension, or misalignment, so proper diagnosis is key. In this guide, you will learn how to safely inspect, diagnose, and tighten a washing machine drum using the correct tools and torque specifications. You will also discover when tightening is not enough and what underlying issues need fixing first.
Recognize Loose Drum Symptoms
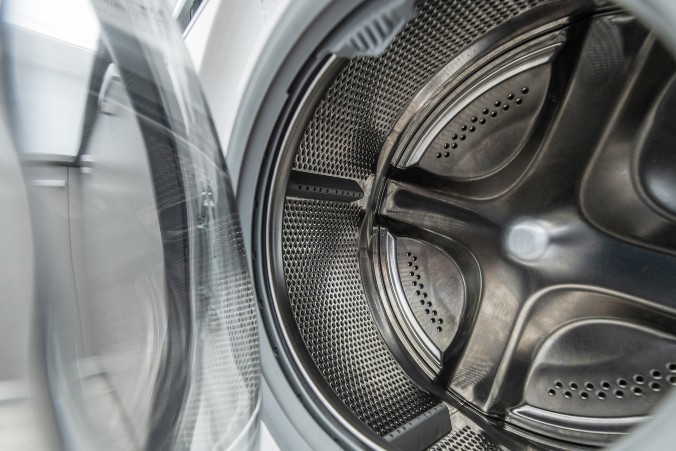
Identify Noise and Movement
A loose drum typically causes loud banging, rumbling, or grinding, especially at high spin speeds. You may feel the entire machine shaking violently or “walking” across the floor. In severe cases, the inner drum shifts visibly when pushed by hand, or the washer stops mid-cycle with an error code. These are red flags that the drum assembly has lost stability.
Distinguish True Looseness From Mimics
Not all shaking means a loose drum bolt. Worn drum bearings create play and noise that mimic looseness but will not improve with tightening. Similarly, unbalanced loads or uneven flooring cause vibration that can loosen bolts over time. Broken suspension springs or shock absorbers allow the drum to bounce, adding stress to fasteners. Always inspect these components before assuming the bolt just needs tightening.
Avoid Costly Mistakes
Ignoring a loose drum risks motor damage, tub cracks, or water leaks from misaligned seals. But tightening without diagnosis can make things worse. Over-tightening may strip threads or damage the shaft. If the root cause is bearing wear or broken suspension, the bolt will loosen again quickly. Proper troubleshooting saves time, money, and further damage.
Gather Required Tools and Specs
Use Correct Torque for Lasting Results
The central drum bolt must be tightened to a precise 35 to 50 ft-lbs, depending on your model. Hand-tightening with a regular wrench rarely achieves this consistently. An adjustable torque wrench is essential. It ensures you apply enough force to secure the bolt without damaging threads or the drive shaft. Never guess. Under-tightening leads to recurring looseness, while over-tightening risks permanent damage.
Apply Thread Locker for Vibration Resistance
If the bolt keeps coming loose, use Loctite 271 or equivalent high-strength thread locker. This anaerobic adhesive cures in the absence of air, locking the threads chemically to resist vibration. Apply sparingly to the bolt threads before final tightening. It is not a fix for mechanical failure. Only use it after resolving any underlying issues like broken springs or worn bearings.
Prepare Inspection and Access Tools
You will need these tools for the job:
- Screwdrivers (Phillips and flathead) to remove panels
- Socket set to access the drum bolt
- Flashlight to inspect tight spaces
- Spirit level to check machine stability
- Gloves for hand protection
Having these ready ensures a smooth, efficient repair.
Diagnose Before Tightening
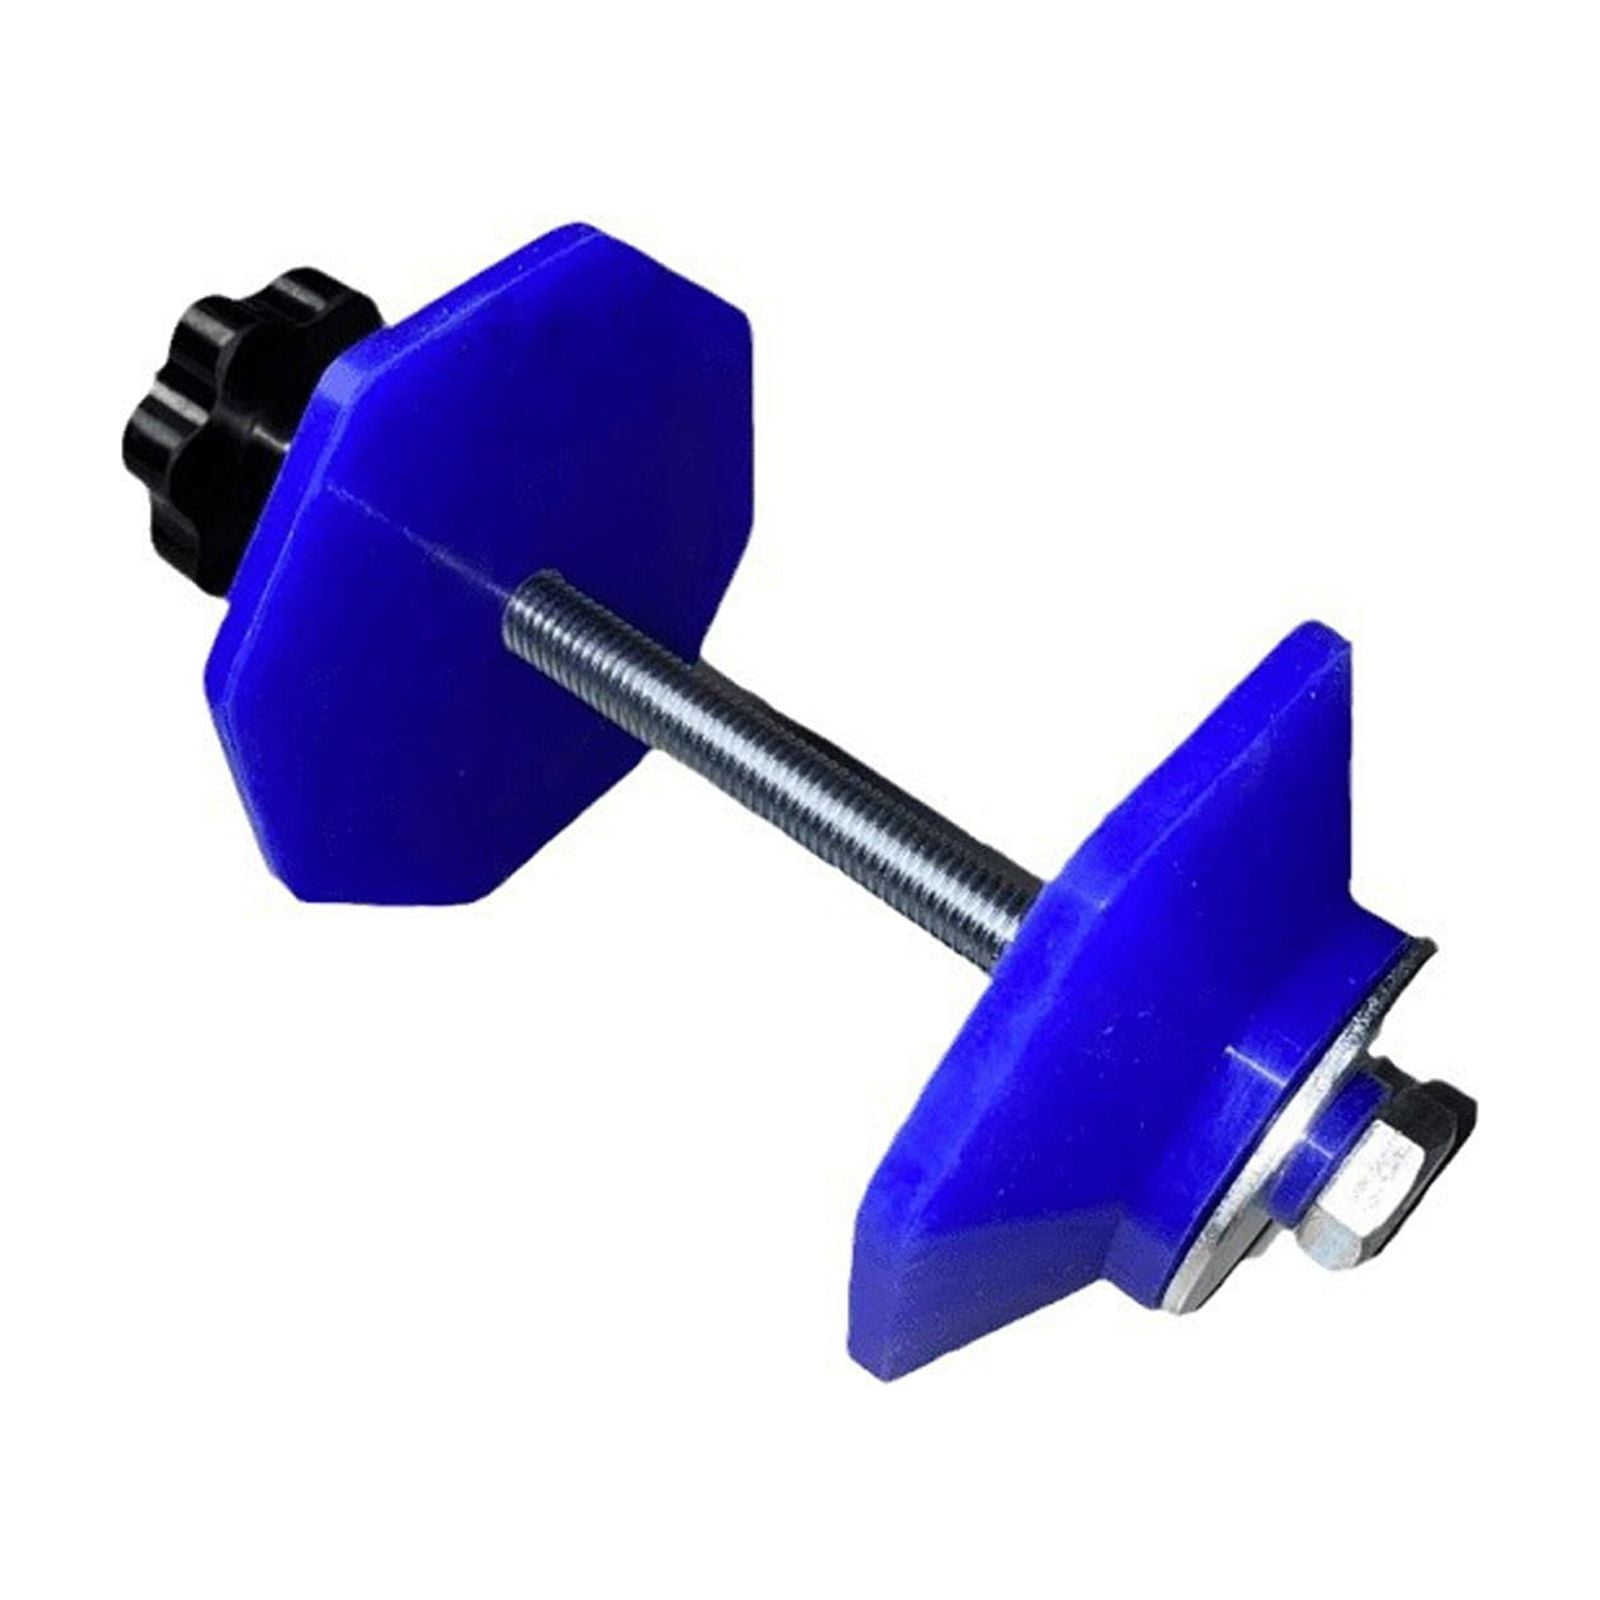
Test for Bearing Wear
Unplug the machine and open the door. Rotate the drum by hand. If you hear grinding or feel roughness or wobble, the bearings are likely worn. A healthy drum spins smoothly with minimal play. Worn bearings require full replacement. Tightening the bolt will not help and could accelerate failure.
Inspect Suspension System
Remove the back or front panel (depending on model) and visually check the suspension springs and shock absorbers. Look for these issues:
- Broken or detached springs
- Leaking or bent shock absorbers
- Cracks in mounting points
These parts absorb drum movement during spin. If damaged, the drum moves excessively, causing bolts to loosen. Replace any faulty suspension components before tightening.
Check for Foreign Objects
Items like coins, keys, or hairpins can get trapped between the inner drum and outer tub. This creates imbalance and noise. Shine a flashlight into the drum gap and remove any debris. Even small objects can cause significant vibration.
Verify Machine Leveling
Place a spirit level on top of the washer. Adjust the leveling feet until the bubble is centered front-to-back and side-to-side. An unlevel machine amplifies vibration, which loosens bolts over time. Retightening without leveling leads to repeat failure.
Access and Inspect the Drum Bolt
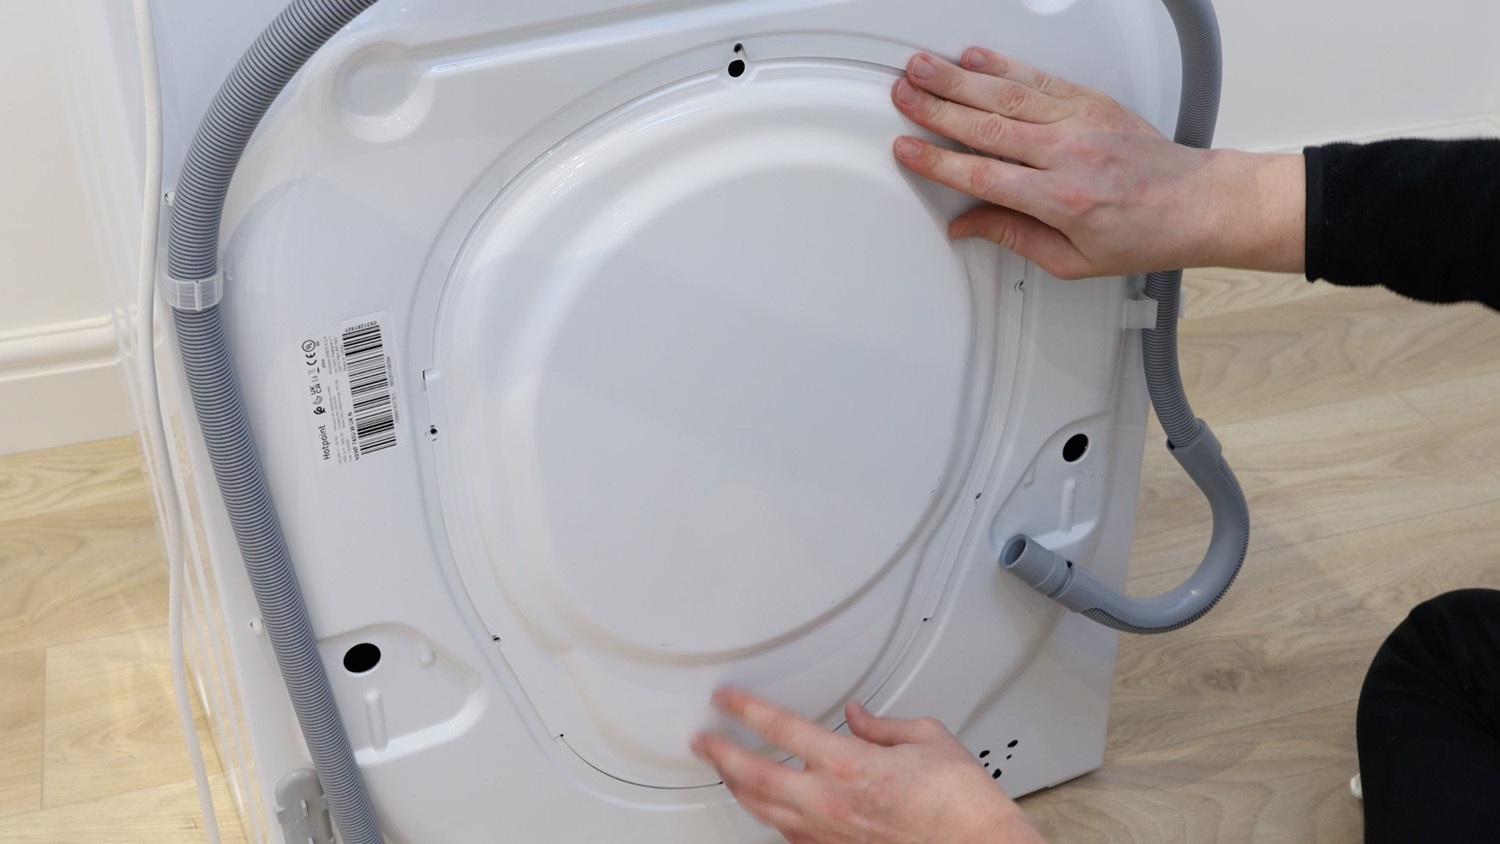
Disconnect Power and Water
Always unplug the washer before starting. If you need to tilt or move the machine, turn off water valves and disconnect hoses to prevent leaks. Safety first. Live electrical components and pressurized water lines pose serious risks.
Remove Access Panel
Most front-load washers require removing the rear panel to reach the drum bolt. Use a screwdriver to unscrew the back panel. Some models may require front panel removal. Once open, locate the central bolt in the middle of the drum drive system. It secures the inner drum to the shaft.
Examine Bolt and Shaft Condition
Inspect the bolt for stripped threads or corrosion. Check the tub flange and central shaft for cracks or deformation. If the shaft wobbles when rotated, the bearings are likely shot. If the threads are damaged, replace the bolt with an OEM part. Never force a damaged bolt. It will not hold torque.
Tighten the Drum Bolt Correctly
Align and Clean Before Tightening
Ensure the drum is centered in the outer tub and not rubbing. Clear any debris from the drum gap. Misalignment creates stress that undermines bolt integrity. Also, confirm the machine is level. Recheck with the spirit level if it was moved.
Apply Thread Locker (If Needed)
If the bolt has a history of loosening, apply Loctite 271 to the threads. Do not over-apply. A few drops are sufficient. This creates a vibration-resistant bond but should only be used after fixing mechanical issues like broken springs or worn bearings.
Torque to Manufacturer Spec
Follow these steps to secure the bolt properly:
- Insert the bolt and hand-tighten to start threading.
- Attach your torque wrench with the correct socket.
- Tighten slowly until the wrench clicks at the target setting (usually 35 to 50 ft-lbs).
- Do not exceed the limit. Over-torquing can strip threads or crack the flange.
This precision step ensures the bolt stays secure under high-speed spinning forces.
Reassemble and Test the Machine
Reattach Panels and Reconnect
Secure the access panel with screws. Reconnect water hoses and plug the machine back in. Make sure all components are properly seated and nothing is pinched.
Run an Empty Spin Cycle
Start a spin-only cycle with no clothes. Stand nearby and listen. You should hear smooth operation. No banging, grinding, or loud vibrations. If noise persists, stop the machine and recheck your work.
Monitor With a Light Load
Run a second cycle with a small, balanced load (like a few towels). Watch for “walking” or shaking. If the machine vibrates excessively, it may still be unlevel or have unresolved mechanical issues.
Post-Test Bolt Check (If Possible)
After the first cycle, if access allows, briefly check the bolt is tightness. Some thread lockers need time to cure, but the bolt should not feel loose. A slight snugness check confirms the torque held.
Fix Recurring Looseness Issues

Stop Vibration at the Source
If the bolt loosens again, vibration is the likely culprit. Common causes include:
- Broken suspension springs — Replace both (or all) to maintain balance.
- Worn shock absorbers — These dampen drum movement. Replace if leaking or damaged.
- Faulty motor coupling — A cracked coupling causes jerky motion that loosens bolts. Replace with a model-specific part.
Mechanical repairs must come before re-tightening.
Address Thread or Shaft Damage
Stripped threads on the bolt or shaft prevent proper tightening. Replace the bolt first. Use OEM to ensure correct fit. If the shaft threads are damaged, the entire drum assembly or tub may need replacement. In some cases, a thread repair kit (helicoil) can restore the shaft, but this requires precision.
Replace Worn Bearings
If the drum wobbles or grinds, bearing replacement is necessary. This is a complex job involving tub disassembly and seal replacement. Unless you are experienced, hire a technician. Attempting it without proper tools often leads to leaks or further damage.
Prevent Future Drum Loosening

Level Machine Regularly
Floors settle, and appliances get bumped. Every 3 to 6 months, check leveling with a spirit level. Adjust the feet as needed. A stable base reduces vibration and prevents bolt fatigue.
Balance Loads and Avoid Overloading
Distribute clothes evenly around the drum. Never overload. This strains the suspension and creates imbalance. Follow the manufacturer load guidelines to extend component life.
Inspect Suspension and Seals
During routine cleaning, peek behind the machine or remove the panel to check these components:
- Suspension springs for breaks
- Drum seal for tears or debris
- Shock absorbers for leaks
Early detection prevents major failures.
Use Proper Detergent
Excess suds from non-HE detergent can cause oversudsing, leading to imbalance and increased vibration. Always use high-efficiency (HE) detergent in front-load washers.
Know When to Call a Pro
Bearing or Tub Replacement Needed
If bearings are gone or the tub is cracked, DIY repair is risky. These jobs require special tools and knowledge. A botched bearing install can ruin the drum or cause leaks. Professional technicians have the right equipment and experience.
Warranty or Structural Issues
Opening the drum assembly may void your warranty. If the washer is under warranty, contact the manufacturer. Also, if you suspect internal structural damage (like warped frame or cracked mounting points), leave it to an expert.
Persistent Problems After Repair
If the bolt keeps loosening despite replacing springs, using thread locker, and proper torque, there may be a deeper issue. A bent shaft or misaligned motor could be the cause. A qualified appliance repair technician can diagnose complex mechanical faults.
Frequently Asked Questions About Tightening a Washing Machine Drum
How do I know if my washing machine drum is loose?
Listen for loud banging, grinding, or rumbling during the spin cycle. Feel for excessive vibration or shaking. Visually inspect the drum by pushing it gently. If it shifts or wobbles, the drum or its retention bolt is likely loose.
Can I tighten the drum bolt without special tools?
You need a torque wrench to achieve the proper 35 to 50 ft-lbs specification. Hand-tightening with a standard wrench rarely provides enough force and often leads to under-tightening, causing the bolt to come loose again.
What happens if I ignore a loose drum?
Ignoring a loose drum can cause motor damage from excessive vibration, crack the inner drum or outer tub, break suspension components, and lead to water leaks from misaligned seals. The damage worsens over time and becomes more expensive to repair.
Why does the drum bolt keep coming loose after tightening?
The bolt keeps loosening because of underlying issues. Worn bearings, broken suspension springs, worn shock absorbers, or a cracked motor coupling create excessive vibration that overcomes the bolt friction. You must fix these root causes before the bolt will stay tight.
Can I use thread locker on the drum bolt?
Yes, you can use Loctite 271 or equivalent high-strength thread locker. Apply it after fixing mechanical issues like broken springs or worn bearings. Thread locker is a supplementary measure, not a replacement for proper mechanical repairs.
Should I call a professional or fix it myself?
Call a professional if the bearings need replacement, the tub is cracked, the machine is under warranty, or the bolt keeps loosening despite thorough repairs. DIY is appropriate when you have confirmed the bolt is the sole issue and you have the proper tools.
Key Takeaways for Tightening Your Washing Machine Drum
Knowing how to tighten drum on washing machine can save you time and money, but only when done correctly and at the right time. Always diagnose first. Use a torque wrench set to 35 to 50 ft-lbs. Address root causes like broken suspension, worn bearings, or an unlevel machine before assuming the bolt is the problem. Apply thread locker only after fixing mechanical issues. With proper maintenance and attention to vibration, your washer drum can stay secure for years. If you are unsure about any step, do not risk it. Call a professional to avoid costly damage.



