
Storing a washing machine properly isn’t just about clearing space. It’s about protecting your investment from mold, rust, and mechanical damage that can turn a functioning appliance into a costly repair. Whether you’re moving, renovating, or temporarily downsizing, improper storage leads to problems that often surface months later when you finally need the machine again.
This guide walks you through every critical step. You’ll learn how to disconnect utilities safely, deep clean the drum to prevent bacterial growth, stabilize internal components for transport, wrap the exterior properly, and select the ideal storage environment. Follow these expert-backed procedures, and your washing machine will start up smoothly when you’re ready to use it again.
Disconnect Water and Power Safely
Before moving or storing your washing machine, you must disconnect all utilities to prevent leaks, electrical hazards, and water damage.
Turn Off Water Supply and Drain Hoses
Start by locating the water valves behind your machine. Turn off both the hot and cold water supply valves completely. Open the hose connections slowly to release built-up pressure, then disconnect them over a bucket to catch any residual water. Drain the hoses and the pump thoroughly. Even small amounts of water left inside can freeze during cold storage, causing cracked hoses or a damaged pump.
Unplug Power and Organize Cords
Switch off the circuit breaker that powers the washing machine before handling any electrical components. Unplug the unit and inspect the power cord for fraying or damage. Place the power cord, hoses, and all connectors into a labeled plastic bag. Attach the bag to the washer or store it separately. Losing these components delays reinstallation and may require costly replacements.
Deep Clean Before Storage
A dirty or damp washing machine becomes a breeding ground for mold, mildew, and bacteria during storage. A single load of laundry can introduce nearly 100 million E. coli into the drum, and leaving this in a humid, closed environment allows it to multiply rapidly.
Sanitize Drum and Removable Parts
Run a hot water cycle with a cup of white vinegar or a commercial washer cleaner to remove detergent buildup and kill bacteria. For stubborn odors, use bleach if your model permits. Remove the detergent drawer, lint trap, and any other detachable parts. Wash them separately with warm, soapy water and dry completely before storage.
Leave Door Open for Complete Drying
Wipe down the drum, door seal, and exterior surfaces with a microfiber cloth. Leave the door open for a minimum of 24 hours, though several days is ideal for thorough drying. Trapped humidity inside the machine leads to mold growth and permanent musty smells that are extremely difficult to eliminate later.
Stabilize the Drum for Transport

Moving a washing machine without securing the internal drum destroys its suspension system. The washtub can slam around during transit, preventing the machine from spinning correctly when you use it again.
Install Shipping Bolts for Front-Loaders
Front-load washers almost always require original shipping bolts to lock the drum in place. Check your owner’s manual for specific requirements. If the original bolts were removed after installation, order a model-specific replacement set. Never move a front-loader without them. This is the most common cause of transport failure, resulting in a broken suspension system.
Use Alternatives for Top-Loaders
Top-load machines may have a built-in agitator lock. Engage it if present to stabilize internal components. If no lock exists, place a padded moving blanket or foam block inside the drum to minimize shifting. This protects internal mechanisms during transport.
Wrap and Protect the Exterior

Proper wrapping prevents scratches, dents, and control panel damage during storage and transport. The industry-standard method uses reusable moving pads secured with rubber bands, not tape.
Apply Double-Layer Moving Pads
Fold a moving pad lengthwise and drape it over the washer, ensuring it sits flush against the sides. Apply a second pad starting from the front, wrapping around the back. Use heavy-duty rubber bands to secure the pads. Never use tape, which damages fabric fibers and leaves adhesive residue.
Position Rubber Bands Correctly
Place rubber bands in these specific positions for optimal coverage. The top band goes 4 to 5 inches below the top edge. The middle band centers vertically. The bottom bands loop around the feet and pull up front to eliminate gaps behind the control panel. Wrap glass doors or delicate knobs with bubble wrap before pad application for extra protection.
Load and Transport Upright
Improper handling causes irreversible damage to internal components. Washing machines are heavy and awkward, requiring proper equipment and techniques.
Use a Dolly for Safe Movement
Never lift a washing machine by hand. Slide an appliance dolly underneath the unit, secure it with straps, and roll it steadily. Keep the machine upright at all times unless your manufacturer specifies otherwise. Tilting can dislodge internal parts and void warranties.
Secure Door and Add Blanket Protection
Tape the door or lid closed to prevent it from swinging open during transport, which damages hinges. Wrap the entire unit in a moving blanket for added protection against dings. Avoid stacking other items on or against the washer during transit.
Choose a Climate-Controlled Storage Unit
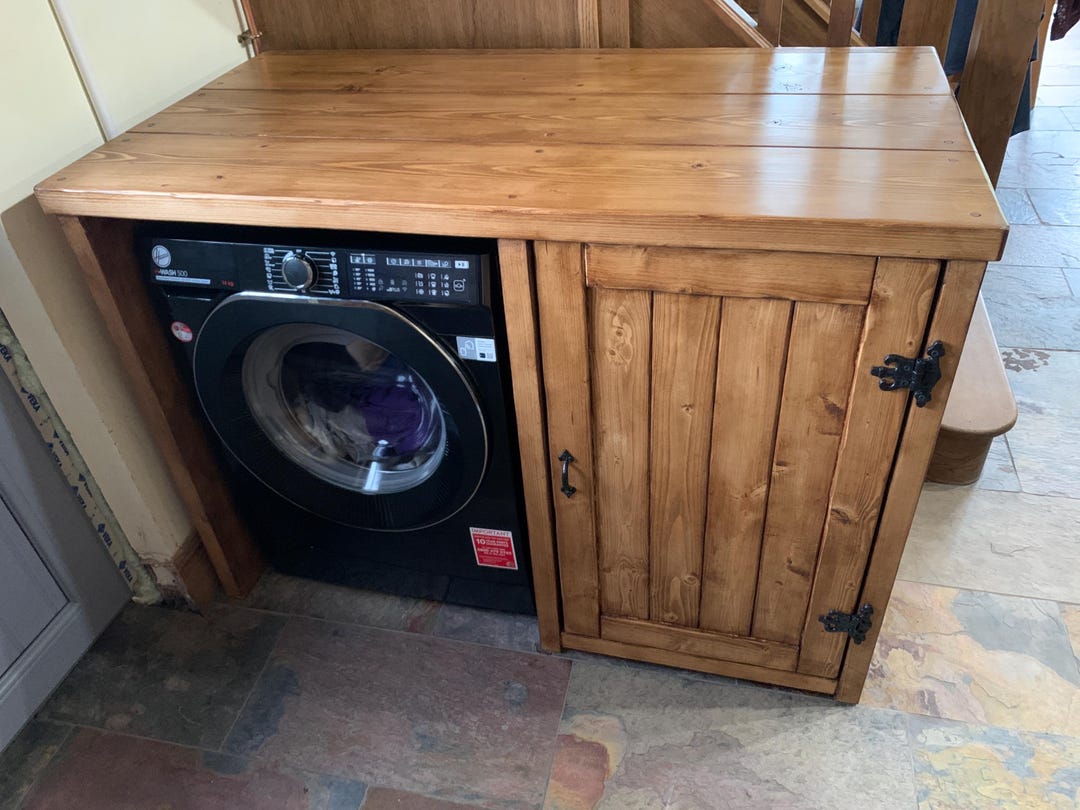
Storage environment is critical. Temperature swings and humidity destroy unprotected appliances, causing condensation, rust, and electrical corrosion.
Prioritize Climate Control
Select a climate-controlled storage unit to prevent moisture buildup. Non-climate-controlled spaces experience extreme temperature changes. As temperatures rise and fall, condensation forms on the underside and interior of the appliance, promoting rust development and electrical problems.
Elevate Off Concrete Floors
Place the washing machine on a wooden pallet or thick cardboard to prevent direct contact with concrete. Concrete floors wick moisture, accelerating rust on metal components. Leave at least 2 to 3 inches of clearance around all sides for proper airflow. Never store the machine directly on the floor.
Avoid Stacking and Allow Airflow
Protect the washer’s structure and prevent mold with proper positioning inside the storage unit.
Never Stack Items on Top
Do not place boxes, furniture, or other appliances on the washing machine. The weight crushes the top panel or damages internal mechanisms. Treat the washer as a fragile item, even while in storage.
Keep Door Slightly Ajar
If security allows, leave the door or lid slightly open to promote airflow and prevent mildew. If the unit must be closed, confirm the interior is completely dry first. A sealed, damp environment guarantees mold growth and permanent odors.
Retrieve and Reinstall Properly

When retrieval time comes, reverse the preparation steps carefully to ensure safe operation.
Inspect for Damage and Pests
Check for rust, dents, or signs of rodents before bringing the machine inside. Look inside the drum, hose connections, and underneath the unit for nesting materials or chewed wires.
Remove Shipping Bolts Before Use
Critical step: take out all shipping bolts or foam inserts before plugging in the machine. Running a washer with bolts installed causes violent shaking that destroys the suspension system in minutes.
Reconnect and Run a Test Cycle
Reattach labeled hoses and power cords. Tighten all connections and restore power. Run an empty hot water cycle with vinegar to remove dust and odors. This ensures the machine is clean and functioning properly before you wash clothes.
Key Takeaways for Storing Your Washing Machine

Storing a washing machine safely requires proper planning, thorough cleaning, and the right environment. Start preparation at least one week before your move date to allow sufficient drying time. Deep clean and sanitize the drum, disconnect all utilities, stabilize the drum with shipping bolts or foam inserts, and wrap the exterior with moving pads secured by rubber bands. Store the unit upright in a climate-controlled storage facility on a wooden pallet. Avoid common pitfalls like skipping shipping bolts, storing directly on concrete, or sealing a damp machine. When retrieval time comes, inspect for damage, remove all stabilizers, and run a test cycle before washing clothes. Follow these steps, and your washing machine will perform like new when you need it again.
Frequently Asked Questions About Storing a Washing Machine
How long does it take to prepare a washing machine for storage?
Start the preparation process at least one week before your scheduled move date. This allows time for thorough deep cleaning and complete drying. The drum must rest with the door open for a minimum of 24 hours, though several days is optimal to ensure all internal moisture evaporates.
Can I store my washing machine in a garage or basement?
Only if the space is climate-controlled. Non-climate-controlled garages and basements experience extreme temperature fluctuations that cause condensation to form on and inside the appliance. This leads to rust, electrical corrosion, and mold growth. Always use a climate-controlled storage unit for best results.
What happens if I don’t use shipping bolts when moving a front-loader?
The internal drum will slam against the sides of the cabinet during transit. This destroys the suspension system, often rendering the machine unable to spin properly or causing severe vibration during use. Shipping bolts are essential for front-load washing machines.
Should I leave the washing machine door open or closed during storage?
Leave the door slightly open if security allows. This promotes airflow and prevents mildew buildup. If the unit must be locked, ensure the interior is 100 percent dry first. Never seal a damp machine, as this guarantees mold growth and permanent odors.
Do I need to clean the dryer when storing it alongside the washing machine?
Yes. Thoroughly clean the dryer drum and remove all lint from the lint trap and duct.Lint is a fire hazard and attracts pests. If you have a gas dryer, turn off the gas valve and disconnect the hose carefully, which may require professional assistance.



