
If your top-loading washing machine leaves clothes smelling musty or with residue, the culprit is likely a dirty agitator. Over time, detergent gunk, fabric softener buildup, mold, and grime accumulate inside the agitator and its hidden compartments. This not only causes foul odors but also reduces cleaning efficiency and can damage your machine. The good news? Cleaning the agitator is a simple, DIY task that takes less than an hour. Whether you’re dealing with sticky dispensers, clogged bleach slots, or a musty base, this guide walks you through proven methods using common household products like vinegar, baking soda, and dish soap. You will learn how to deep clean, scrub hard-to-reach areas, and prevent future buildup, keeping your washer fresh and effective.
Vinegar and Baking Soda Deep Clean

This method is the go-to for monthly maintenance and tackling moderate grime and odors without disassembling any parts.
Run Hot Water Cycle with Vinegar
Pour 2 cups of white vinegar directly into the empty drum. Set the washer to the hottest water setting and the longest cycle available. The heat helps dissolve soap scum and kills bacteria deep inside the agitator.
Add Baking Soda to Dispenser
Midway through the fill cycle, pause and add one-half cup of baking soda into the fabric softener compartment. The fizzing reaction between vinegar and baking soda helps loosen stuck-on residue in internal channels. Resume the cycle and let it complete.
Wipe Interior After Cycle
Once the cycle finishes, open the lid and use a microfiber cloth to wipe the inside of the agitator, especially around the top rim and dispenser housing. This removes any loosened gunk. If residue remains, run a second rinse cycle with just vinegar to flush out baking soda remnants.
Manual Scrubbing and Soaking
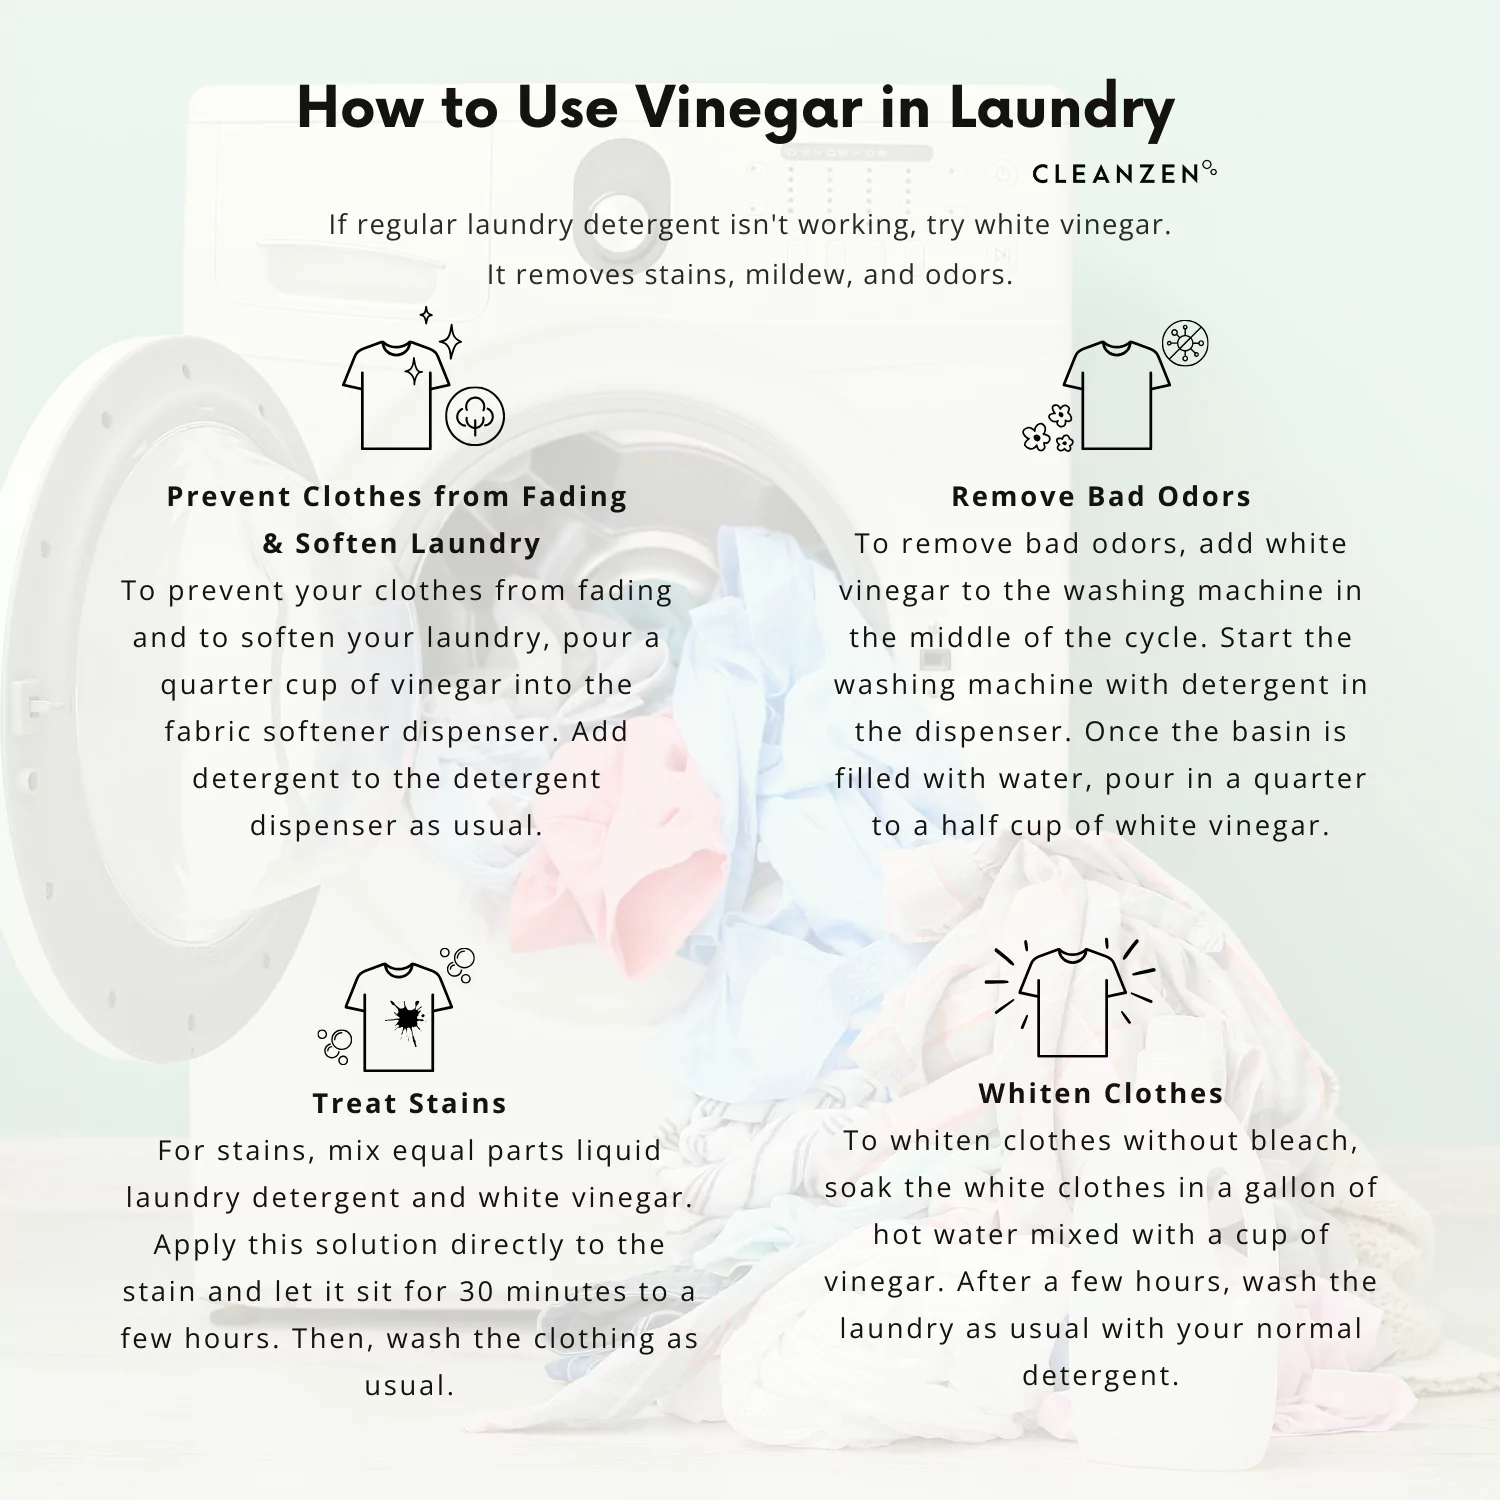
For visible gunk, sticky residues, or stubborn mold, manual cleaning of removable parts is essential.
Remove Fabric Softener Dispenser
Locate the dispenser on top of the agitator. Most pop out with a gentle pull or twist. Check your manual, as some require pressing a release tab. Also remove the bleach dispenser if accessible by pulling it forward from behind.
Soak in Vinegar-Dish Soap Solution
Fill a sink with 1 cup white vinegar, 1 cup water, and 1 teaspoon of Dawn dish soap. Submerge the removed parts for 15 to 30 minutes. The dish soap cuts through greasy softener buildup while vinegar dissolves mineral deposits.
Scrub with Toothbrush and Q-Tips
After soaking, use an old toothbrush to scrub the dispenser internal channels. For tight spots like bleach entry slots and the agitator shaft gap, use Q-tips or pipe cleaners. These areas trap lint and hair, leading to clogs and odors. Rinse thoroughly and let dry before reinserting.
Deep Rinse with Manual Scrub
This technique enhances cleaning by pausing the cycle to scrub while water is inside.
Start Warm Water Cycle
Set the washer to a normal cycle with warm water and high water level. Add one-fourth cup detergent and 1 cup bleach. Alternatively, repeat the vinegar-baking soda mix if avoiding chlorine.
Pause After 5 Minutes
Let the machine agitate for about 5 minutes to circulate the solution. Then pause or stop the cycle. Open the lid and use a long-handled bottle brush to scrub the inside of the agitator. The water softens grime, making it easier to remove.
Resume and Drain
After scrubbing, close the lid and restart the cycle. The machine will drain the dirty water, flushing out loosened debris. Always leave the lid open afterward to dry the drum and prevent mold.
Advanced Agitator Removal
When odors persist, grime may be hiding under the agitator base, a common issue in older machines.
Locate and Remove Center Bolt
Take out the fabric softener cup. Look inside the agitator column for a central bolt at the bottom. Use a socket wrench or screwdriver to unscrew it. Gently lift the entire agitator straight up.
Clean Underneath and Reassemble
Wipe the exposed area beneath with a vinegar-soaked cloth. Soak the removed agitator in a bleach solution or scrub with a baking soda-vinegar paste. Reinstall by aligning the shaft and tightening the bolt securely. Do not over-tighten, as this can damage the drive mechanism.
Focus on Problem Areas
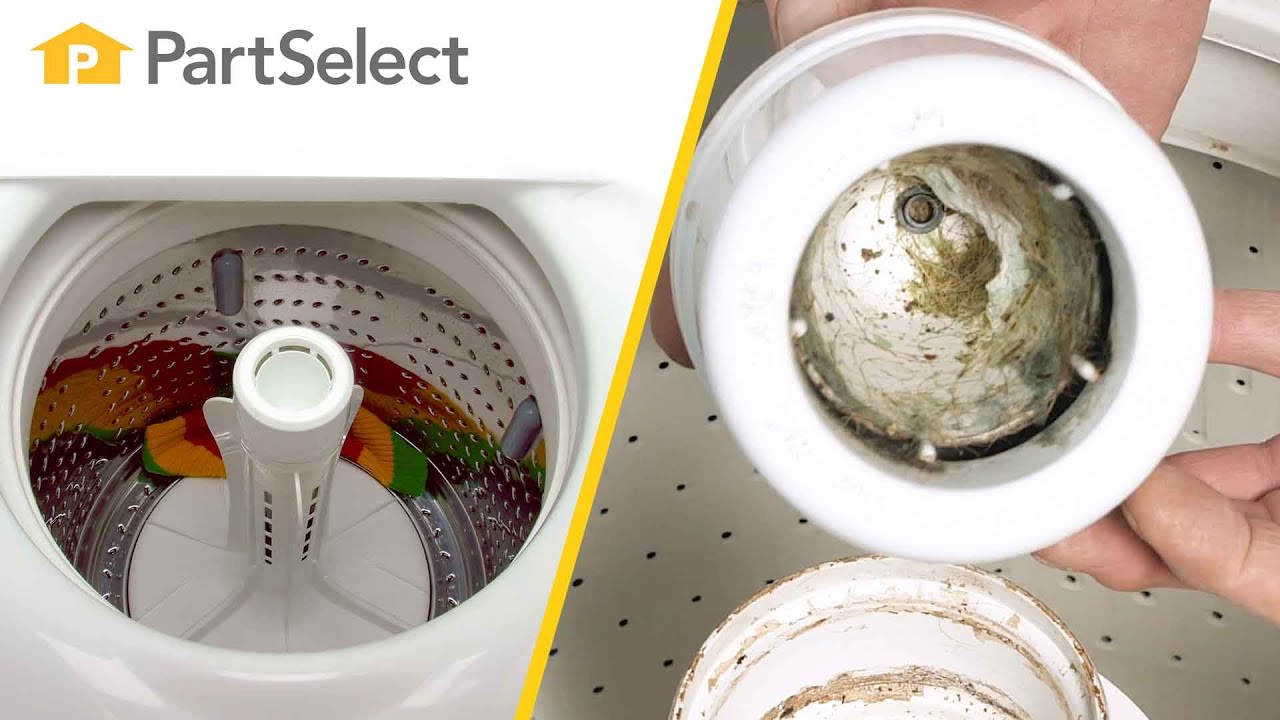
Target these high-buildup zones for complete cleaning.
Fabric Softener Dispenser Maintenance
This is the number one trouble spot. Sticky liquid softener hardens over time, blocking flow and growing mold. Remove weekly for a quick rinse. Monthly, soak and scrub with a toothbrush. Avoid overfilling and use only the recommended amount.
Agitator Shaft and Drum Seal
Lint and hair collect in the gap between the spinning agitator and the drum. Use pipe cleaners to pull out debris. Wipe the shaft with a vinegar-dampened microfiber cloth to prevent mildew.
Unclog Bleach Entry Slots
Small bleach slots can get blocked, leading to undiluted bleach stains on clothes. Insert a pipe cleaner into each slot and twist to clear hair and residue. Test flow by dripping water into the slot.
Prevent Buildup with Routine Care
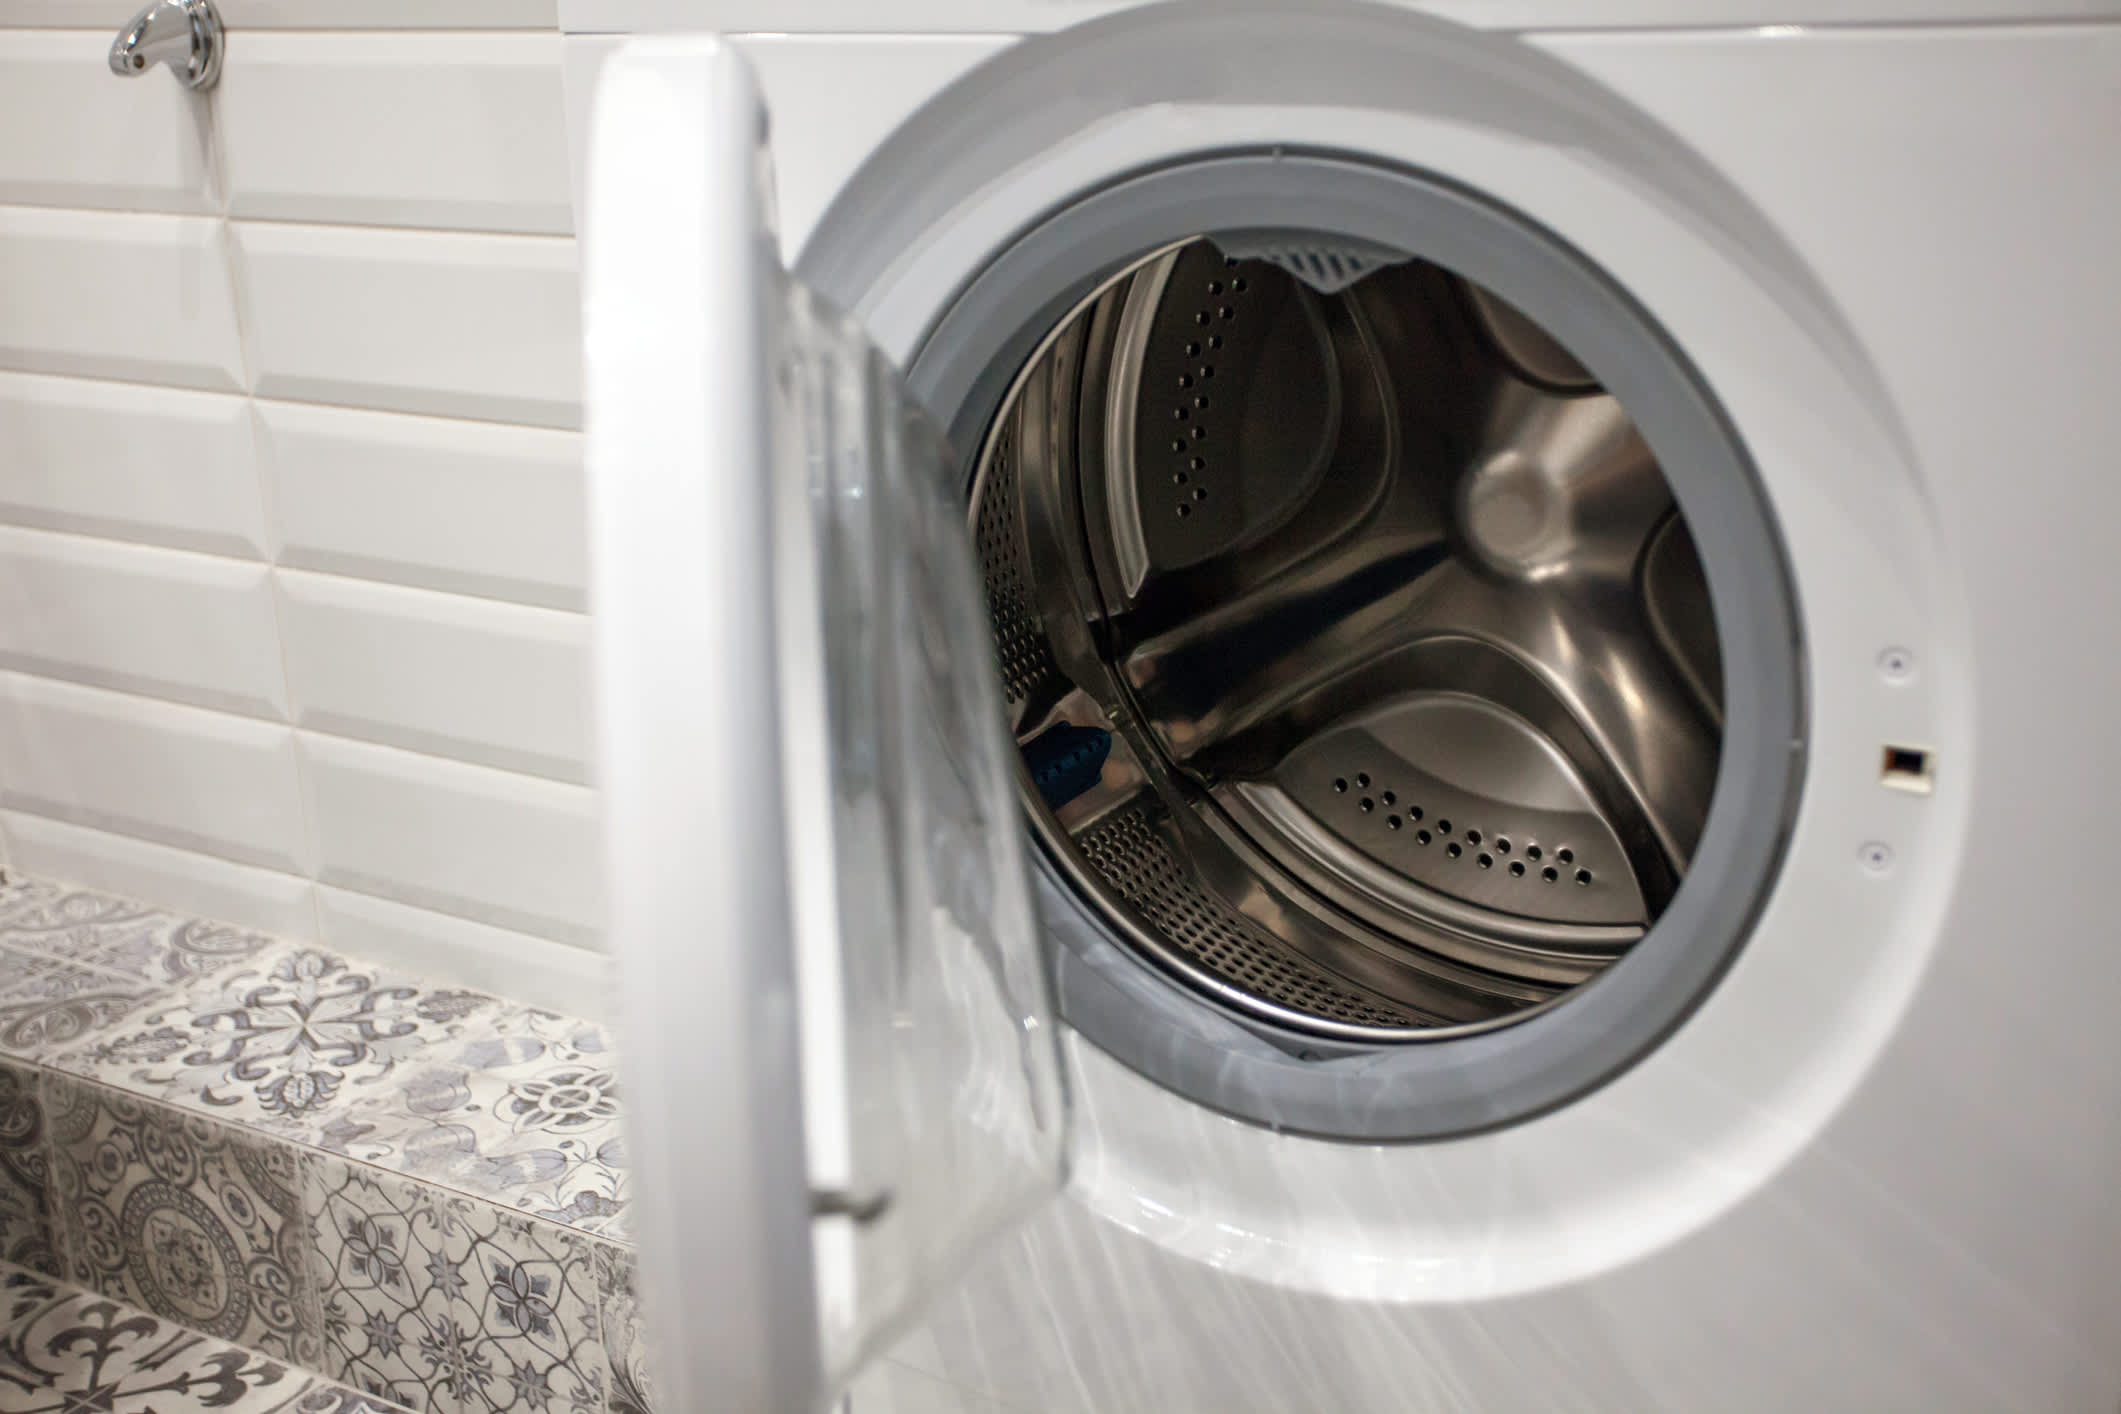
Leave Lid Open After Use
Moisture breeds mold. Always leave the lid open after each wash to allow airflow and drying. This simple step prevents 90 percent of odor issues.
Wipe Drum and Rim Weekly
Use a dry microfiber cloth to wipe the drum seal and agitator rim. This removes lingering moisture and lint. Pay attention to the fold under the rim, as this hidden zone traps gunk.
Monthly Cleaning Schedule
Run a vinegar-baking soda cycle or use a commercial cleaner like Affresh once a month. Choose one method per session and never mix vinegar and cleaning tablets, as they neutralize each other.
Use Liquid Softener Wisely
Pods often leave sticky residue in dispensers. Stick to liquid fabric softener and do not overfill. Excess softener overflows into the agitator, creating a breeding ground for mold.
Troubleshoot Common Issues
Musty Smell Returns Quickly
If odor comes back fast, mold may be under the agitator or in the drain hose. Try removing the agitator for a deep clean. Also check the hose for kinks or standing water.
White Streaks on Clothes
This signals detergent or softener buildup in dispensing channels. Soak and scrub the fabric softener cup and agitator interior. Ensure the dispenser is fully dry before reinserting.
Popping Noise or Weak Agitation
Debris in bleach slots or the agitator base can cause mechanical issues. Clear slots with a pipe cleaner. Inspect for foreign objects like coins or buttons stuck under the base.
Cleaning Vinegar vs. Regular Vinegar
Regular white vinegar works for most homes. If you have hard water or severe buildup, use cleaning vinegar for stronger mineral dissolving power.
Safety and Best Practices
Unplug Before Deep Cleaning
Always turn off power at the circuit breaker or unplug the machine before removing the agitator. This prevents accidental startup and protects electrical components.
Never Mix Bleach and Vinegar
Combining bleach with vinegar creates toxic chlorine gas. Use one or the other per cleaning session. Stick to vinegar for routine maintenance and reserve bleach for tough mold or disinfecting removable parts.
Protect Rubber Seals
Harsh chemicals and abrasives can degrade rubber gaskets. Avoid steel wool or scrub pads. Use soft brushes and non-abrasive cleaners around seals and shafts.
Consult Your Manual
Agitator removal mechanisms vary by brand. Always check your user manual for model-specific instructions. Forcing parts can damage the transmission.
Call a Pro If Stuck
If the agitator will not come off or you suspect internal damage, stop and call a technician. Forcing removal can void warranties or break the drive shaft.
Frequently Asked Questions About Cleaning Washing Machine Agitators
How often should I clean my washing machine agitator?
You should perform a deep clean of the agitator once every one to three months, depending on how frequently you use your washing machine and the hardness of your water. Weekly maintenance, such as wiping the dispenser and leaving the lid open, helps reduce buildup between deep cleans.
Can I use bleach to clean the agitator?
Yes, bleach can be used for tough mold and disinfecting removable parts. Soak plastic dispensers in a bleach solution for 15 to 30 minutes. However, avoid pouring bleach directly into the drum for routine cleaning, as it can damage rubber seals over time. Never mix bleach with vinegar.
Why does my washing machine still smell after cleaning the agitator?
If odors persist, mold may be growing under the agitator base or in the drain hose. Try removing the agitator completely to clean underneath. Also check the drain hose for kinks or blockages that could cause standing water.
What is the best homemade solution for cleaning the agitator?
The most effective homemade solution combines 2 cups of white vinegar poured into the drum with one-half cup of baking soda added to the fabric softener compartment. Run the hottest, longest cycle. For manual scrubbing, mix 1 cup vinegar, 1 cup water, and 1 teaspoon of Dawn dish soap.
Is it safe to remove the agitator myself?
Removing the agitator is safe if your machine is unplugged and you follow your manual instructions. However, this step is only necessary if odors persist after thorough cleaning of accessible parts. If the bolt will not budge or you suspect damage, call a professional technician.
Key Takeaways for Cleaning Your Washing Machine Agitator
A clean agitator means fresher clothes, better performance, and a longer-lasting washer. By following a simple monthly routine using vinegar, baking soda, and a few basic tools, you can prevent 95 percent of buildup issues. Focus on the fabric softener dispenser, bleach slots, and hidden drum areas, and always leave the lid open after use to prevent mold. For stubborn odors, advanced removal of the agitator may be necessary, but always consult your manual and unplug the machine first. With these steps, your washing machine will stay odor-free and run like new for years.



