Is your front-load washing machine leaking water around the door or giving off a musty, moldy smell? A damaged door seal, also called the gasket or bellow, is one of the most common issues in front-loading washers. This rubber ring creates a watertight seal between the door and the drum, but over time, it can crack, tear, harden, or grow mold in the folded areas where moisture gets trapped.
In this guide, you’ll learn how to diagnose seal damage, apply two proven repair methods, replace the seal completely, and maintain it to prevent future issues. Whether you’re dealing with a small crack or full-blown leakage, we’ll walk you through every step to save you time, money, and the hassle of appliance replacement.
Diagnose Door Seal Damage

Before deciding on repair or replacement, confirm the problem. A failing washing machine door seal shows clear signs that you can identify with a simple visual and physical inspection.
Check for Leaks and Mold
Look for puddles near the base of the machine after a wash cycle, especially around the front or sides. Open the door and inspect the inner folds of the rubber gasket. Black specks or streaks indicate mold growth, fueled by trapped moisture and detergent residue. A persistent musty odor even after washing clothes is another red flag.
Run your fingers along the seal. Check for areas that feel cracked, stiff, or peeling. Pay close attention to the bottom fold where the rubber bends inward each time the door closes, as this area bears the most stress and is prone to cracking.
Identify Failure Hotspots
Three areas fail most often in washing machine door seal repair:
• The fold line: Repeated compression causes micro-tears that grow over time
• Bottom edge: Heat and water pooling make it curl or detach slightly
• Drain holes: Tiny openings at the base of the seal can clog with lint or mildew, trapping water and accelerating rot
If you see any of these issues, your seal needs attention right away.
Repair With Polyurethane Sealant (Long-Term Fix)

For tears or cracks in the rubber, polyurethane sealant offers a durable, flexible repair that can last months to years without replacing the whole gasket.
Why Polyurethane Works
Standard silicone won’t bond well to rubber and tends to crack under stress. Polyurethane sealant adheres strongly to rubber and stays flexible after curing. It handles the stretching and compression of door use and resists water, making it ideal for washing machine door seal repair.
You will also need wax paper as a mold, blue painter’s tape, isopropyl alcohol and lint-free rags, diagonal cutters, a caulking gun, and a razor blade for trimming.
Prepare the Damaged Area
Start by cleaning the tear thoroughly. Use isopropyl alcohol and a lint-free rag to wipe away grease, soap scum, and moisture. Let it dry completely.
Next, use diagonal cutters to trim frayed edges. Cut at a slight angle to create a flat, square surface for better adhesion. Do not leave loose flaps, as they will compromise the bond.
Apply the Wax Paper Mold
Cut a piece of wax paper slightly larger than the tear. Place it over the damaged section from the outside of the door. Secure the edges with blue painter’s tape, attaching only to the metal door frame, not the rubber.
This creates a smooth, non-stick backing that shapes the sealant as it cures.
Inject and Shape the Sealant
From the inside of the drum, load polyurethane into a caulking gun. Squeeze it into the tear, filling the gap completely. Push the sealant deep to avoid air pockets.
Smooth the interior surface with a damp finger or plastic tool. Do not press against the wax paper. Let it form a flat exterior.
Critical: Do not cover or tape the sealant. It must cure exposed to air.
Cure and Finish the Repair
Let the sealant dry for at least 48 hours in a warm, dry space. Do not run the washer during this time.
After curing, peel off the wax paper. It should release cleanly. Trim excess sealant with a razor blade. Remove any wax residue with WD-40 or carburetor cleaner on a rag.
The result is a smooth, rubber-like patch that flexes with the door.
Test the Fixed Seal
Run a rinse cycle with water only. Place paper towels under the door to catch any drips. If no leaks appear and the patch feels flexible, the repair is successful.
With proper care, this fix can outlast many replacement gaskets.
Use Vinyl Tape & Super Glue (Emergency Patch)

Need a quick fix to stop leaks today? This temporary repair holds for several weeks while you wait for parts.
Choose the Right Materials
Use vinyl electrical tape, not duct tape or cloth tape. Vinyl is stretchy, sticks well to rubber, and won’t degrade quickly from moisture.
You will also need super glue (cyanoacrylate) and silicone lubricant (plumber’s grade).
Apply the First Layer
Cut a piece of vinyl tape long enough to cover the crack with 1 to 2 inches of overlap on each side. Apply it smoothly over the damaged area.
At the bottom, tuck extra folds inward to prevent bulging when the door closes.
Close the door gently to test. The seal should lie flat and not interfere with closure.
Inject Super Glue Behind the Tape
Squeeze a small amount of super glue into the crack from behind the tape. The tape acts as a dam, preventing overflow.
Let it cure for 10 minutes until fully dry and non-tacky.
Reapply in a “Smile” Pattern
Peel off the first layer at a sharp angle. Now apply a second strip in a curved “smile” shape across the center of the seal, the area hit by splashing water.
Follow the natural arc of the gasket. Avoid over-stretching, as that causes gaps when the tape retracts.
Fold the ends down into the recessed groove to lock them in place.
Lubricate and Monitor
Add a tiny dab of silicone lubricant to reduce friction when closing the door.
Check daily. After each wash, inspect the bottom edge. If it curls up, press it back down and let it dry.
If the patch lifts overnight, stop using the machine and reseal it. This is not a permanent fix. Replace the gasket as soon as possible.
Replace the Door Seal (Permanent Solution)

When the gasket is torn, hardened, or mold-stained beyond cleaning, full replacement is the only lasting fix for washing machine door seal repair.
Gather Tools and Parts
You will need a new gasket (match brand and model exactly), a flathead screwdriver, a Torx driver (T15 or T20 depending on model), warm soapy water, a sponge, an acid-based descaler for limescale, and a clean cloth.
Check compatibility before purchasing. Electrolux parts often fit Frigidaire, Kenmore, and Gibson. Whirlpool gaskets may work for KitchenAid, Amana, and Maytag. LG and Samsung usually require exact matches.
Replacement gasket prices range from $30 to $90 depending on brand.
Remove the Old Seal
Unplug the machine. Safety first.
Open the door fully. Locate the outer wire clamp with a spring around the front edge.
Use a flathead screwdriver to lift the spring and remove the band. Fold the outer lip outward and pull it off the front panel.
Roll the gasket inward into the drum to expose the inner retaining clamp.
Find the screw and square nut. Hold the nut with one finger, turn the screw counter-clockwise, and slide the clamp off.
Insert a finger between the tub rim and gasket to unseat it. Pull the old seal out completely.
Note: On Bosch, LG, Samsung, or Whirlpool models, you may need to remove the top panel, take out the detergent dispenser, unfasten the kick plate, and detach counterweights (three bolts per side). Do this only if the seal won’t release otherwise.
Clean the Mounting Area
Scrub the tub rim and front panel groove with a sponge and warm soapy water. For limescale, use an acid-based cleaner like CLR or Aktivo descaler.
Ensure the drain holes at the bottom are clear. Use a pipe cleaner or toothpick if needed.
Wipe everything dry before proceeding.
Install the New Gasket
Brush warm soapy water (not grease) onto the inner lip of the new seal and the tub rim. This helps it slide into place.
Align the inner lip with the tub rim. Press it in with both thumbs, working your way around. Use crossed hands (one over the other) to keep tension even. Rotate the drum slightly to access tight spots.
Once seated, slide the inner clamp over the gasket. Hold the square nut and tighten the screw firmly. Test: a finger should not fit between the band and seal.
Pull the outer lip over the front panel flange, starting at the hinge side. Position the wire band, seat the fixed end first, then stretch and hook the spring.
Press around the entire seal to ensure it lies flat and fully seated.
Reassemble and Test
Reattach any removed panels, counterweights, or dispensers. Tighten all screws.
Now test. Place paper towels under the door. Run a rinse or water-fill cycle. Watch for drips. If even one drop appears, stop and reseat the gasket.
After passing the leak test, run a hot clean cycle with descaler to eliminate odors and mineral buildup.
Prevent Future Seal Damage
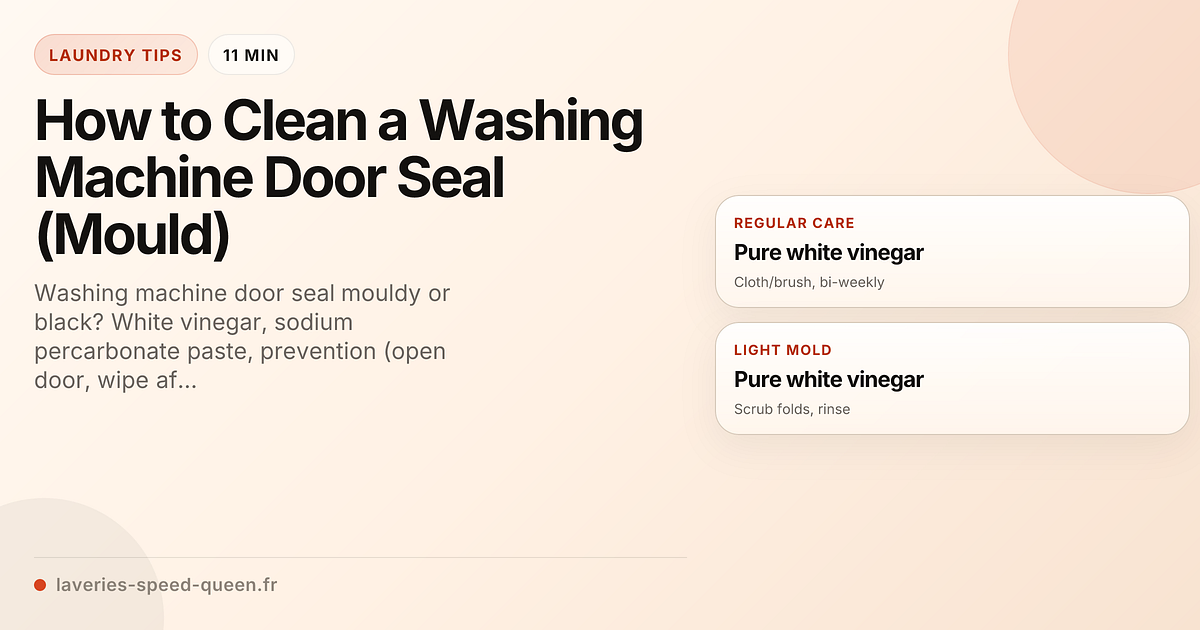
Even a new or repaired seal can fail fast without proper care. Follow these steps to extend its life.
Dry the Seal After Every Use
Wipe the inner folds with a dry cloth after each wash. This removes moisture that breeds mold.
Keep the Door Ajar
Leave the door slightly open between loads. This allows airflow and prevents musty smells.
Run Monthly Hot Cycles
Once a month, run the hottest wash program (no clothes) with a washing machine cleaner. This kills mold and clears biofilm.
Inspect Drain Holes Monthly
Check the small holes at the bottom of the seal. If clogged, flush with water or clean with a toothbrush.
Lubricate Sparingly
Apply a tiny amount of silicone lubricant to the fold line every few months. This reduces friction and prevents cracking.
Final Notes: Repair vs. Replace
Small tear? Use polyurethane sealant for a long-lasting DIY fix.
Emergency leak? Apply vinyl tape and super glue as a stopgap.
Cracked, stiff, or moldy? Replace the gasket. It is affordable and easy.
Replacing a door seal costs $30 to $90 in parts, far less than a new washing machine. Most repairs take under an hour, and the process is manageable for DIYers with basic tools.
Ignoring a damaged seal risks water damage to floors, cabinets, and subflooring, plus higher utility bills from inefficient cycles.
By diagnosing early, repairing smartly, and maintaining regularly, you can keep your front-load washer running cleanly and efficiently for years.
Frequently Asked Questions About Washing Machine Door Seal Repair
How do I know if my washing machine door seal needs repair or replacement?
Check for visible tears, cracks, or hardening of the rubber. Mold growth and musty odors also indicate damage. Small tears can be repaired with polyurethane sealant, but if the seal is cracked, stiff, or heavily mold-stained, replacement is necessary.
Can I use silicone to repair a washing machine door seal?
Standard silicone is not recommended. It does not bond well to rubber and tends to crack under the stress of door compression. Polyurethane sealant is specifically designed for rubber-to-rubber bonding and remains flexible after curing.
How long does a polyurethane door seal repair last?
A properly applied polyurethane repair can last months to years, depending on usage and maintenance. It is a cost-effective alternative to buying a new gasket, especially when the damage is minor.
What is the easiest way to temporarily stop a leaking door seal?
Use vinyl electrical tape with super glue as an emergency patch. Apply tape over the crack, inject super glue behind it, and follow with a second layer in a “smile” pattern. This temporary fix lasts several weeks but should not replace proper repair or replacement.
How much does a replacement washing machine door seal cost?
Replacement gaskets range from $30 to $90 depending on the brand. Samsung gaskets cost around $30 to $38, Whirlpool around $42, and LG around $67 to $87. Compatible brands may share parts, reducing costs further.
How often should I maintain my washing machine door seal?
Wipe the seal dry after every use, keep the door slightly open between loads, run a hot clean cycle monthly, and inspect drain holes monthly. Applying silicone lubricant to the fold line every few months helps prevent cracking.
Key Takeaways for Washing Machine Door Seal Repair
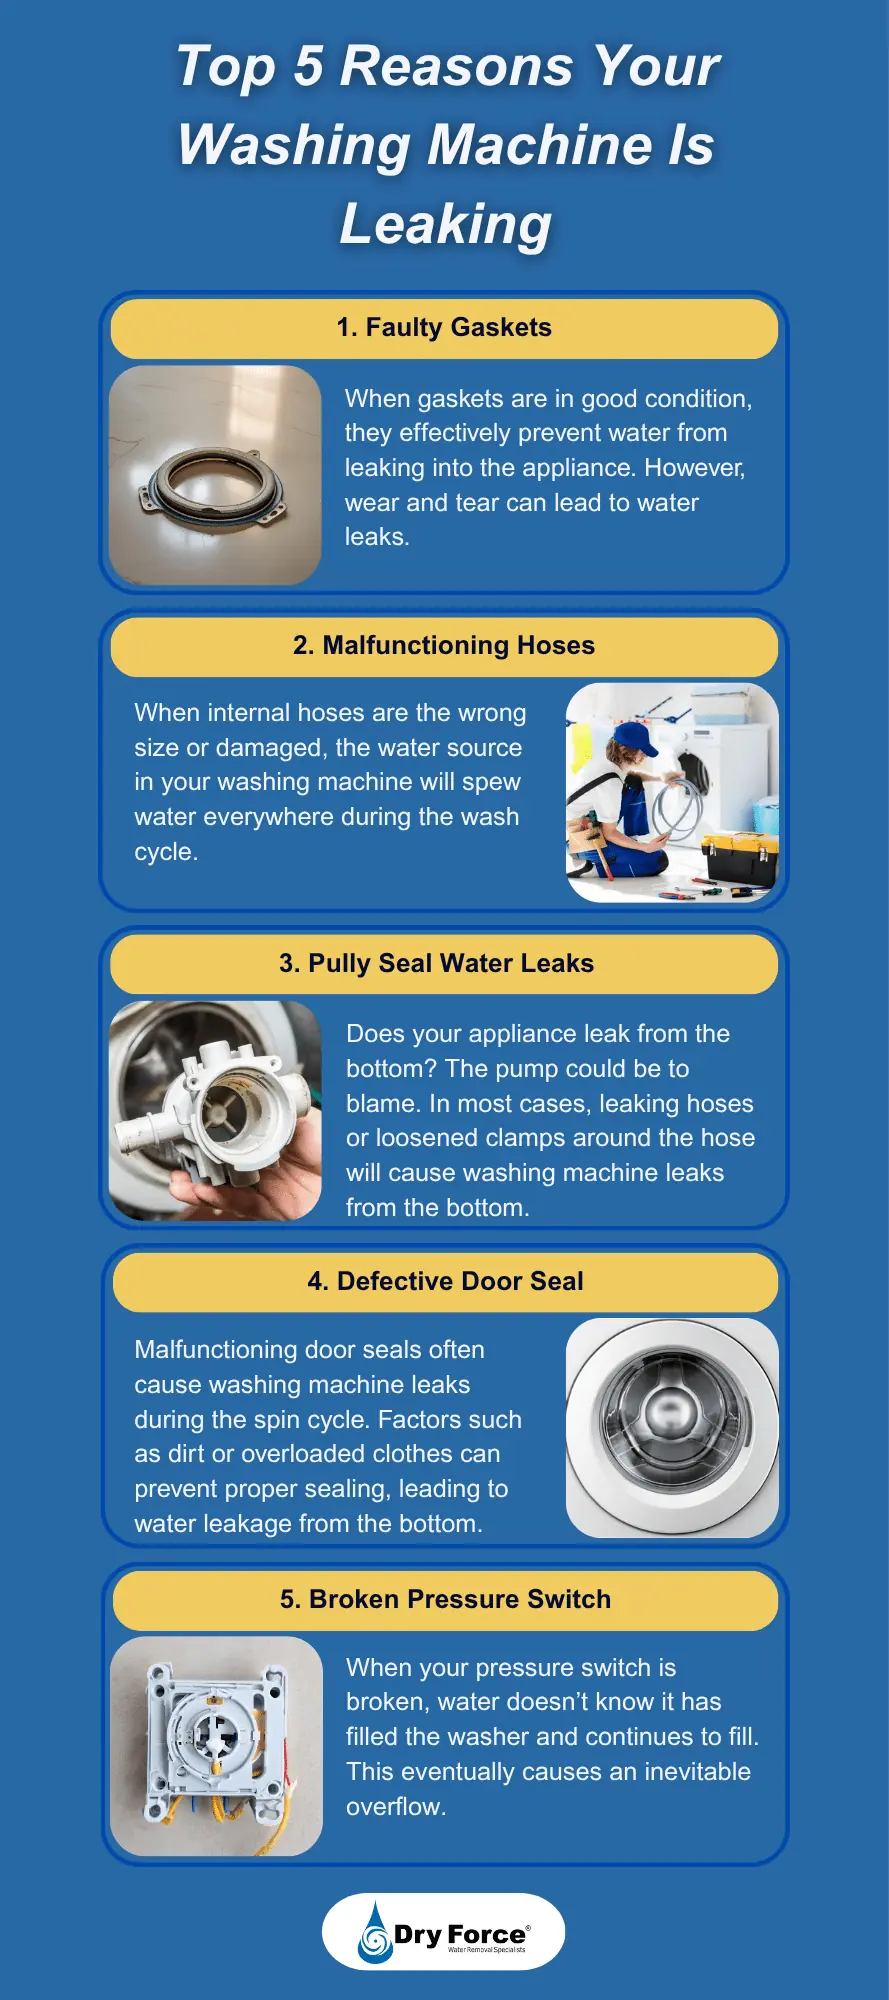
Diagnosing the problem early saves money. Look for leaks, mold, and physical damage to the rubber folds. The bottom edge and fold line are the most common failure points.
Polyurethane sealant provides a durable long-term fix for tears, while vinyl tape and super glue work as emergency patches. Both methods are DIY-friendly and cost a fraction of replacement parts.
Full replacement costs between $30 and $90 and takes under an hour for most models. Always match the gasket to your exact brand and model for proper fit.
Preventive maintenance extends seal life significantly. Dry the seal after each use, leave the door ajar, run monthly hot cycles, and keep drain holes clear.
Fix the seal, stop the leak, and save your machine.